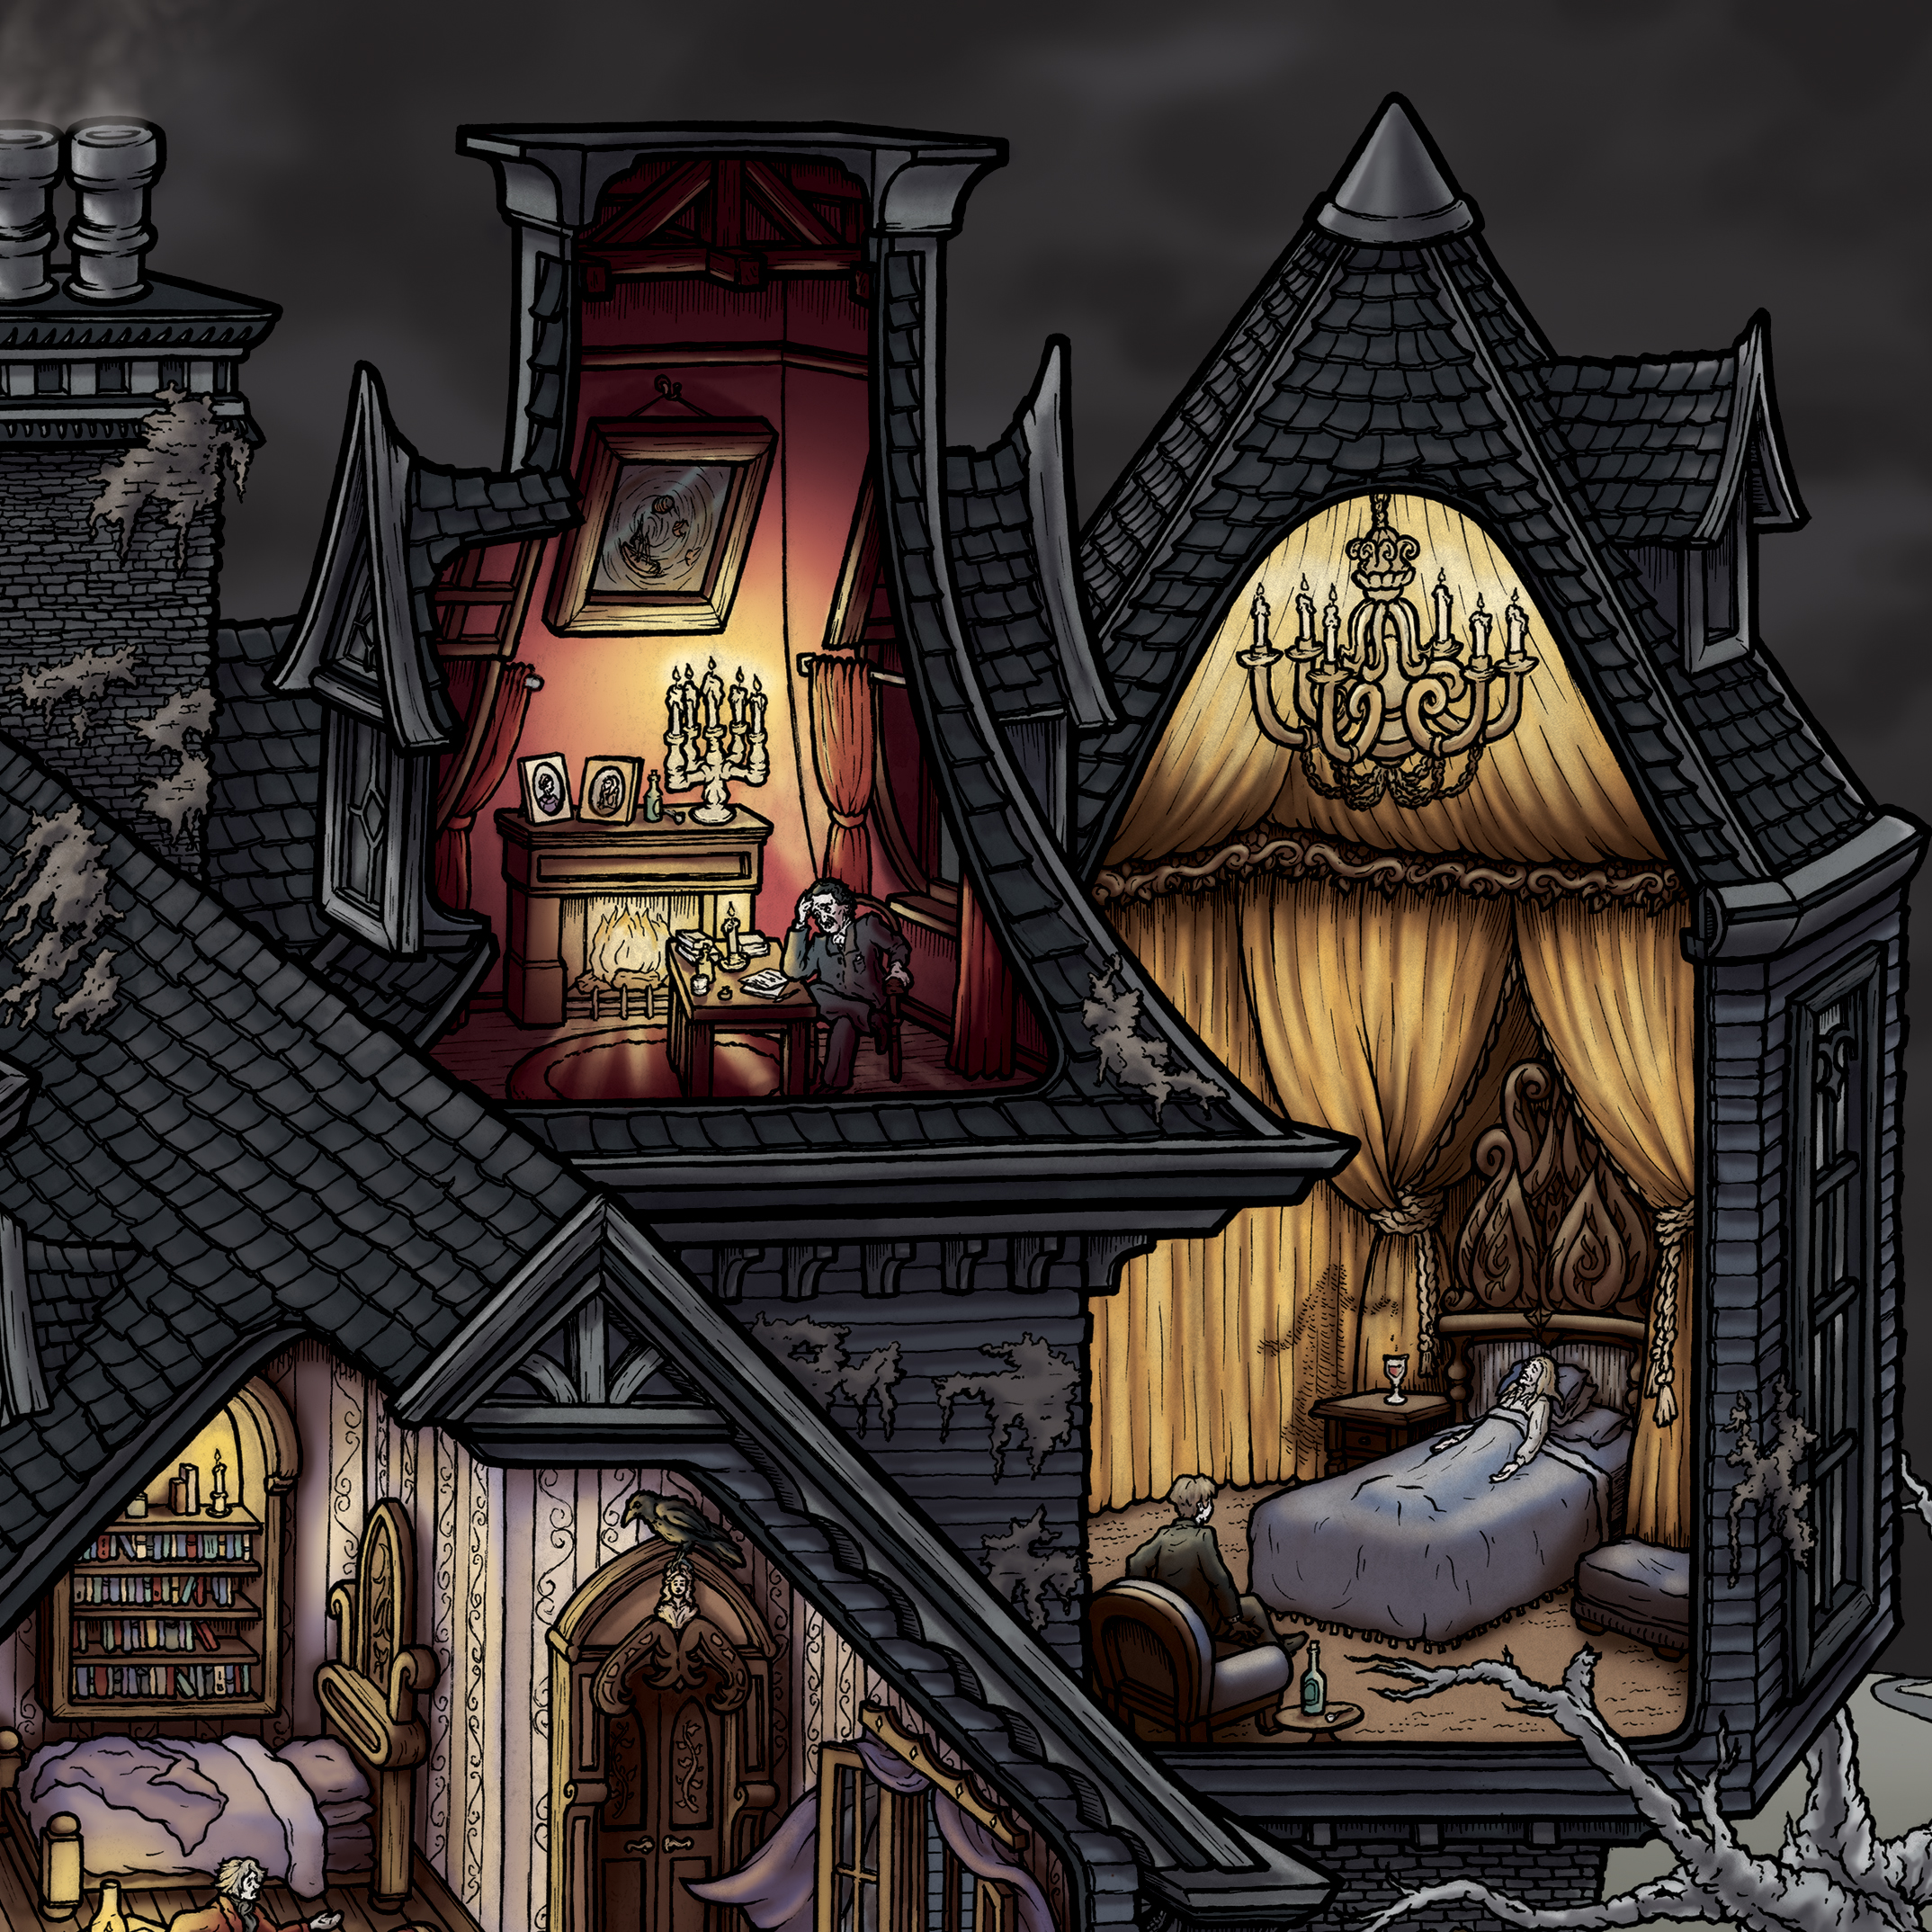
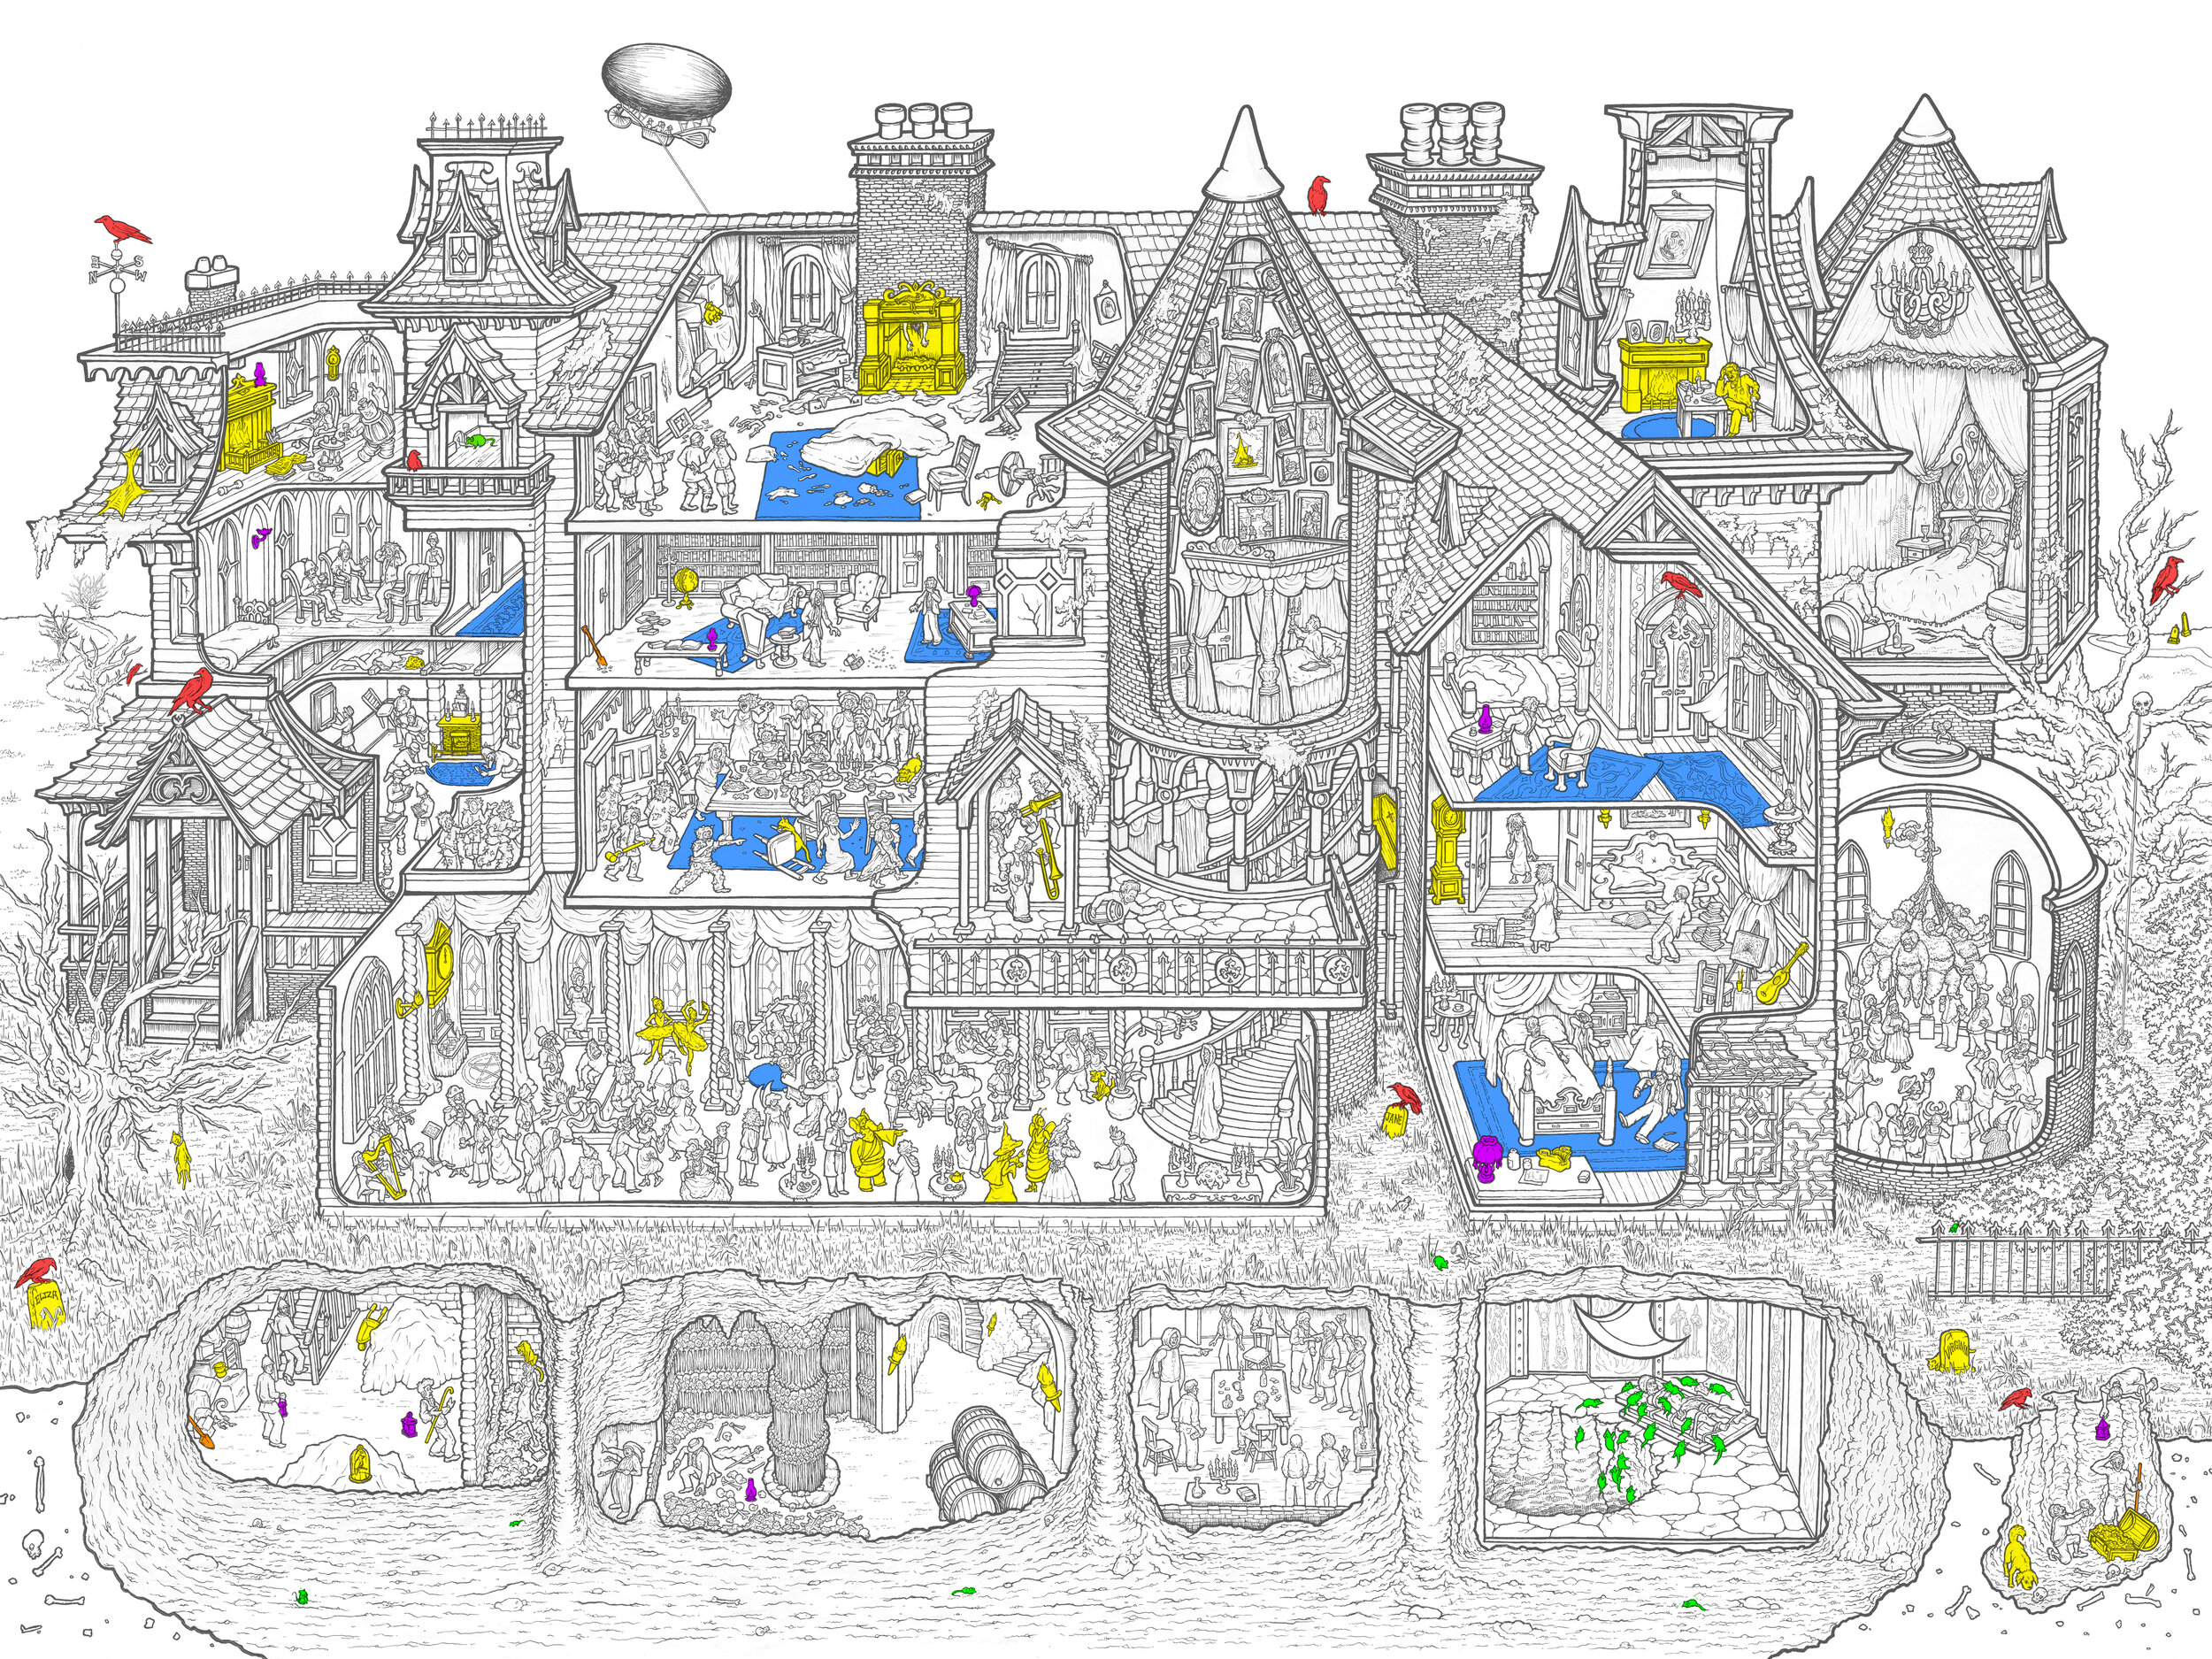
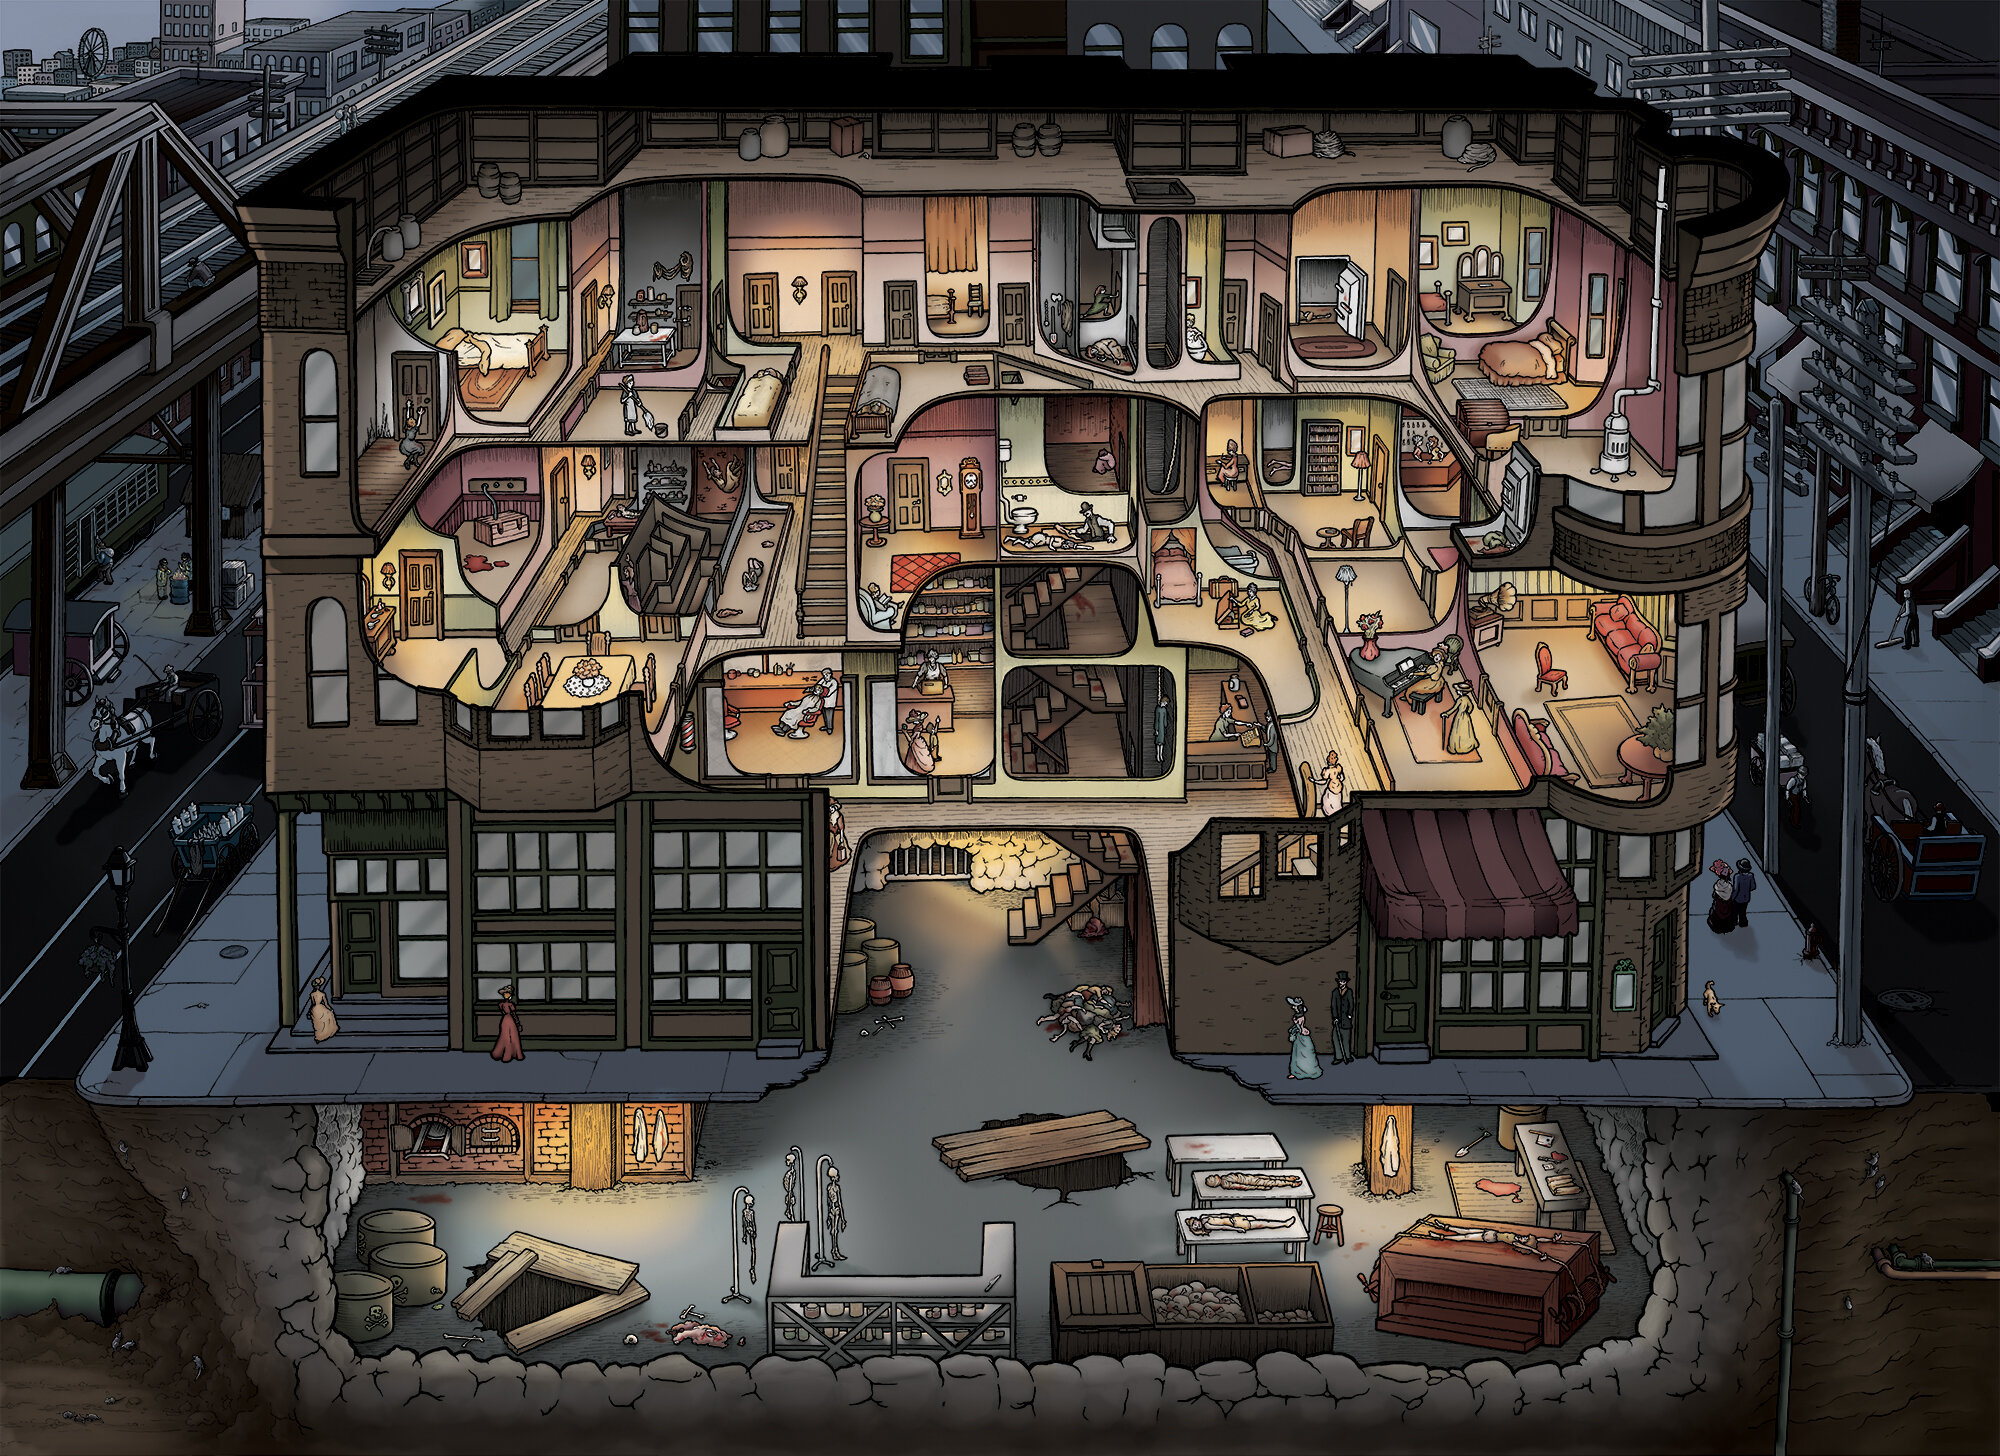
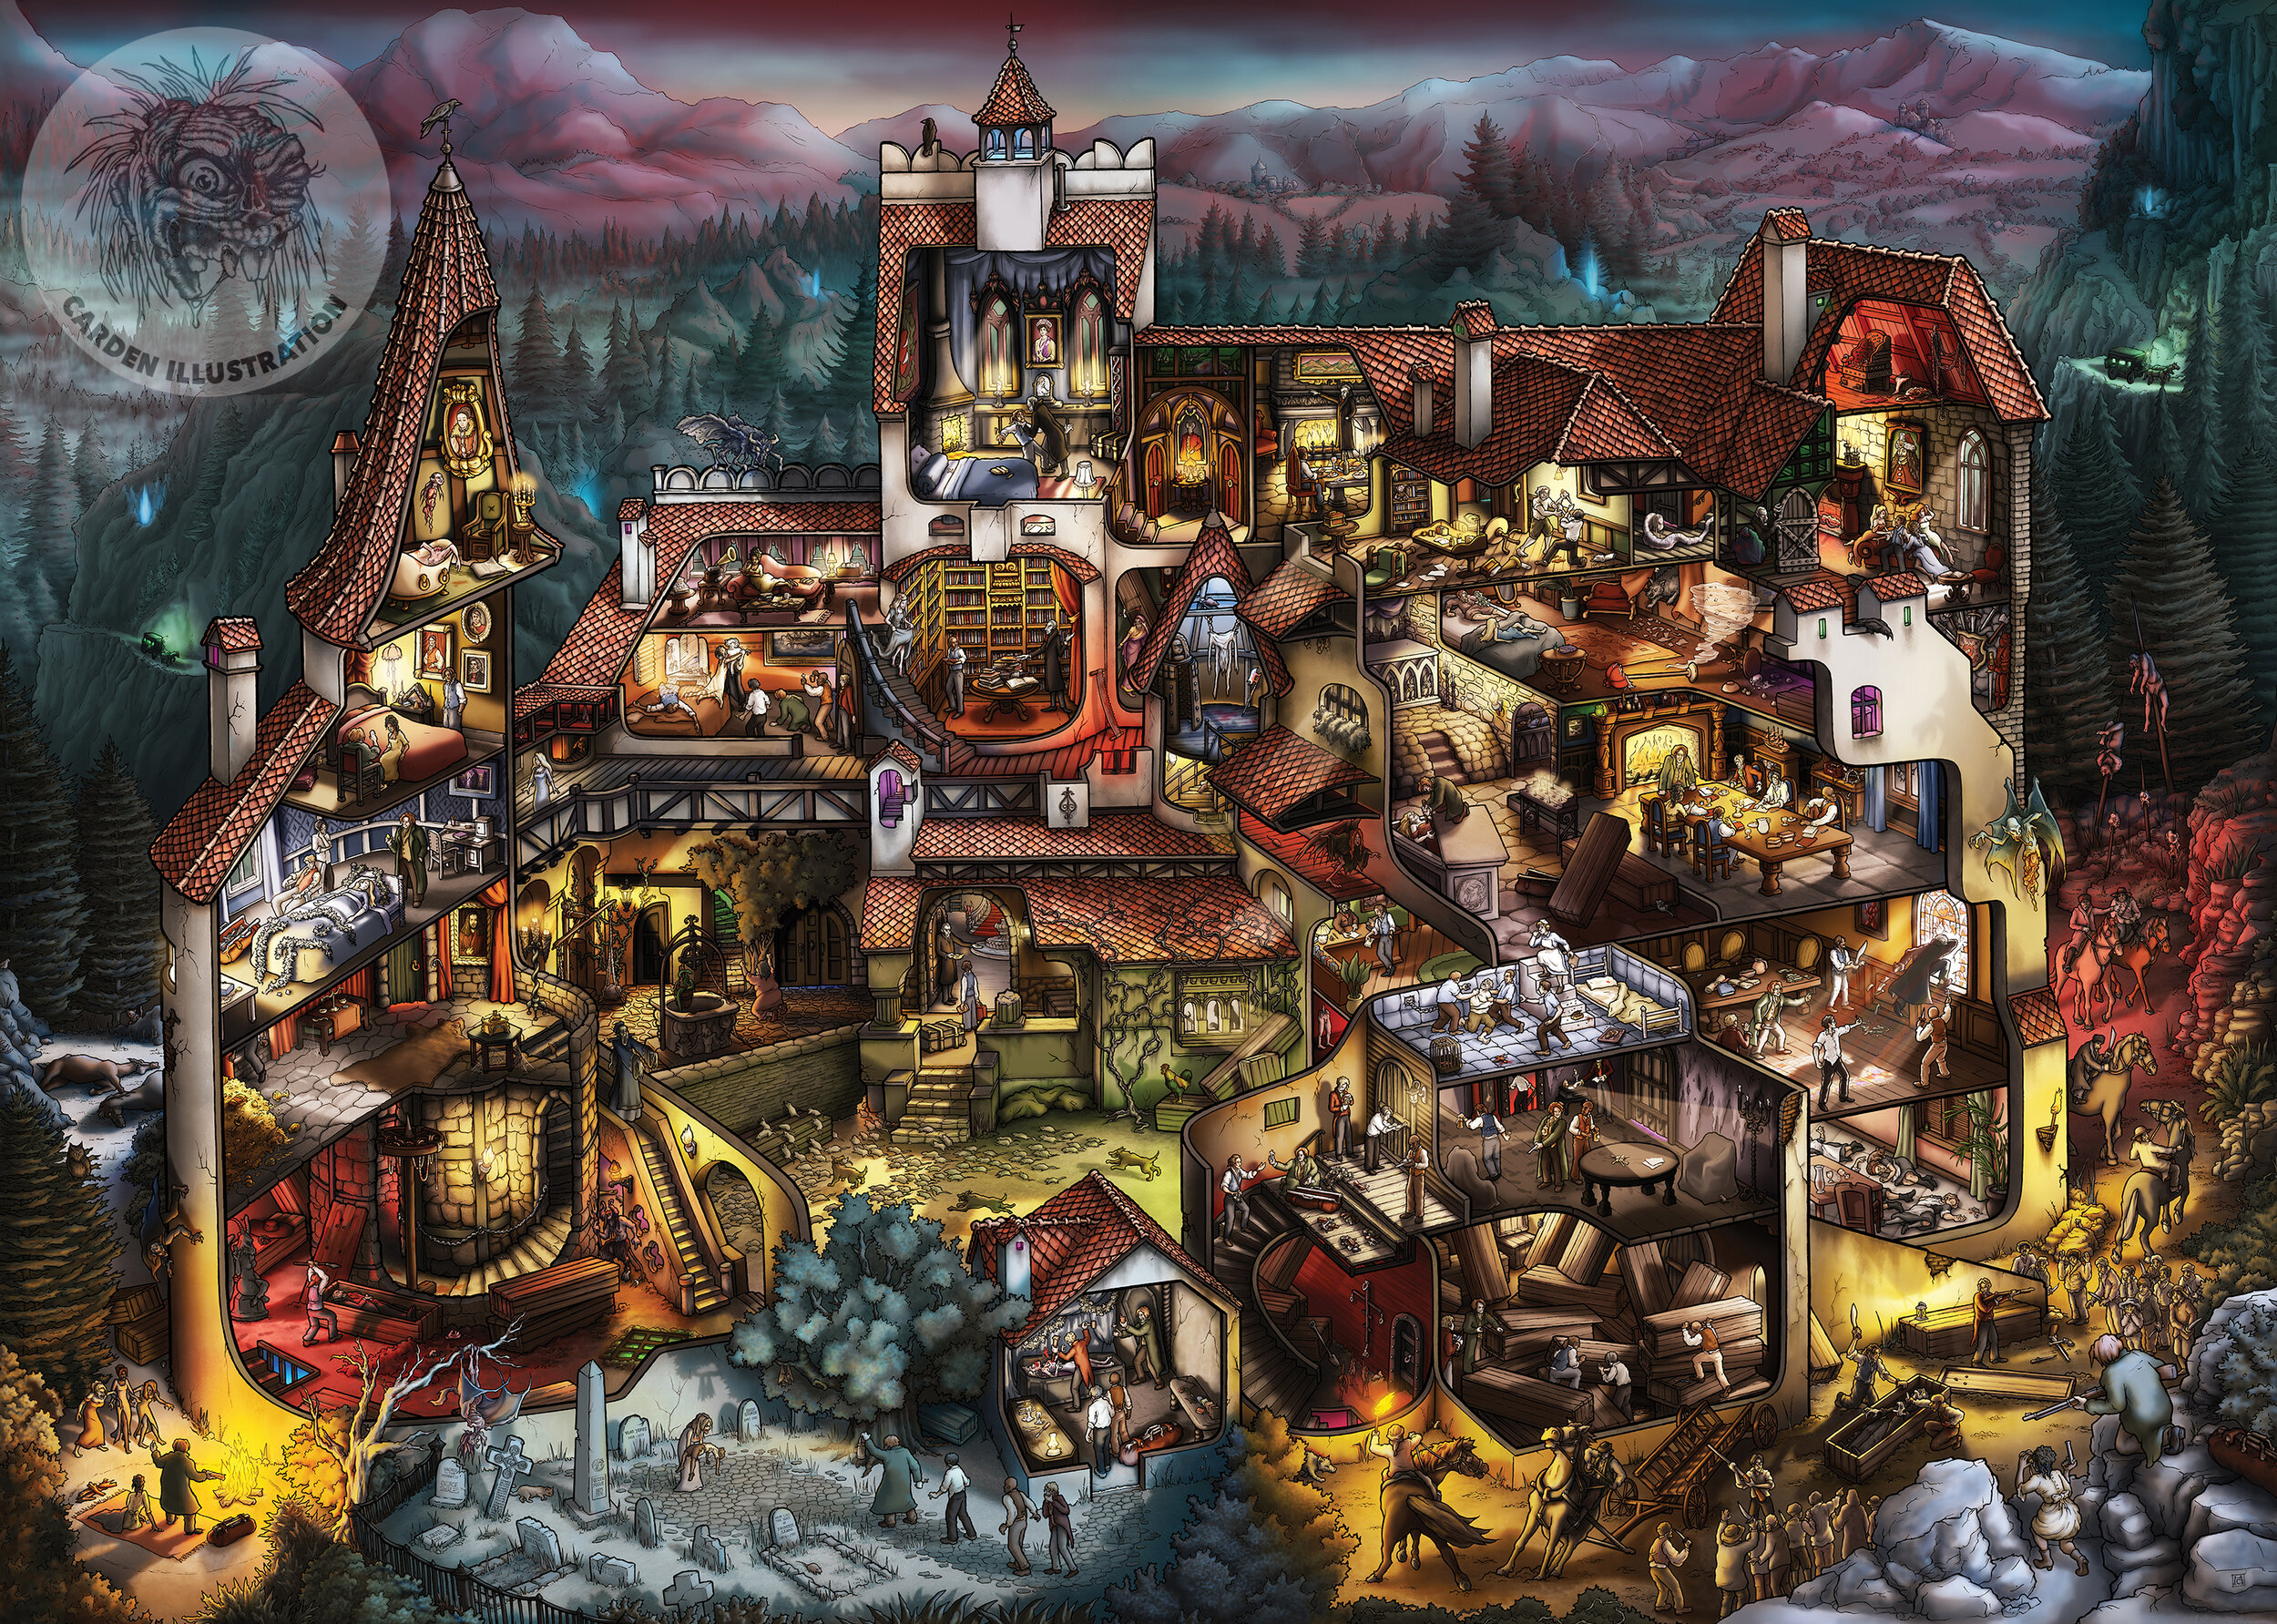
Making Count Dracula's Bran Castle

To draw this is a hand-drawn cutaway of Bran Castle, I compiled blueprints, photographs, and other references in an effort to render the building as accurately as possible. It’s drawn with pencil, Micron liner pens, and colored in Photoshop. Scroll down to see detail shots, the process, and references.

(Puzzles are available in the store!)

BRAN-final-small-WATERMARK.jpg

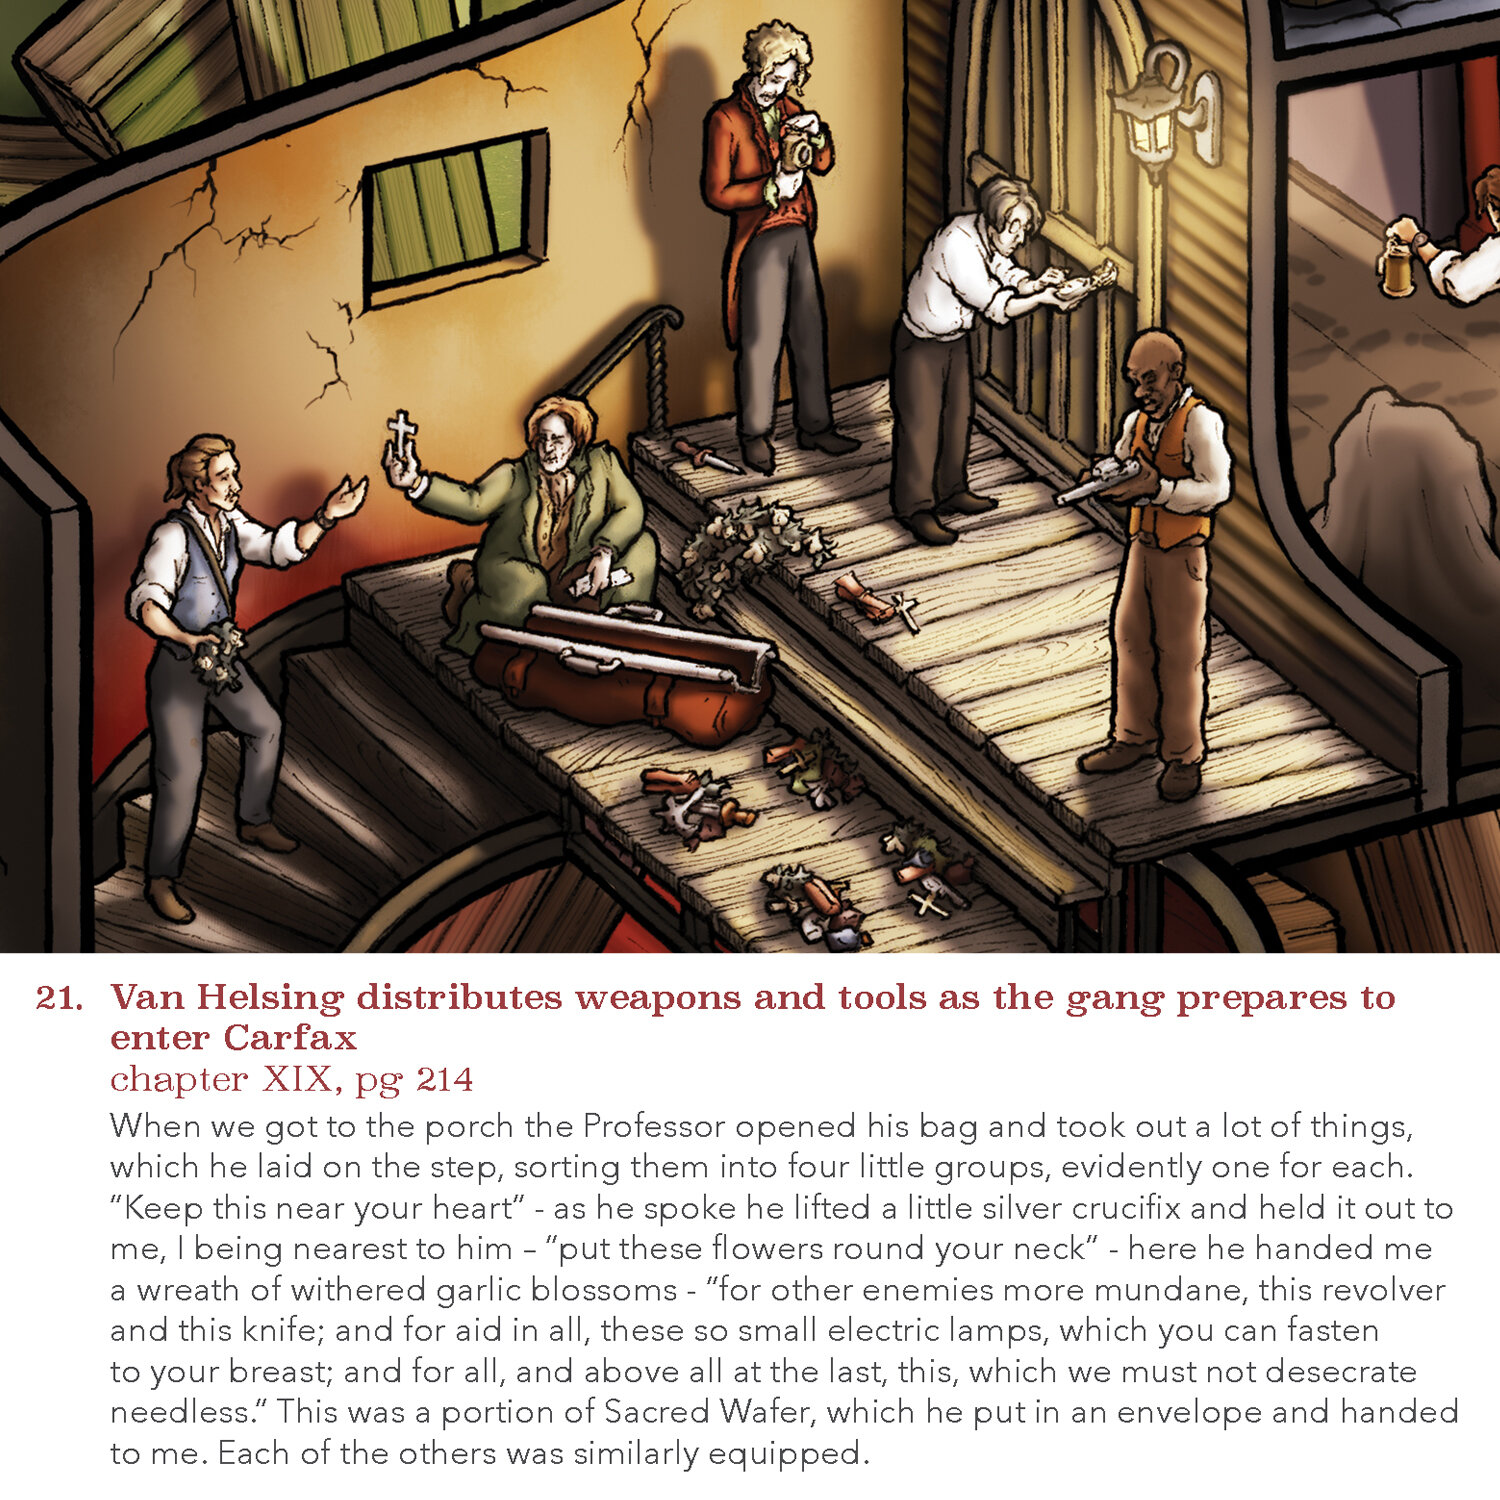
Stoker’s entire novel is told in 31 vignettes throughout the castle. It is also packed with easter eggs and vampiric myths from all over the world. Inside the box is a poster identifying them, as well as a seek-&-find game, and a legend labeling each scene from Dracula and the excerpt it illustrates.

This is the third in my line of jigsaw puzzles. The first two - H.H. Holmes' Murder Castle and Edgar Allan Poe's Macabre Mansion.

BRAN-quotedimg-3.jpg
BRAN-quotedimg-6.jpg
BRAN-quotedimg-20.jpg
BRAN-quotedimg-21.jpg

ILLUSTRATION PROCESS
To make an elaborate cutaway drawing like this, I have a 6 step process.

1. Research For Dracula, this of course involved reading and listening to the novel many times. I hired my sister, Bethan - a very intelligent, super organized history buff - to help with the research and brainstorming. Between her extensive notes and reference image library, and my own studies of the book and architecture of the castle, we amassed a ton of resources from which to build the drawing. I then decided which scenes from the book to illustrate.

RESEARCH_2-3.jpg
branpicS.jpg

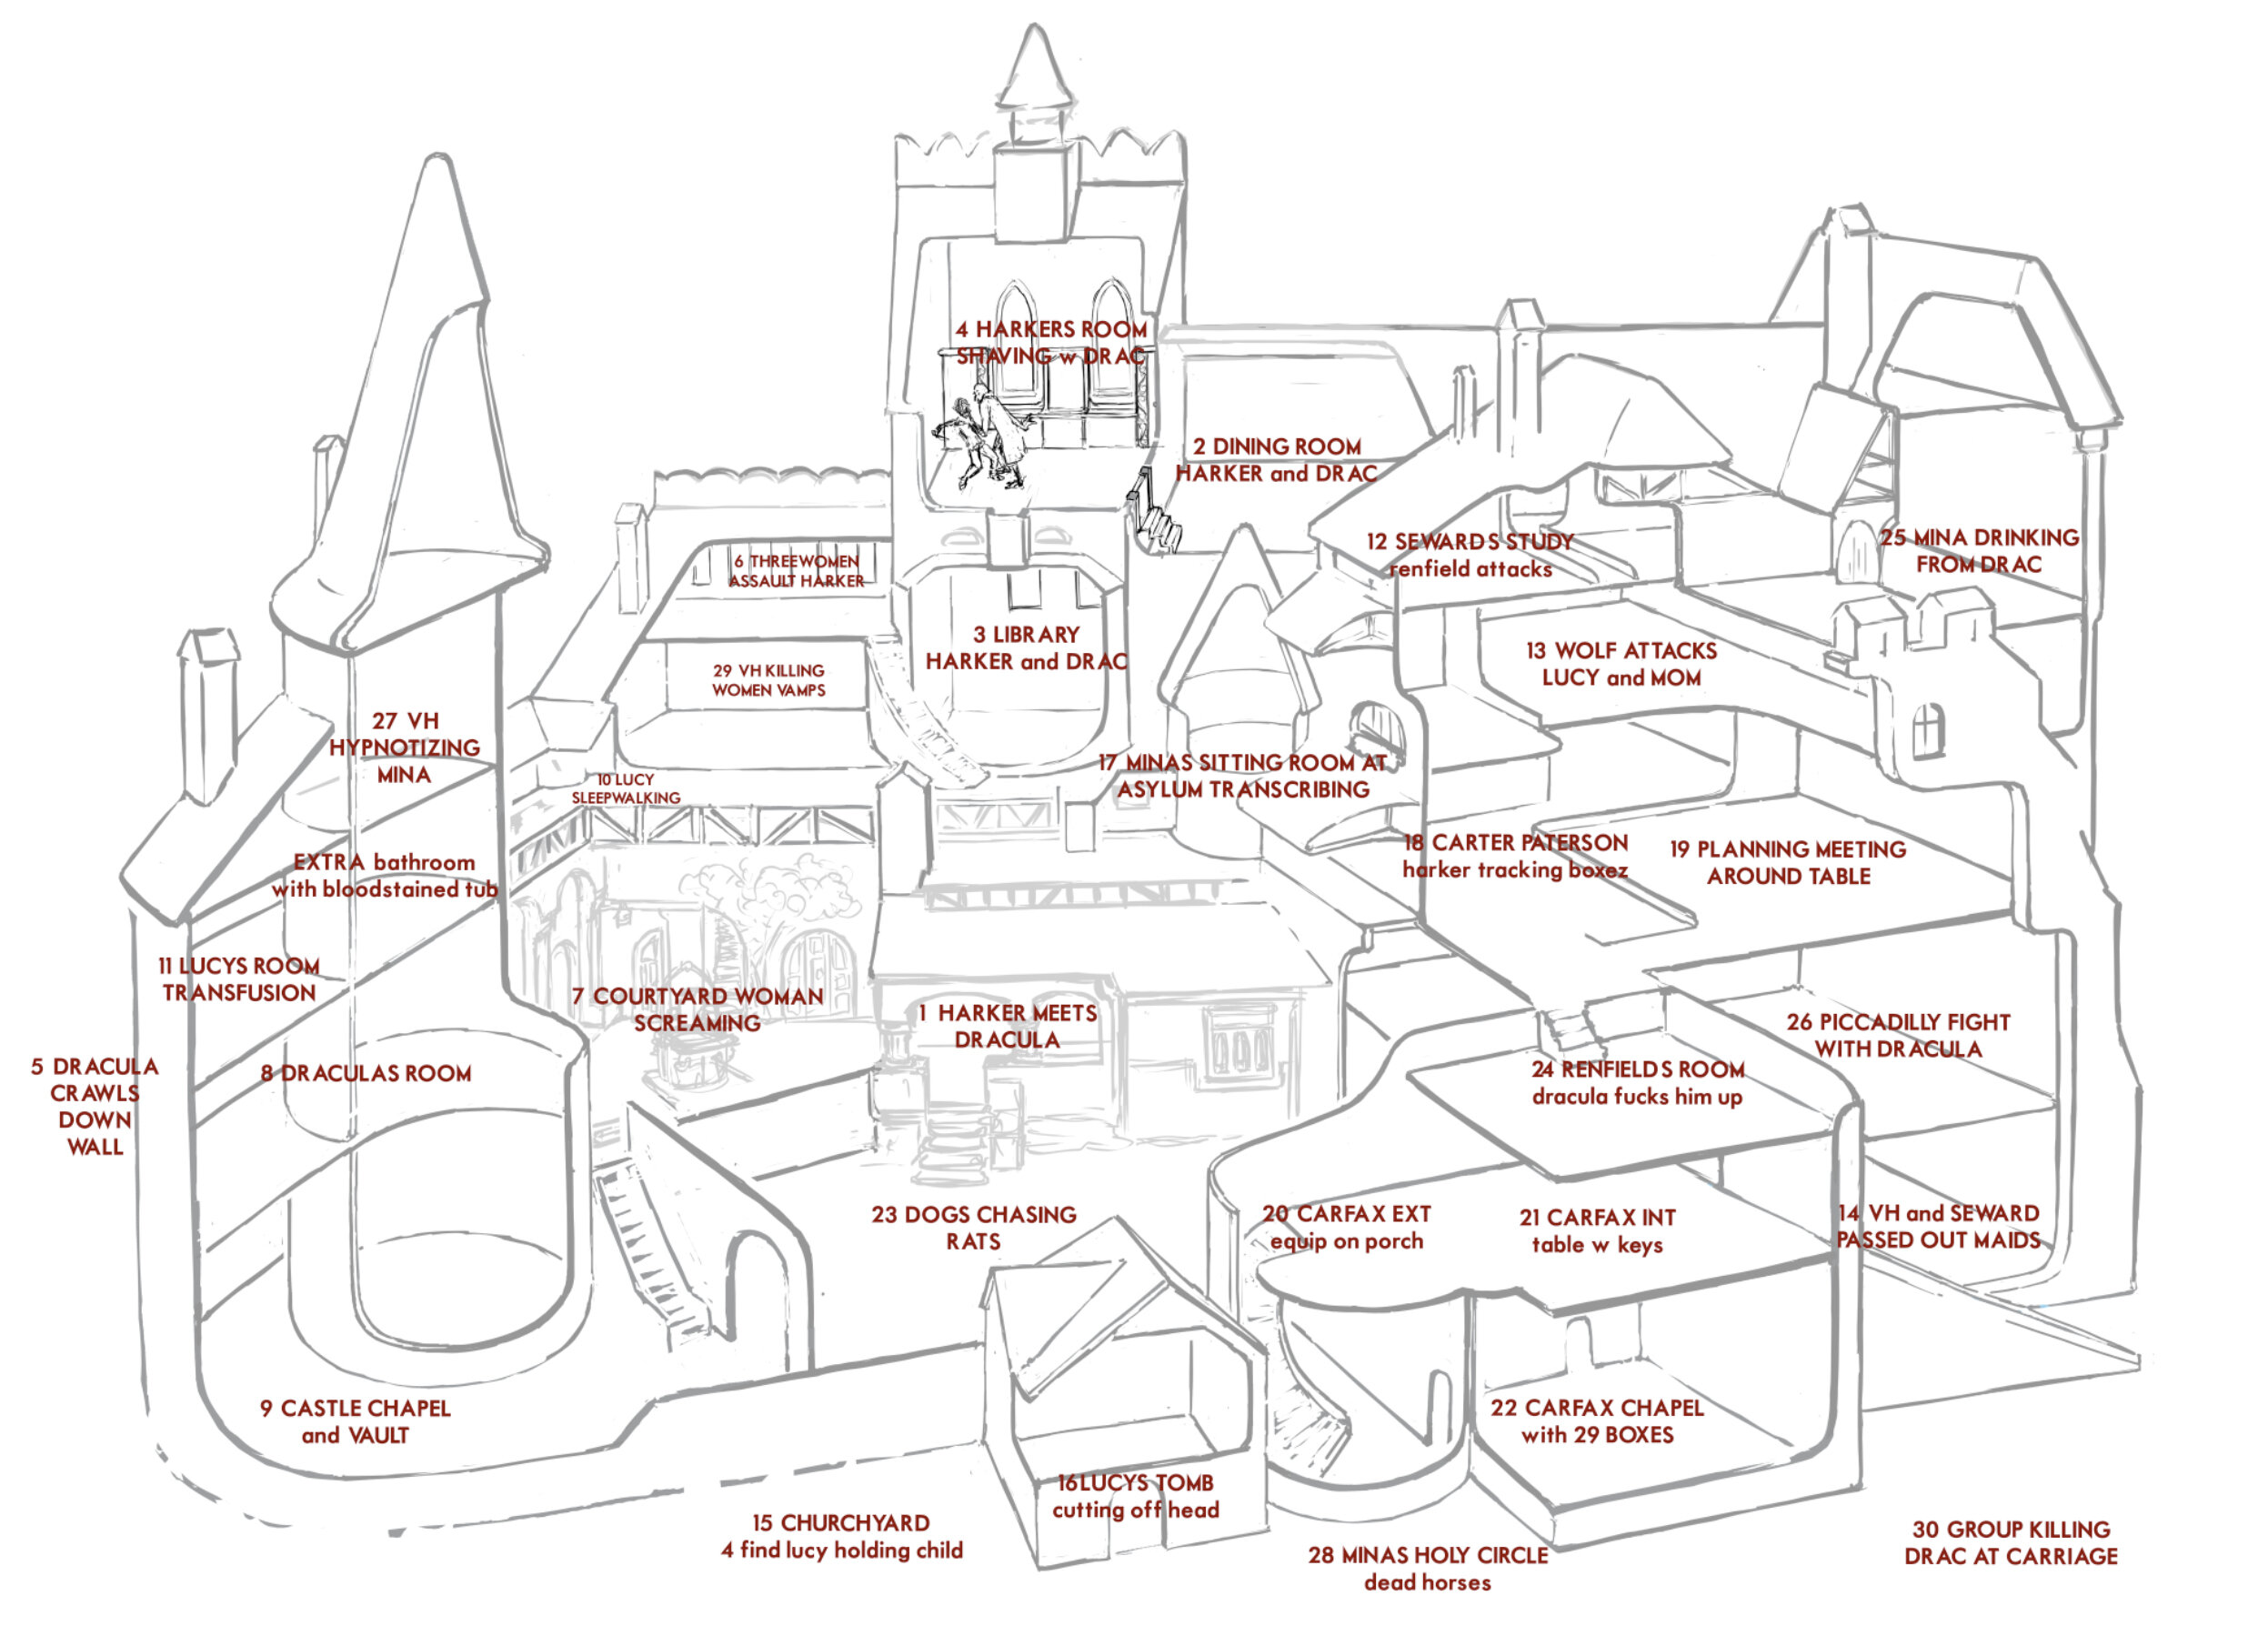
2. Super Rough This stage involves making some really important decisions, like the orientation of the building, which areas of the castle to cut away, and where in the picture to assign each of the 31 scenes.

SUPERROUGH_1-6.jpg
SUPERROUGH_7.jpg

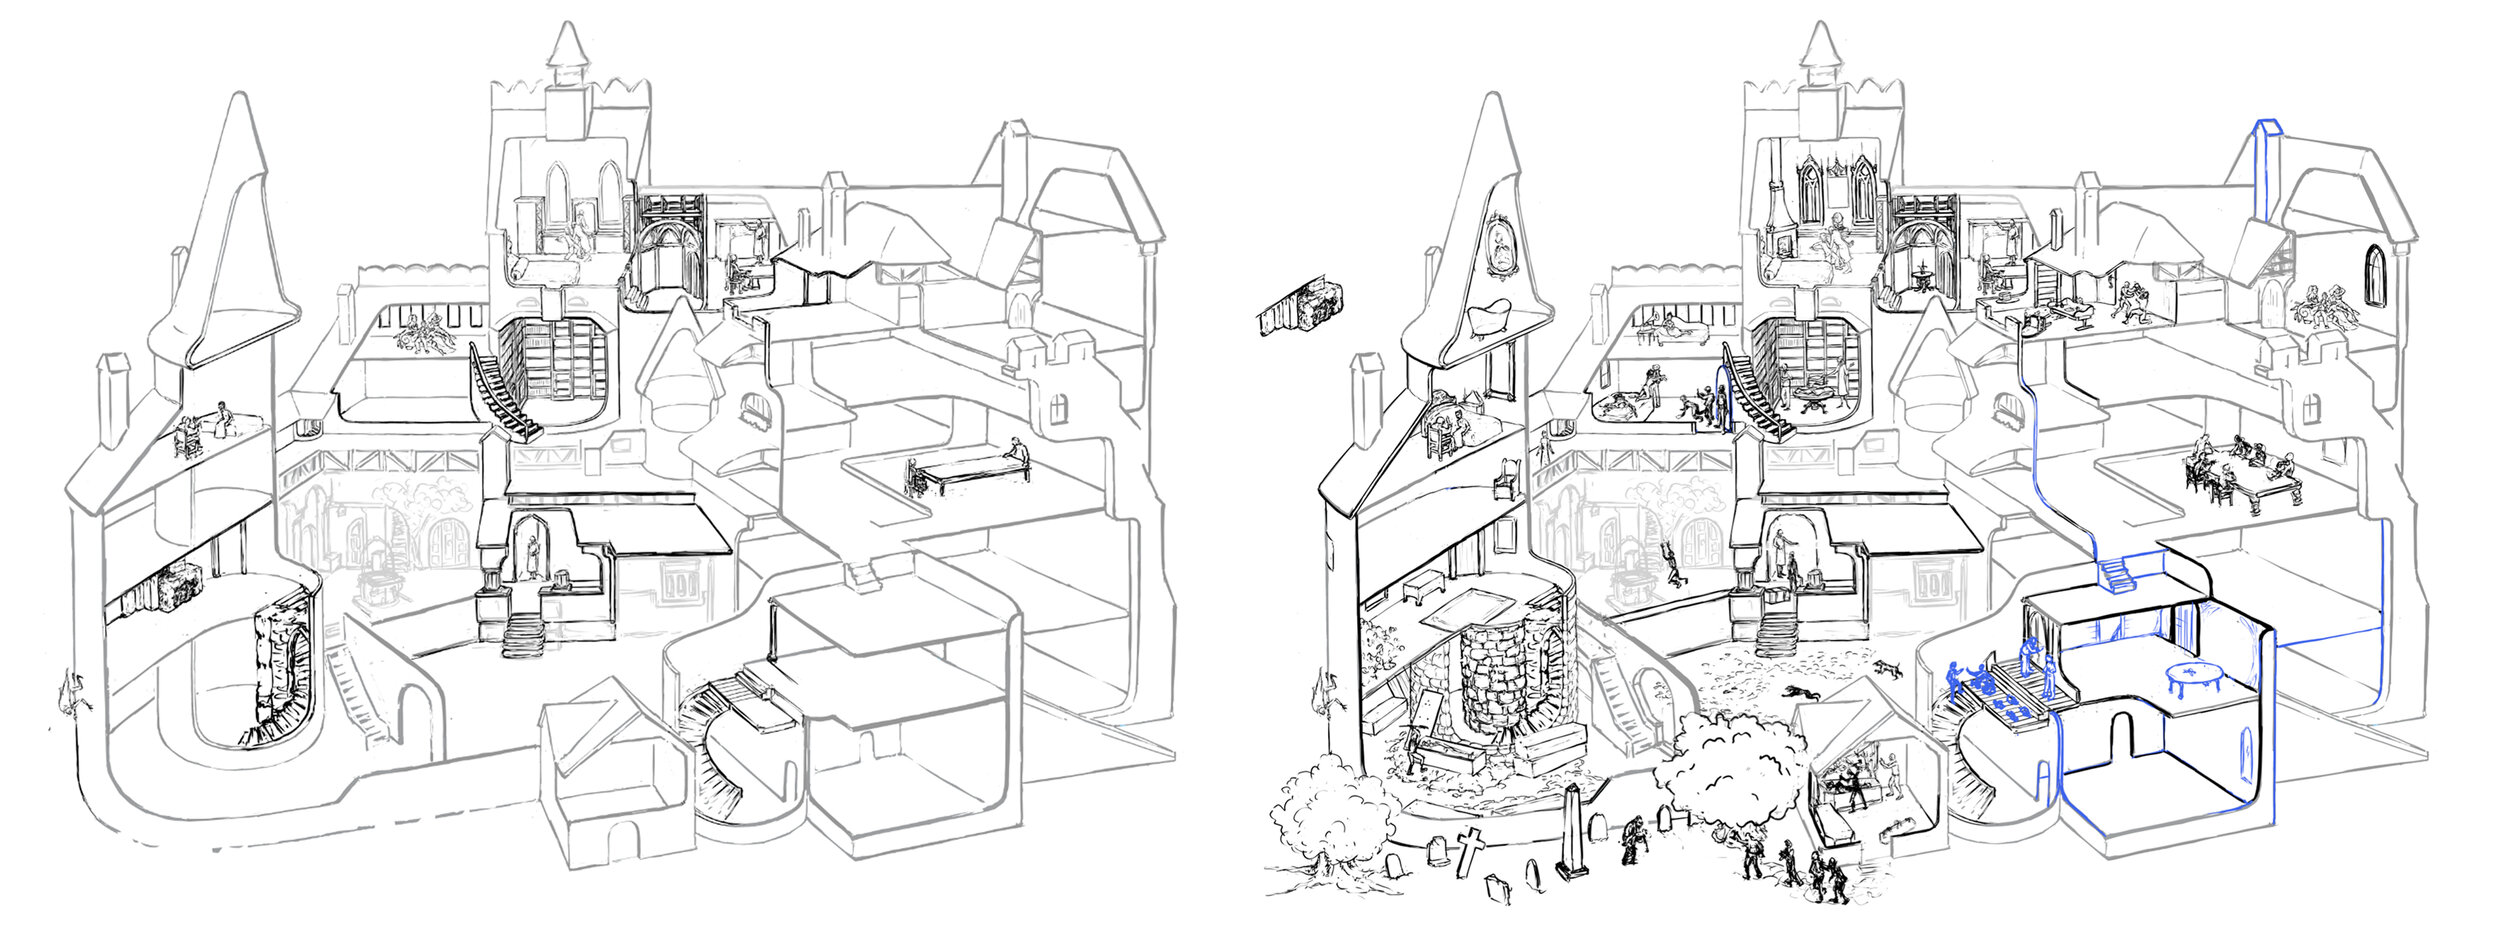
3. Rough Sketch Once I’m happy with the structure of the building and the overall composition, it's time to fill it with stuff. This is when I decide which moment of each scene to illustrate. Composing each scene often requires adjustments in the room assignments or cutaway structure.

ROUGH_1-2.jpg
ROUGH_3.jpg

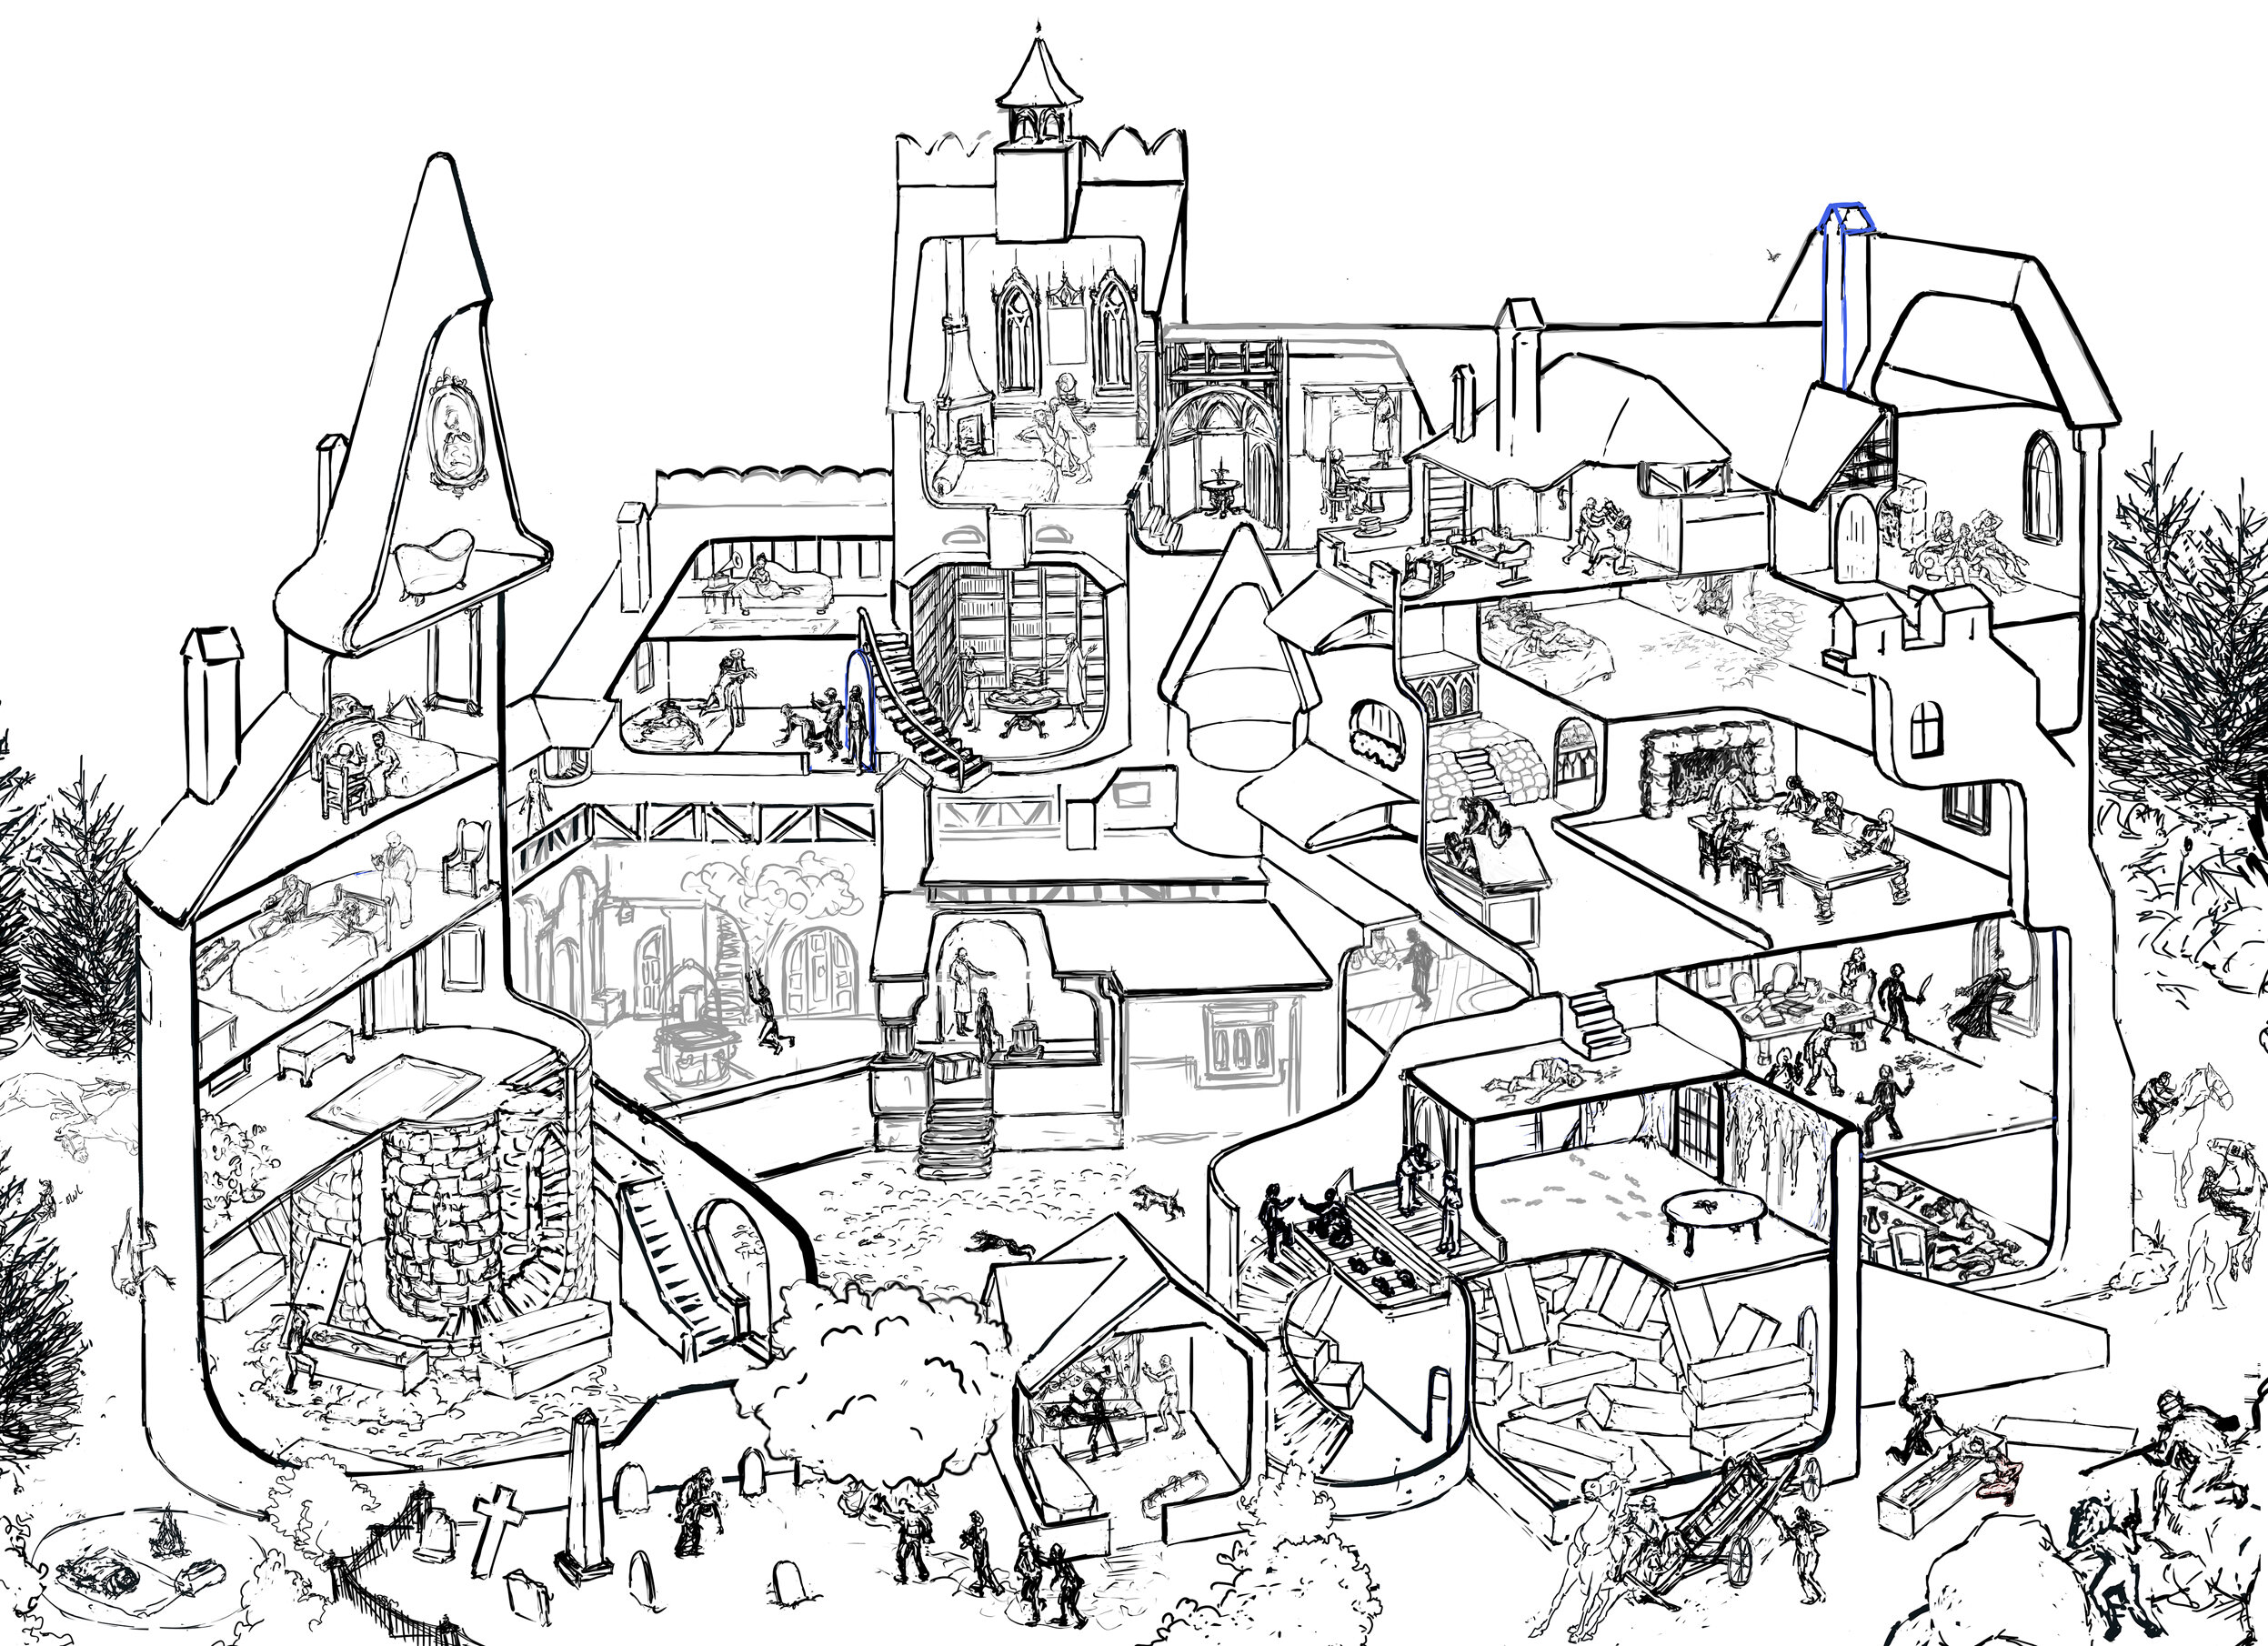
4. Tight Sketch The aim of the Tight Sketch is to define as much detail as possible and scour the research material for anything visual I can include. I want to get this draft as comprehensive as possible so that when I’m inking I can focus on the technical drawing aspect rather than stuff like design or facial expressions. It's also important to think ahead and include a variety of interesting light sources such as lamps, windows, and fireplaces.

TIGHT_deets.jpg
TIGHTSKETCH-watermark.jpg

5. Ink Best part. I use 003 Micron liners and 0.05 Isograph by Rotring. I correct using a teeny tiny paint brush and Dr. Ph. Martin's white. The inking process for Dracula took about 120 hours. When the lines are down, I scan it on a kickass Epson at 600 DPI.

INK_1-3.jpg
bran-INK-small-WATERMARK.jpg

6. Color & Light After a little line cleanup in Photoshop, I’m ready for Color. There are actually three parts to my coloring process. First, the Flat Color, which involves choosing the palette and filling them in. Then Shading, which means adding dimension to the flat color and determining where the shadows will fall in relation to each of the light sources. The final part - and perhaps the most exciting - is turning on the lights. Adding vibrant, exaggerated color to illuminate everything gives the whole picture life.

FLATCOL_1-3.jpg
FLATCOL_6.jpg
LIGHT_1-2.jpg
BRAN-final-small-WATERMARK.jpg

EASTER EGGS AND STUFF

Hidden amongst the Dracula scenes are a bunch of mythic vampire characters from various countries. The puzzle comes with a poster identifying each of the monsters. However, the castle also contains lots of details and easter eggs not listed on the poster… Here they are! (Most of them, anyway... If you have any questions about what things mean, leave it in the comments below!)

Buffy the Vampire Slayer’s famous deadly scythe.

Buffy the Vampire Slayer’s famous deadly scythe

Sesame Street’s lovable Count von Count is perched on the shelf in Dr. Seward’s study.

Sesame Street’s lovable Count von Count is perched on the shelf in Dr. Seward’s study.

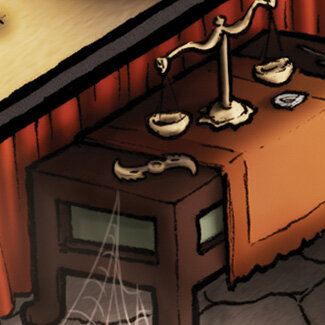
Wesley Snipes fans may recognize this: Blade’s glaive

Wesley Snipes fans may recognize this: Blade’s glaive

How could I leave out the most lovable vampires in the world. Here ARE Viago, Deacon and Vladislav from the hilarious 2014 film What We Do In The Shadows (which has since been turned into a great TV show on Hulu!)

How could I leave out the most lovable vampires in the world. Here ARE Viago, Deacon and Vladislav from the hilarious 2014 film What We Do In The Shadows (which has since been turned into a great TV show on Hulu!)

The first few pages of the novel describe Harker’s creepy carriage ride through the CarpathianS. You can see the carriage in The background, winding through the mountains.

The first few pages of the novel describe Harker’s creepy carriage ride through the CarpathianS. You can see the carriage in The background, winding through the mountains.

On his TREACHEROUS carriage ride, Harker describes eerie blue flames appearing in the mountains, and wolves howling. The mystery is only vaguely explained in the book, stating that thESE flames indicate Dracula’s hiding places for treasure.

On his TREACHEROUS carriage ride, Harker describes eerie blue flames appearing in the mountains, and wolves howling. The mystery is only vaguely explained in the book, stating that thESE flames indicate Dracula’s hiding places for treasure.

Vlad the Impaler was exiled and kept prisoner in Hungary for several years. During this time he apparently developed a rat impalement hobby. Crafty!

Vlad the Impaler was exiled and kept prisoner in Hungary for several years. During this time he apparently developed a rat impalement hobby. Crafty!

The O.V. - Nosferatu! This is the famous shadow he cast in the classic 1922 horror movie.

The O.V. - Nosferatu! This is the famous shadow he cast in the classic 1922 horror movie.

I asked my mom if there was anything she wanted me to hide in the picture for her. She said she’d had a weird dream the night before about a severed hand, so she told me to include that. Like mother like daughter! 💀

I asked my mom if there was anything she wanted me to hide in the picture for her. She said she’d had a weird dream the night before about a severed hand, so she told me to include that. Like mother like daughter! 💀

In the library scene, the novel describes an atlas on the table open to a map of england. Dracula had circled three areas where he intended to buy properties: London East Side, Exeter, and Whitby. It’s hard to see, but they’re in there!

In the library scene, the novel describes an atlas on the table open to a map of england. Dracula had circled three areas where he intended to buy properties: London East Side, Exeter, and Whitby. It’s hard to see, but they’re in there!

Renfield told Dr. Van Helsing that Dracula had come to him in the form of big moths with a skull and cross-bones on their backs. Van Helsing identified these as “cherontia Aitetropos of the Sphinges—what you call the ‘Death’s-head Moth.”

Renfield told Dr. Van Helsing that Dracula had come to him in the form of big moths with a skull and cross-bones on their backs. Van Helsing identified these as “cherontia Aitetropos of the Sphinges—what you call the ‘Death’s-head Moth.”

On the shelf in Dr. Seward’s house there are some Psychiatry implements he may have used in his asylum. Here are his lobotomy tools and shock treatment HEADGEAR.

On the shelf in Dr. Seward’s house there are some Psychiatry implements he may have used in his asylum. Here are his lobotomy tools and shock treatment HEADGEAR.

This stained glass window features one of the four instances of the Order of the Dragon symbol hidden throughout the castle.

This stained glass window features one of the four instances of the Order of the Dragon symbol hidden throughout the castle.

Another Order of the Dragon emblem; this one is sculpted into the end of the vampiress’ tomb.

Another Order of the Dragon emblem; this one is sculpted into the end of the vampiress’ tomb.

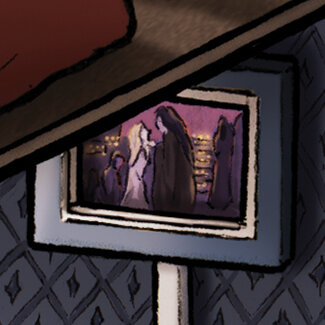
This is a scene from the 1994 film Interview with a Vampire. It depicts Armand performing “Danse Macabre”, or “Dance of Death”, a morbid traditional dance of the late middle ages wherein death summons humans from all walks of life.

This is a scene from the 1994 film Interview with a Vampire. It depicts Armand performing “Danse Macabre”, or “Dance of Death”, a morbid traditional dance of the late middle ages wherein death summons humans from all walks of life.

One of the documents in the novel is a newspaper article in the Whitby Gazette called “The Hampstead Horror”, referring to the “Bloofer Lady” and missing children.

One of the documents in the novel is a newspaper article in the Whitby Gazette called “The Hampstead Horror”, referring to the “Bloofer Lady” and missing children.

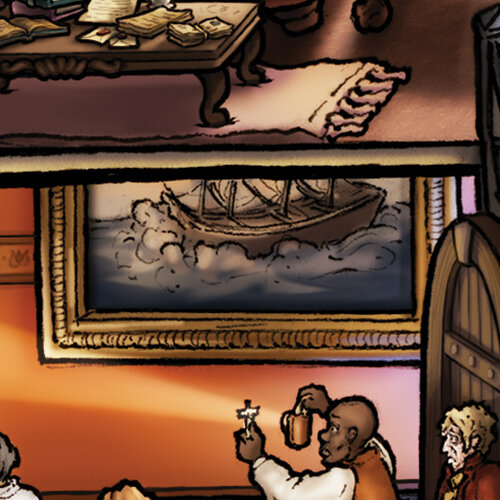
Dracula and his boxes of earth travel to England on a mysterious ship, which naturally has a pretty tumultuous journey.

Dracula and his boxes of earth travel to England on a mysterious ship, which naturally has a pretty tumultuous journey.

One of the best character costumes ever, Gary Oldman as old Dracula from The Coppola movie.

One of the best character costumes ever, Gary Oldman as old Dracula from The Coppola movie.

As I was adding the finishing touches to the drawing I became aware of lady dimitrescu, a big awesome vampire woman from the video game Resident Evil Village. I thought it only appropriate to include her signature hat and corsage. The baphomet statue is just for me.

As I was adding the finishing touches to the drawing I became aware of lady dimitrescu, a big awesome vampire woman from the video game Resident Evil Village. I thought it only appropriate to include her signature hat and corsage. The baphomet statue is just for me.

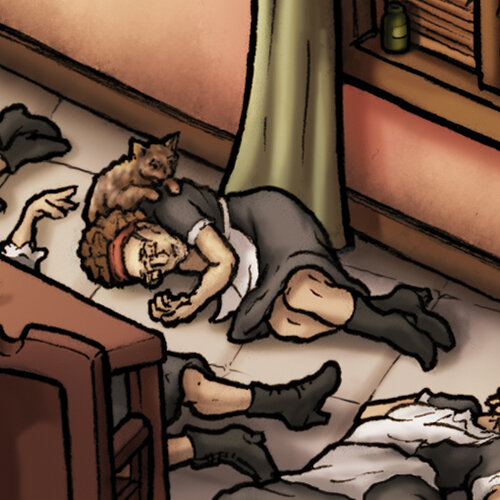
Back when I released Edgar Allan Poe’s Macabre Mansion, I ran a contest. Whoever could find the clue in the Poe picture and guess the subject of the next puzzle would be drawn into the new illustration. Tara Schnaible correctly guessed Dracula/Vlad the Impaler because hidden in the Poe house was a dracula-style coffin and impalements etched into the walls of the dungeon. Here she is with her kitty being a passed out maid.

Back when I released Edgar Allan Poe’s Macabre Mansion, I ran a contest. Whoever could find the clue in the Poe picture and guess the subject of the next puzzle would be drawn into the new illustration. Tara Schnaible correctly guessed Dracula/Vlad the Impaler because hidden in the Poe house was a dracula-style coffin and impalements etched into the walls of the dungeon. Here she is with her kitty being a passed out maid.

This Iron Maiden and bigass saw are some of the many torture devices on display at Bran Castle.

This Iron Maiden and bigass saw are some of the many torture devices on display at Bran Castle.

This chair is also on display in the Bran Castle torture museum. Juicy!

This chair is also on display in the Bran Castle torture museum. Juicy!

This sword display is on the wall at Bran Castle. The coat of arms is drawn from the armor worn by young Dracula in Francis Ford Coppola’s Bram Stoker’s Dracula. Yet another incredible movie costume. I think that movie got best makeup or something a…

This sword display is on the wall at Bran Castle. The coat of arms is drawn from the armor worn by young Dracula in Francis Ford Coppola’s Bram Stoker’s Dracula. Yet another incredible movie costume. I think that movie got best makeup or something at the Oscars.

The grossest torture device in the Bran Castle museum is the Breaking Wheel. Basically its purpose was to mangle and break all your bones.  Super messed up.

The grossest torture device in the Bran Castle museum is the Breaking Wheel. Basically its purpose was to mangle and break all your bones. Super messed up.


BRAN-easteregg-durer.jpg

ALBRECHT DÜRER This is a portrait of Albrecht Dürer, a German painter and printmaker whose work was a prominent part of the Northern Renaissance, and a significant influence of mine. His self-portrait was used as a model for the portrait of young Dracula featured in Coppola’s 1992 film Bram Stoker’s Dracula starring Gary Oldman.

This is Dürer’s self-portrait, painted in the year 1500.

This is Dürer’s self-portrait, painted in the year 1500.

Here is the portrait used in the movie Dracula.

Here is the portrait used in the movie Dracula.

Coincidentally, a massive Dürer etching exhibition came to the Frist Art Museum here in Nashville right before I was about to start inking the castle. I visited the exhibit twice and spent a lot of time studying his fine linework and incredible background details.

Here is a background from one of etchings I studied at the exhibit.

Here is a background from one of etchings I studied at the exhibit.

…and this is my attempt at the scene, drawn while standing right in front of an incredible original print! You’ll notice similar castles in the background of the Bran Castle illustration.

…and this is my attempt at the scene, drawn while standing right in front of an incredible original print! You’ll notice similar castles in the background of the Bran Castle illustration.

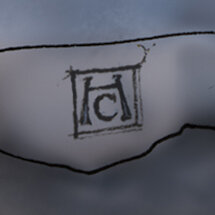
Dürer signed all of this work with this little emblem, so in honor of his weird connections to this drawing, I signed my initials in the same style.

here is Dürer’s signature, which he often incorporated into the drawing.

here is Dürer’s signature, which he often incorporated into the drawing.

Here’s mine (it’s in the bottom right corner…)

Here’s mine (it’s in the bottom right corner…)

Also, note the cane leaning against the door beneath the Dürer portrait. This cane belongs to Barnabas Collins, the lead character in the classic vampire TV show Dark Shadows which originally aired 1966-1971. It has since been remade, with Johnny Depp starring as Barnabas.

THE GLOBAL VAMPIRIC CONSORTIUM This is the bottom of the illustrated guide that comes with the puzzle. Needless to say I learned a lot about vampires of all shapes and sizes! You can see these at a higher resolution on my Instagram feed.

THE GRAVEYARD One of the more unsettling scenes in Dracula is when the gang discovered a vamped out Lucy in the graveyard holding a tiny victim. I used these graves to memorialize the various historical figures associated with Bran Castle, as well as some of the unfortunate souls who passed away in the novel.

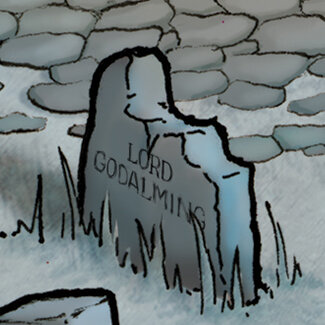
Arthur’s father, Lord Godalming, passes away around the middle of the book. Arthur then becomes the new Lord Godalming (and is confusingly referred to as both names throughout the rest of the novel.)

Arthur’s father, Lord Godalming, passes away around the middle of the book. Arthur then becomes the new Lord Godalming (and is confusingly referred to as both names throughout the rest of the novel.)

Lucy’s mother, Mrs. Westenra, tragically dies when a wolf jumps through their window in the night and attacks them. This was, of course, Dracula in one of his many animal disguises.

Lucy’s mother, Mrs. Westenra, tragically dies when a wolf jumps through their window in the night and attacks them. This was, of course, Dracula in one of his many animal disguises.

Mr. Hawkins was Jonathan Harker’s employer, who left the business and his fortune to Harker upon his death.

Mr. Hawkins was Jonathan Harker’s employer, who left the business and his fortune to Harker upon his death.

King Louis I of Anjou granted the city of Brasov permission to build Bran Castle.

King Louis I of Anjou granted the city of Brasov permission to build Bran Castle.

Bran Castle was given to Prince Mircea the Elder of Wallachia in return for his loyalty. He used it as a refuge in the event of an attack from the Turks. (That appears to have happened a lot.)

Bran Castle was given to Prince Mircea the Elder of Wallachia in return for his loyalty. He used it as a refuge in the event of an attack from the Turks. (That appears to have happened a lot.)

Bran Castle’s most notorious resident, Vlad The Impaler, is also pictured in a portrait on one of the castle walls. His grisly impalement torture can also be found in a couple of scenes…

Bran Castle’s most notorious resident, Vlad The Impaler, is also pictured in a portrait on one of the castle walls. His grisly impalement torture can also be found in a couple of scenes…

The citizens of Brasov gifted Bran Castle to Queen Marie of Romania in 1920. It became her favorite residence. (The engraving is the emblem of The Order of The Dragon, which is hidden in three other places throughout the castle.)

The citizens of Brasov gifted Bran Castle to Queen Marie of Romania in 1920. It became her favorite residence. (The engraving is the emblem of The Order of The Dragon, which is hidden in three other places throughout the castle.)

When Queen Marie died, she bequeathed Bran Castle to Princess Ileana. During the war, she converted the castle into a hospital to serve Brasov soldiers injured in American bombings. Princess Ileana personally nursed patients there until 1948.

When Queen Marie died, she bequeathed Bran Castle to Princess Ileana. During the war, she converted the castle into a hospital to serve Brasov soldiers injured in American bombings. Princess Ileana personally nursed patients there until 1948.

Mr. Swales is an old curmudgeon who befriends Mina and Lucy. He goes on a big long rant about how phrases like “Sacred To The memory” and “Here Lies The Body” on gravestones is bullshit because no one liked those people anyway, and their graves are probably empty because they’re lost at sea. Charming! He was mysteriously found dead shortly after.

Mr. Swales is an old curmudgeon who befriends Mina and Lucy. He goes on a big long rant about how phrases like “Sacred To The memory” and “Here Lies The Body” on gravestones is bullshit because no one liked those people anyway, and their graves are probably empty because they’re lost at sea. Charming! He was mysteriously found dead shortly after.

This stone cross is actually standing at the rear of Bran Castle. It is engraved with creepy runes and is said to mark the spot where Queen Marie’s heart was buried.

This stone cross is actually standing at the rear of Bran Castle. It is engraved with creepy runes and is said to mark the spot where Queen Marie’s heart was buried.

Creepy!

Creepy!

And, of course, The acclaimed author of the novel Dracula is at rest in the graveyard he imagined. I hope he would have liked my drawing.
And, of course, The acclaimed author of the novel Dracula is at rest in the graveyard he imagined. I hope he would have liked my drawing.

SEEK & FIND ANSWERS


Making the Fable Lounge Cutaway

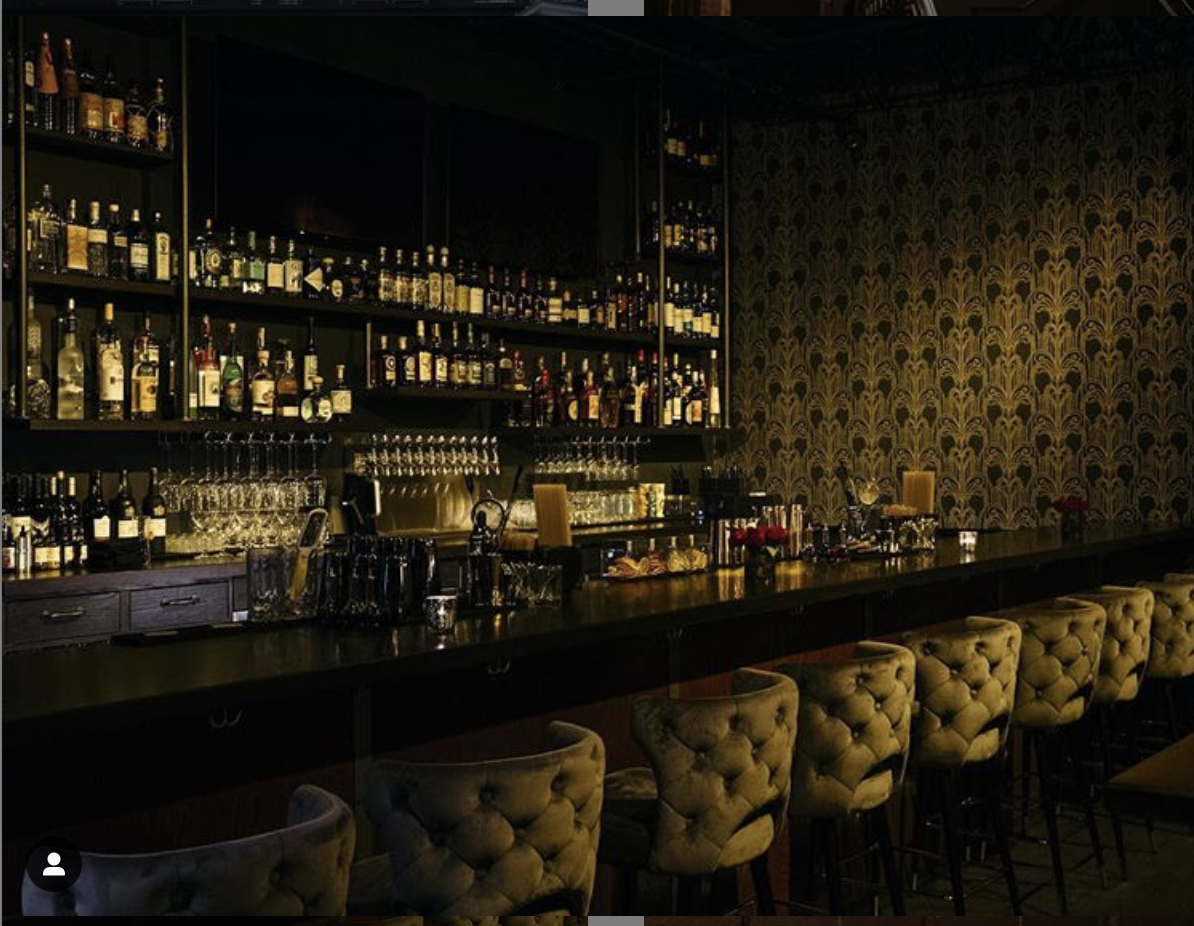
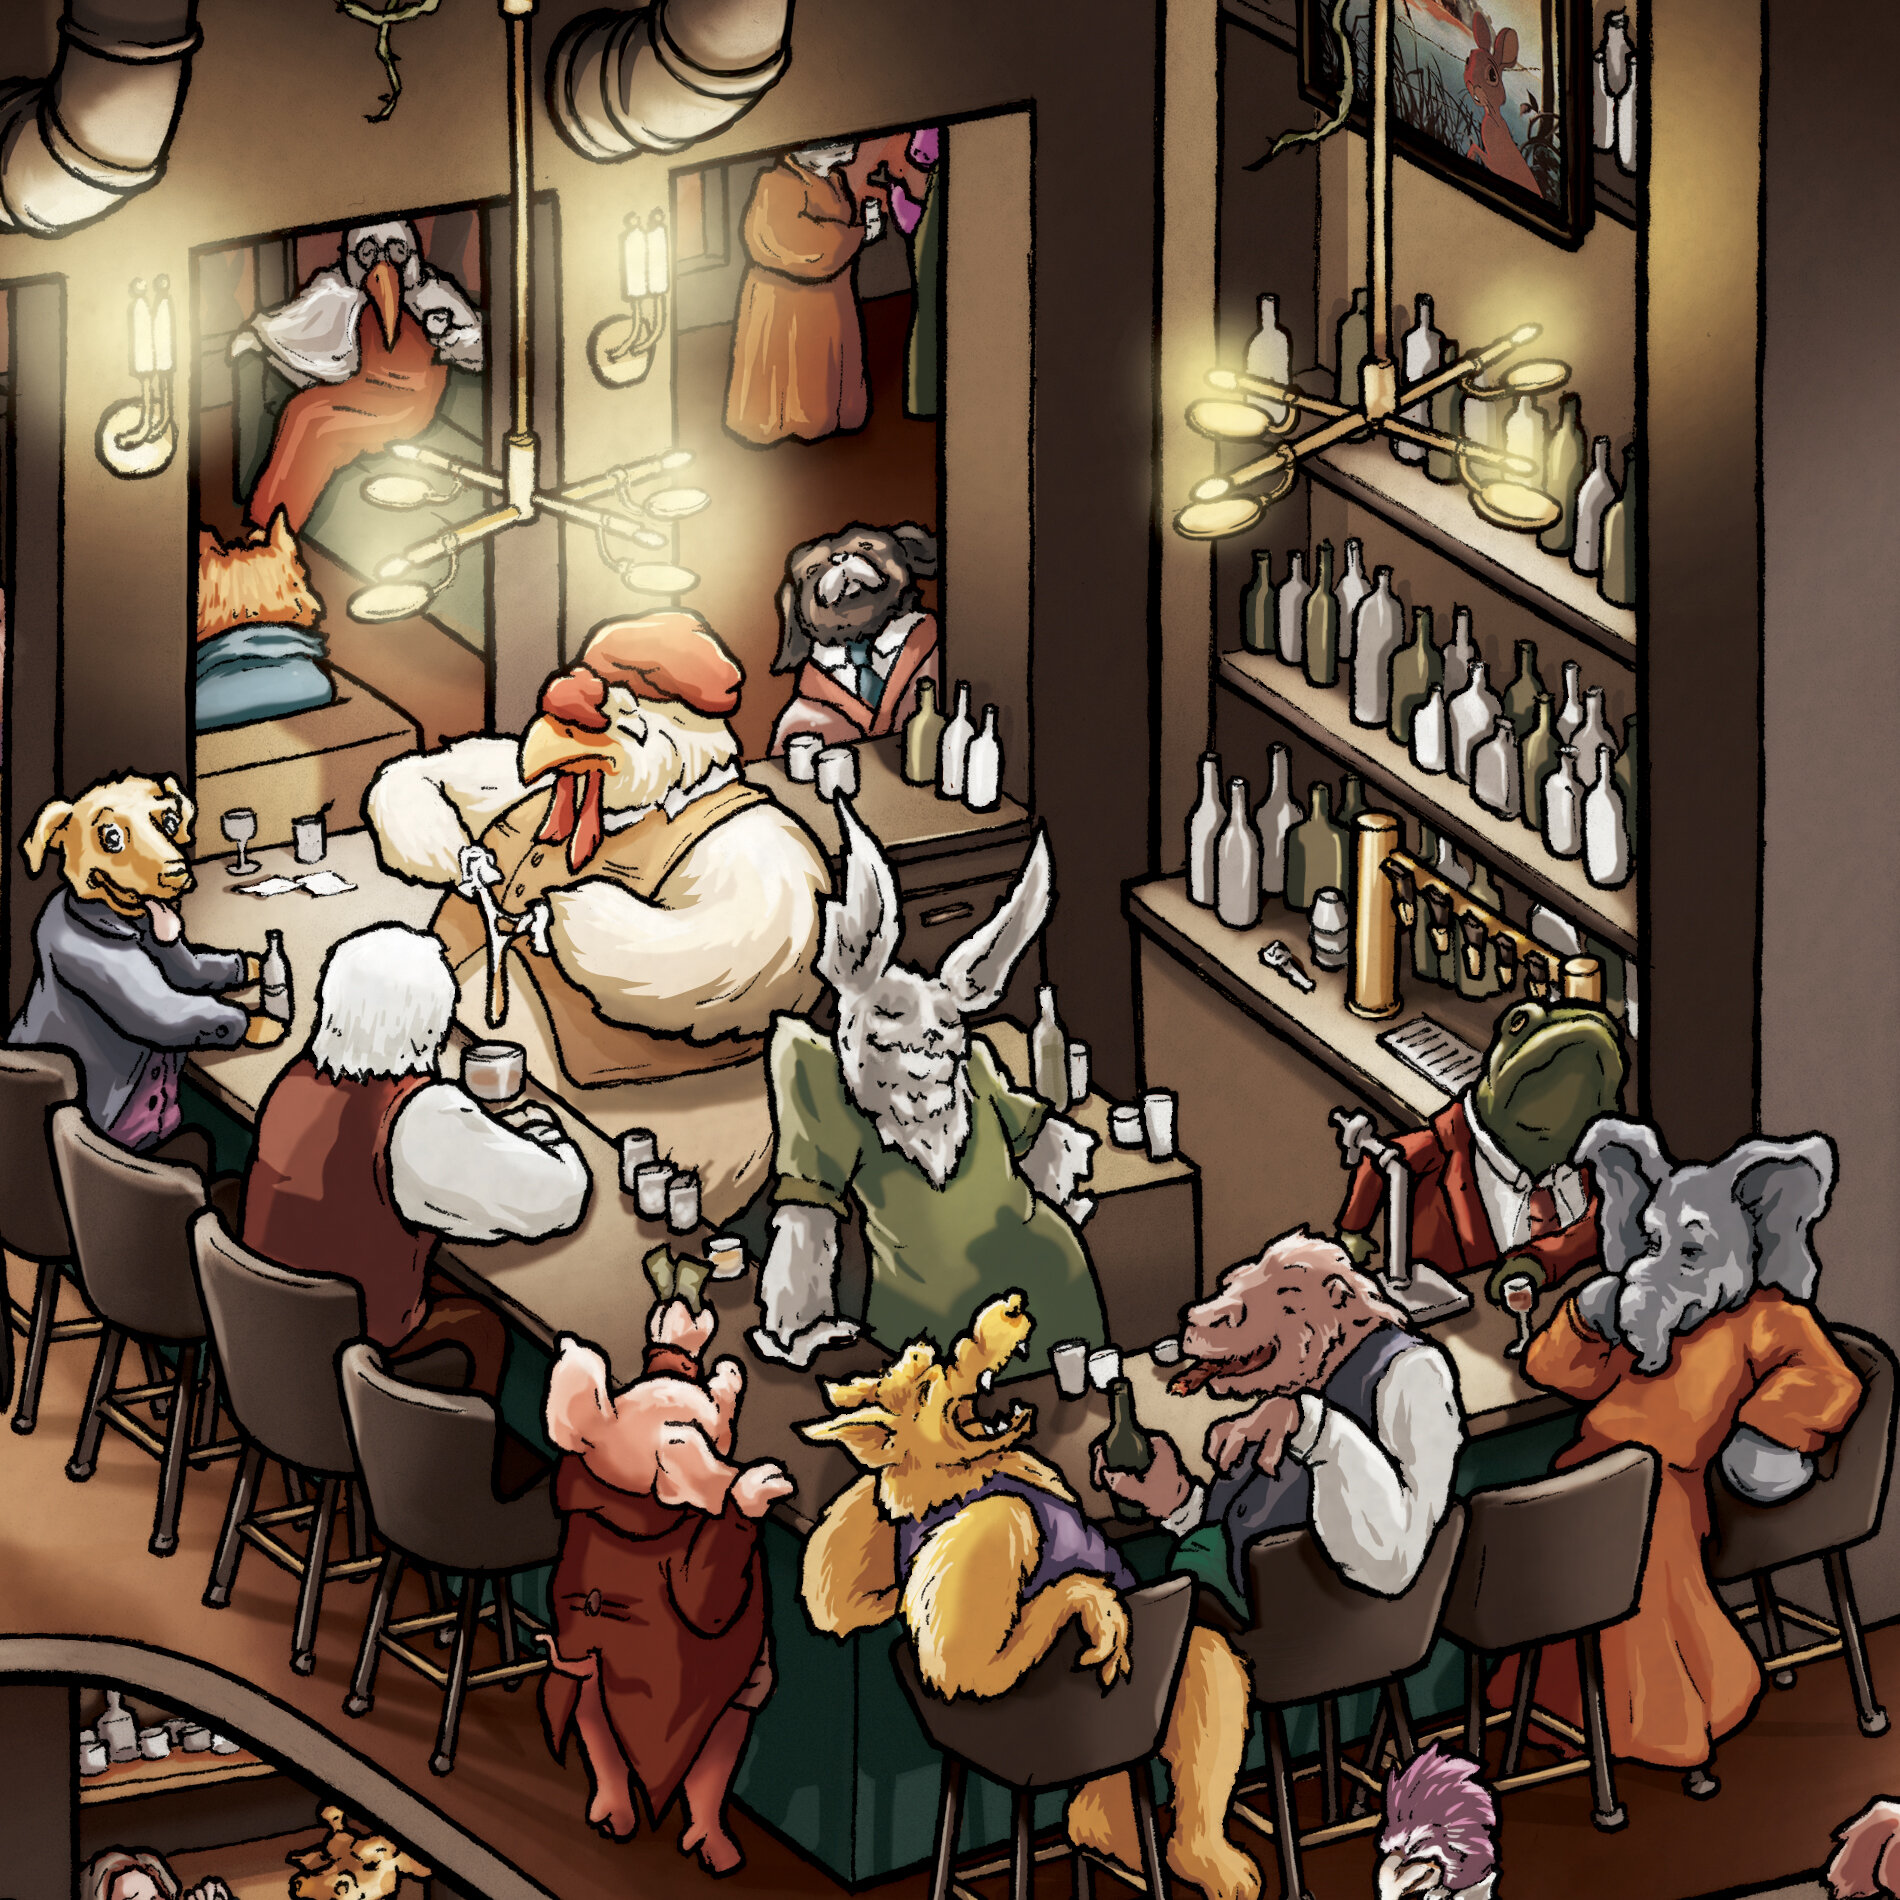
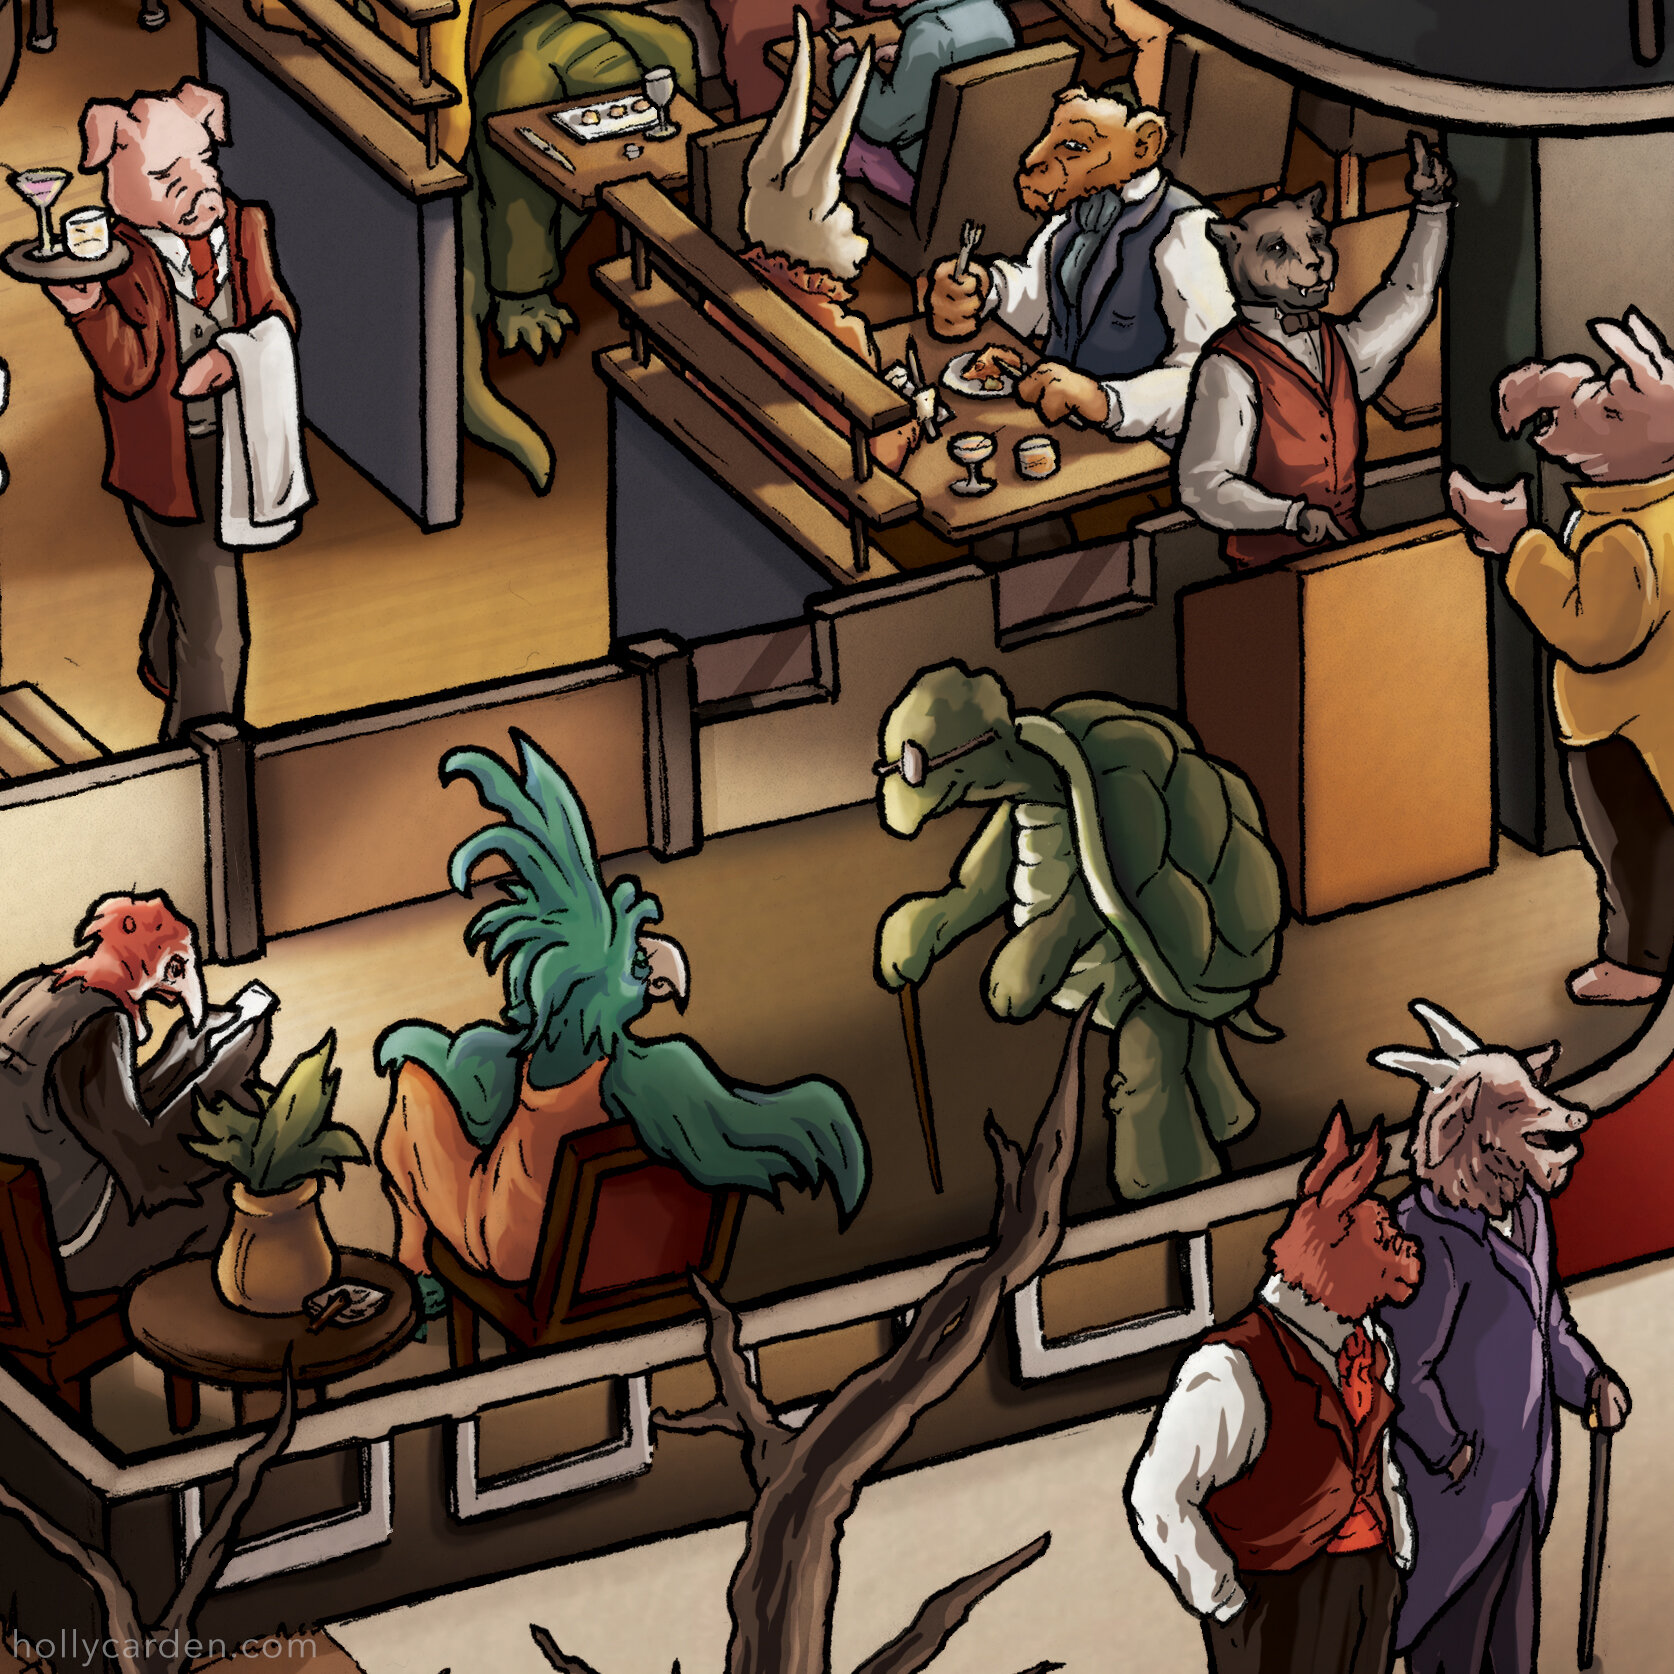
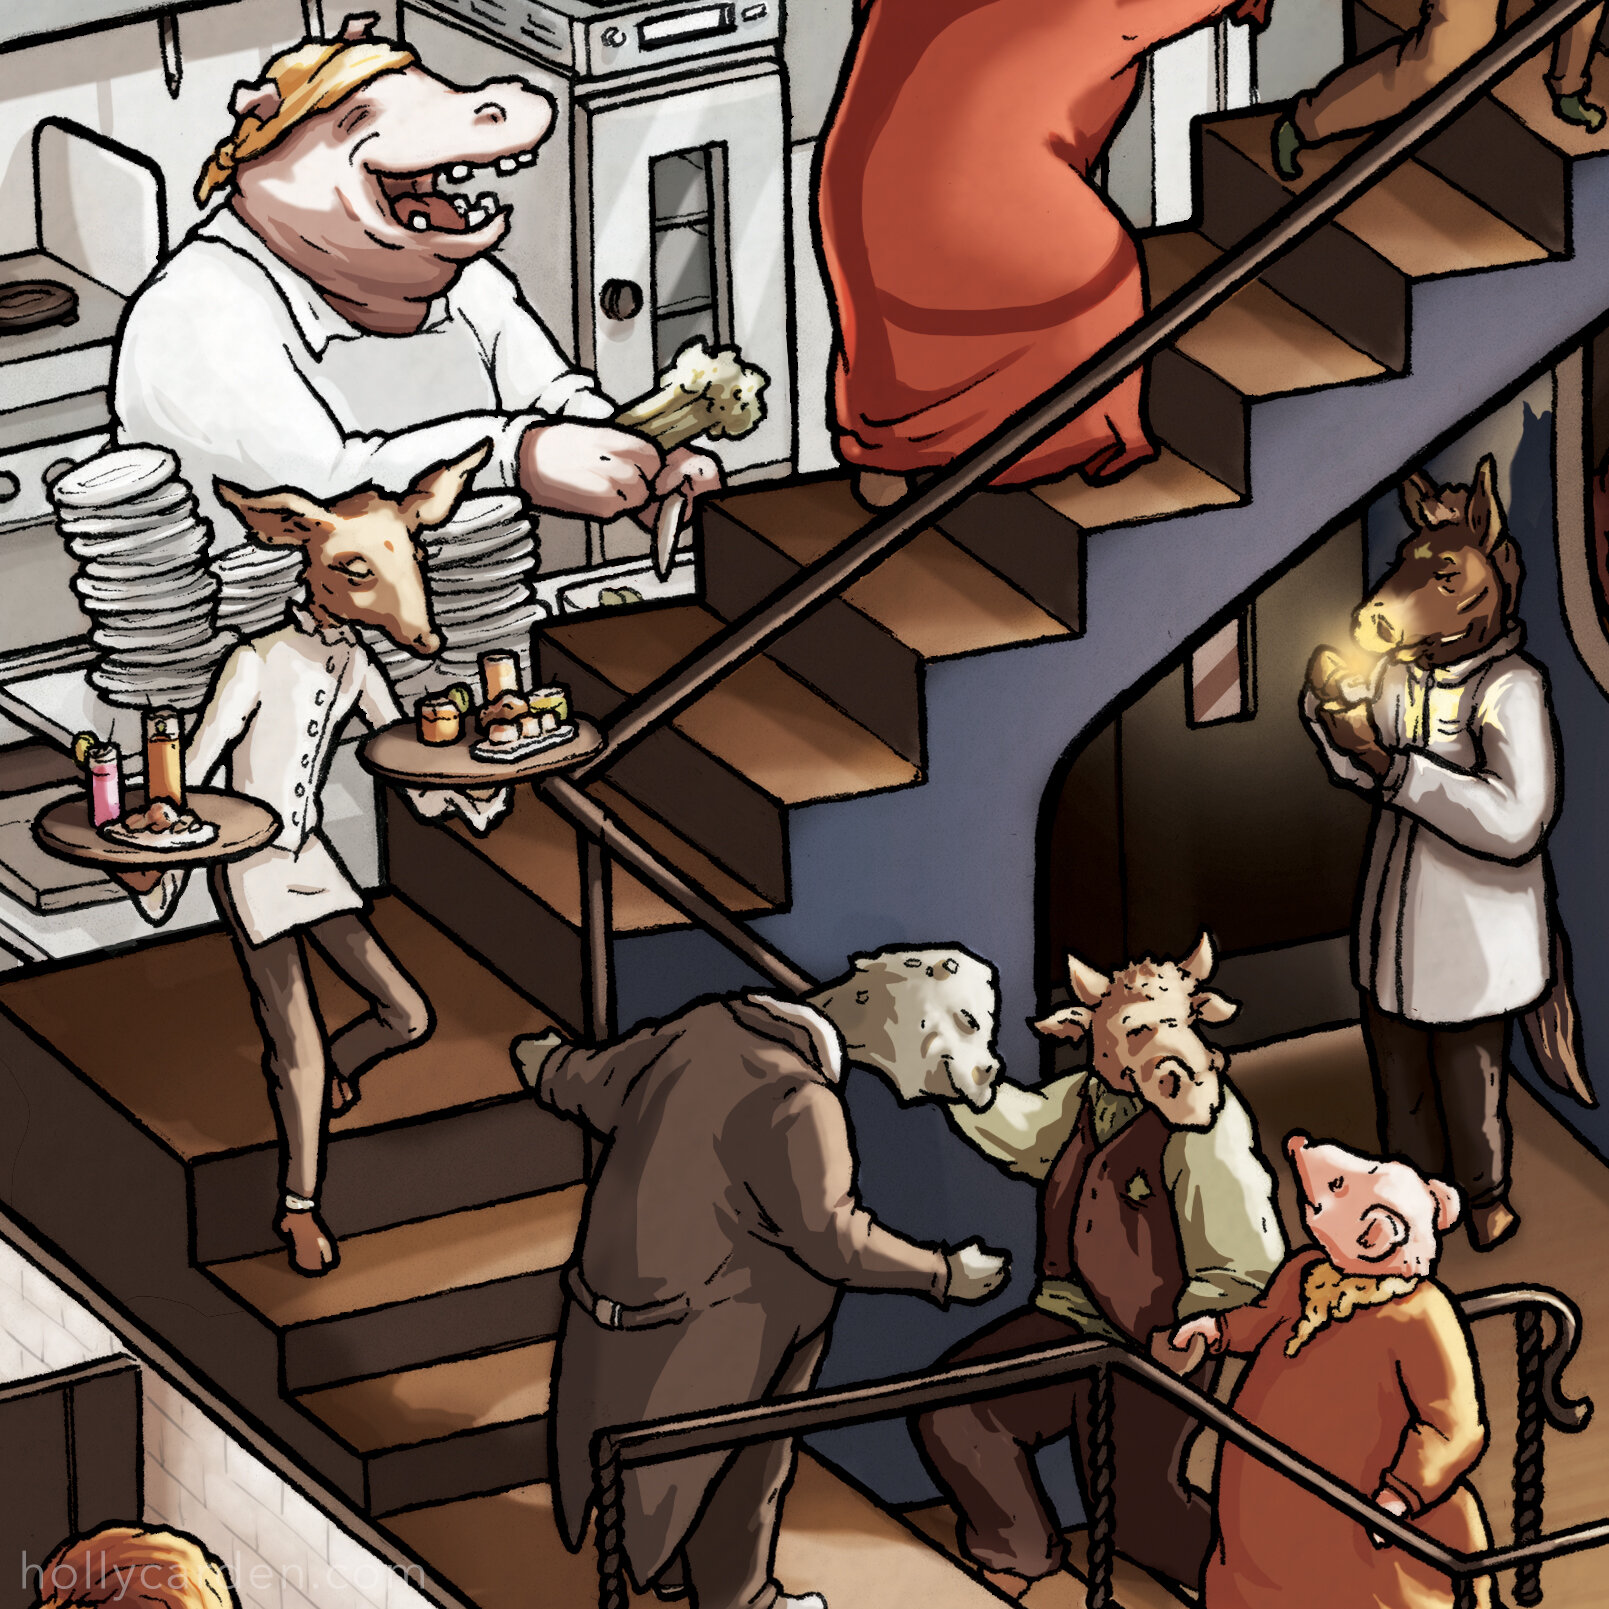
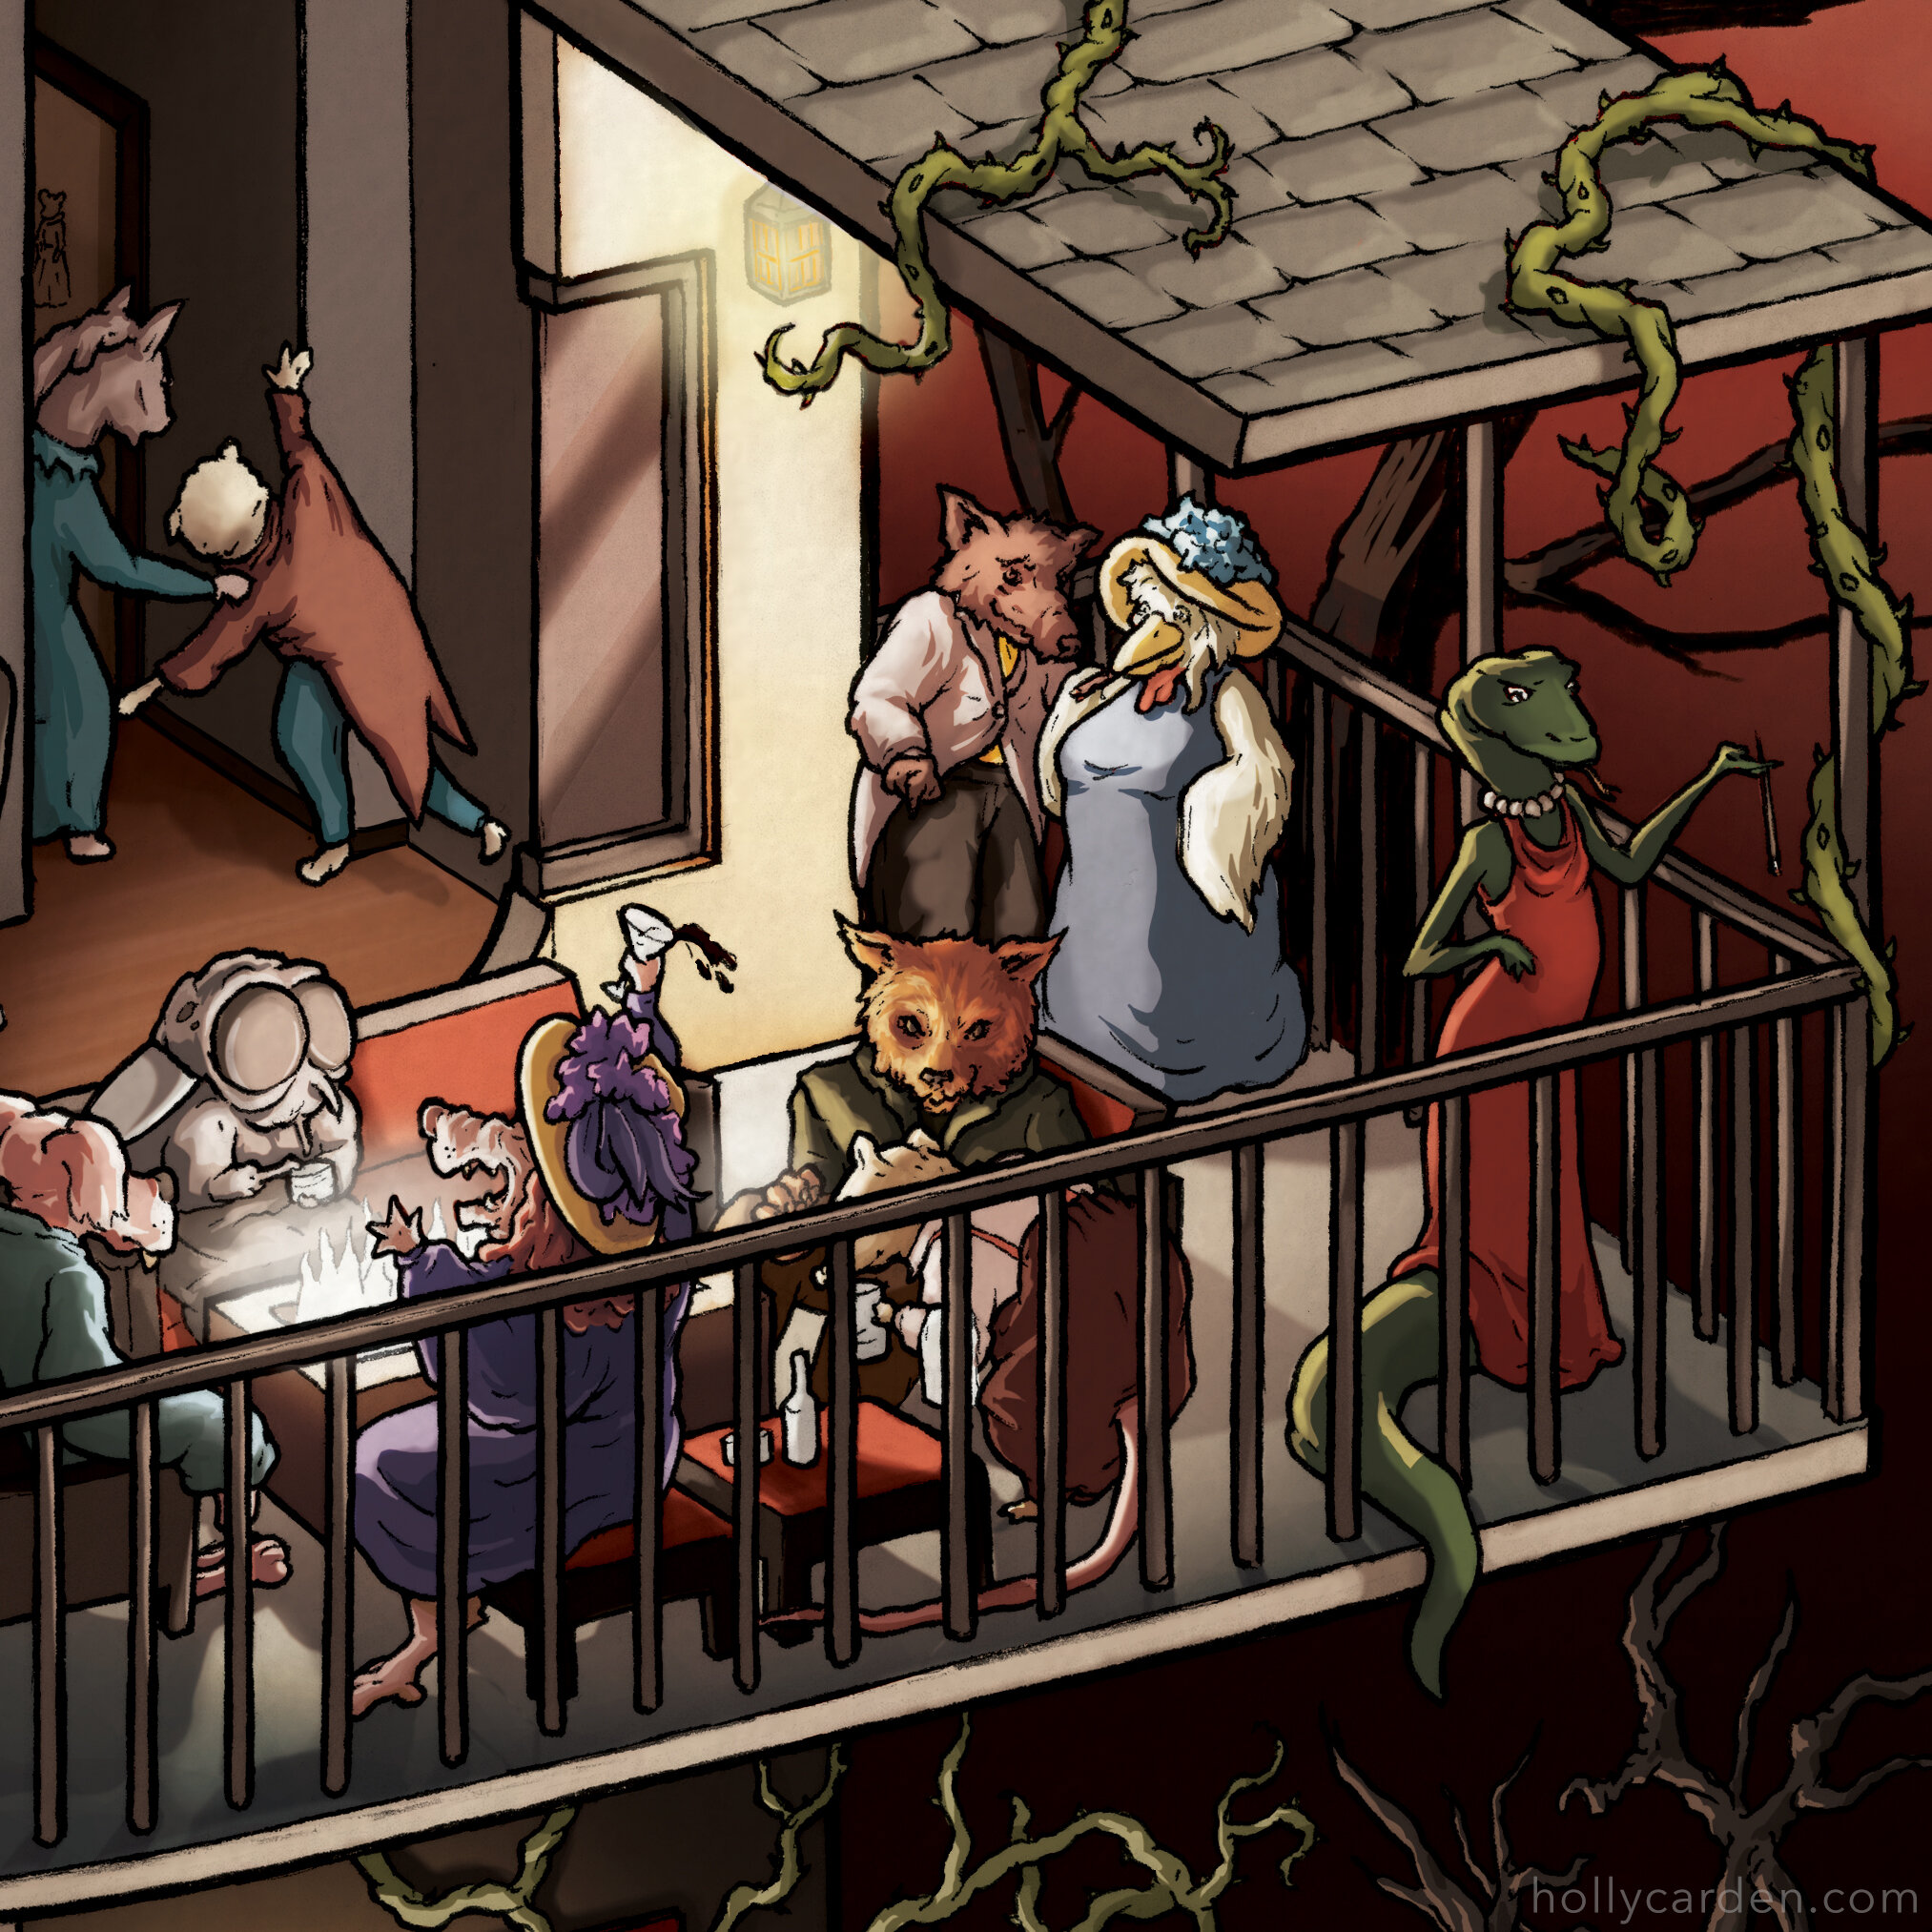
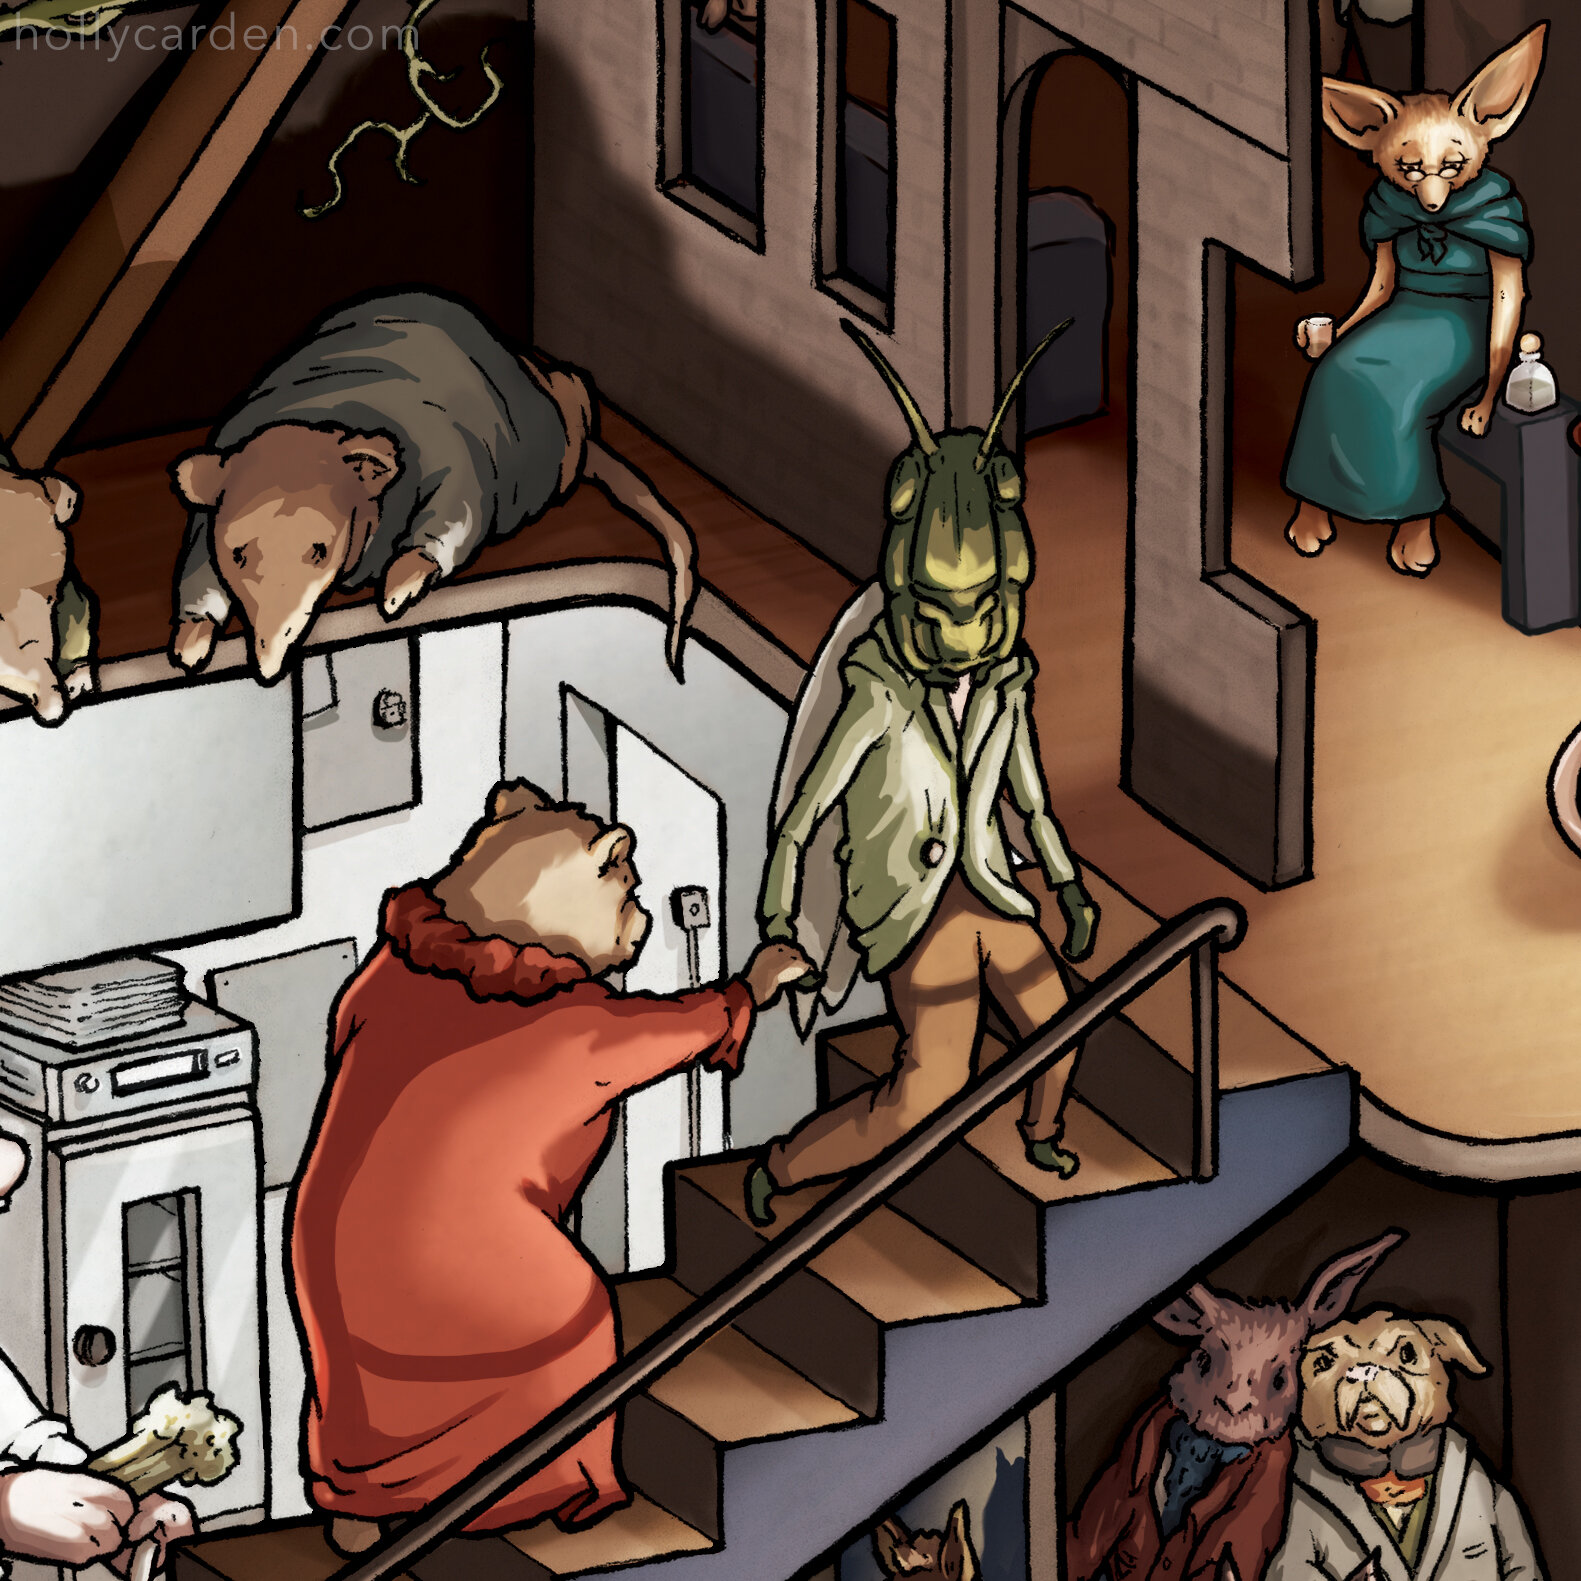
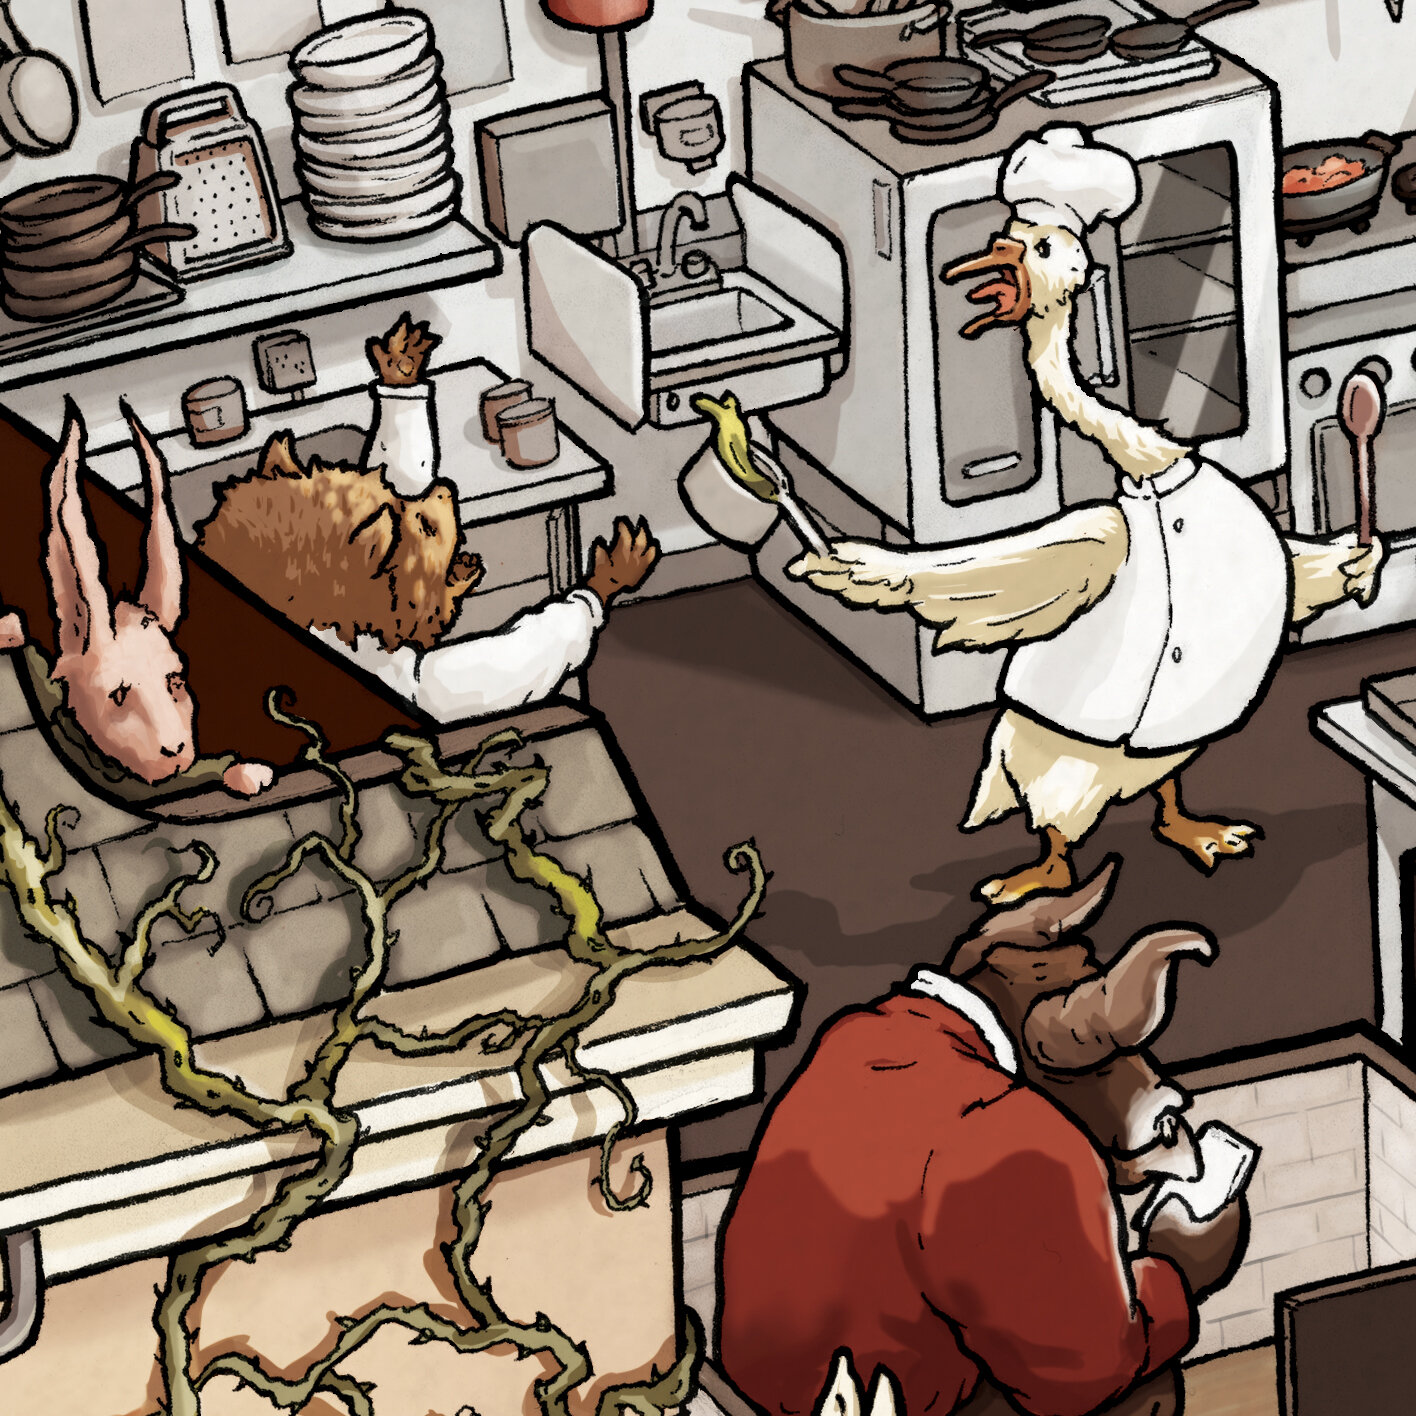
Last year the gorgeous Fable Lounge opened in Nashville, TN. After seeing my mural and design work for Nashville Urban Winery, Fable co-owners Ben and John reached out and commissioned a storybook-inspired map of the city to hang in their lobby (which was a fun excuse to draw in pencil for the first time in years!) The beautiful layout and interior design of the lounge made for a perfect cutaway subject, so we decided to make this playful illustration showcasing the theme and aesthetic. The scene is packed with vignettes of fable characters involved in their own little dramas while enjoying the luxurious environment of Fable Lounge. Scroll down to see the making-of process, rough sketches, and details from the illustration.

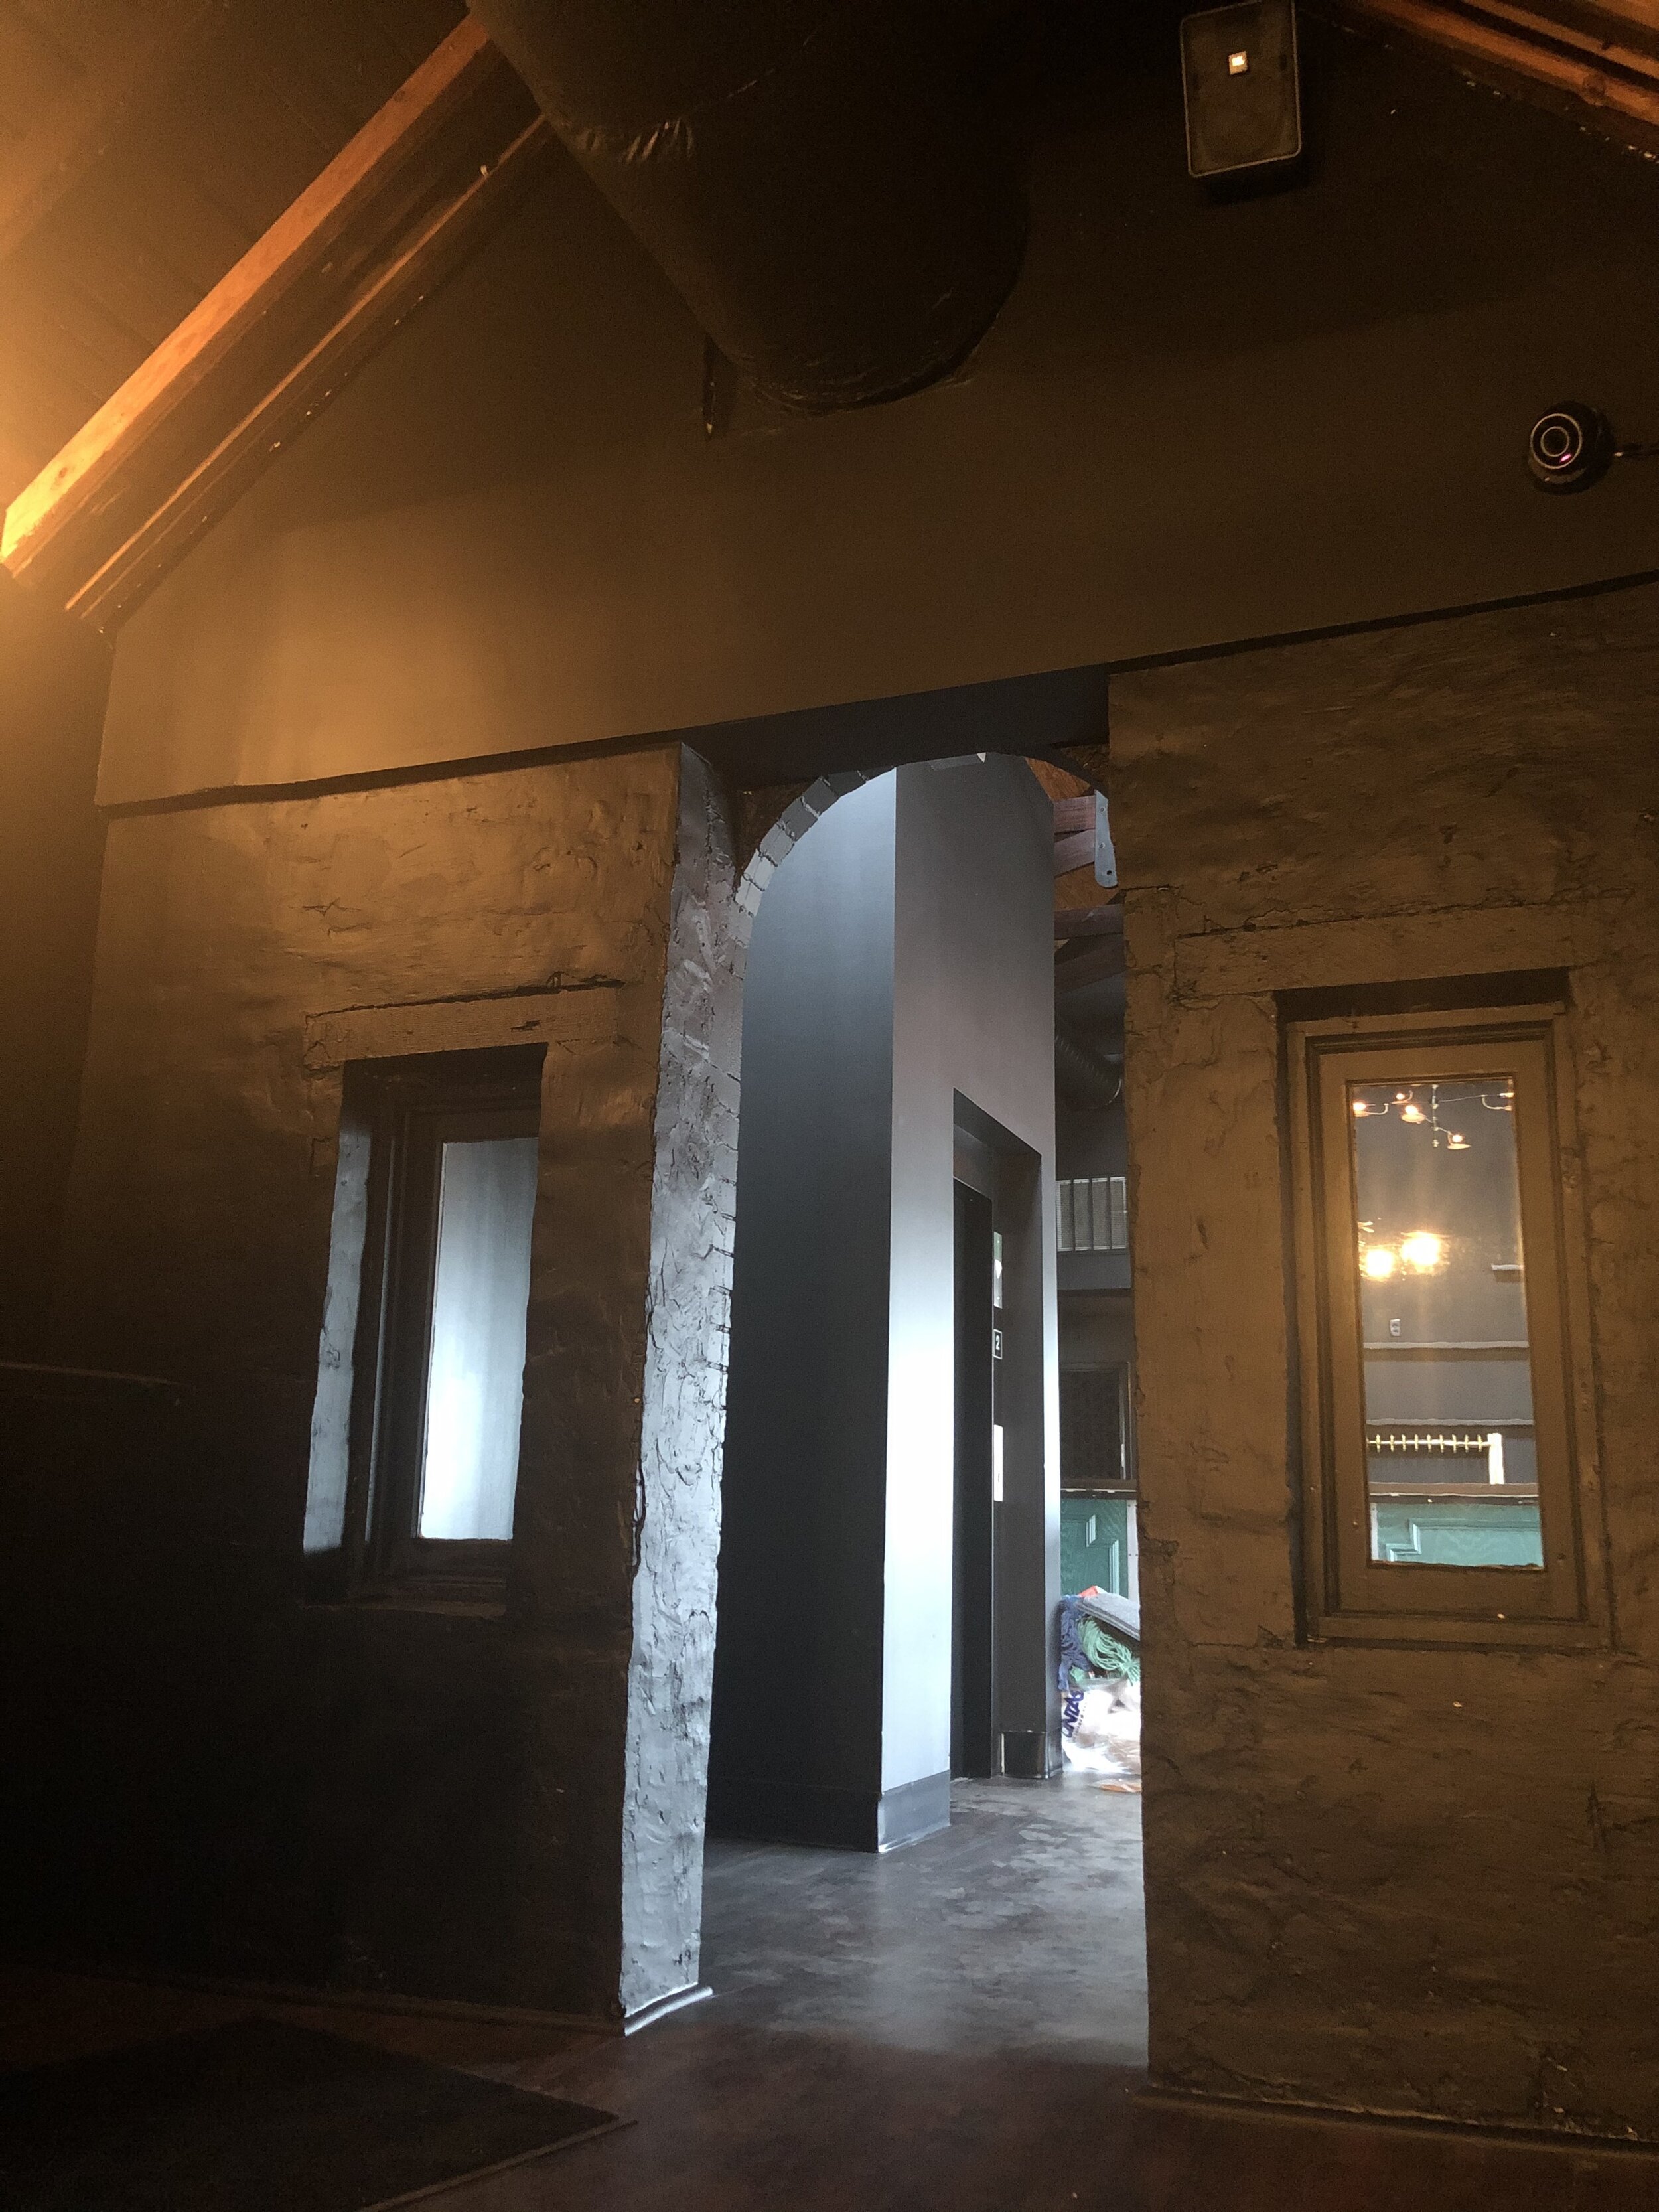
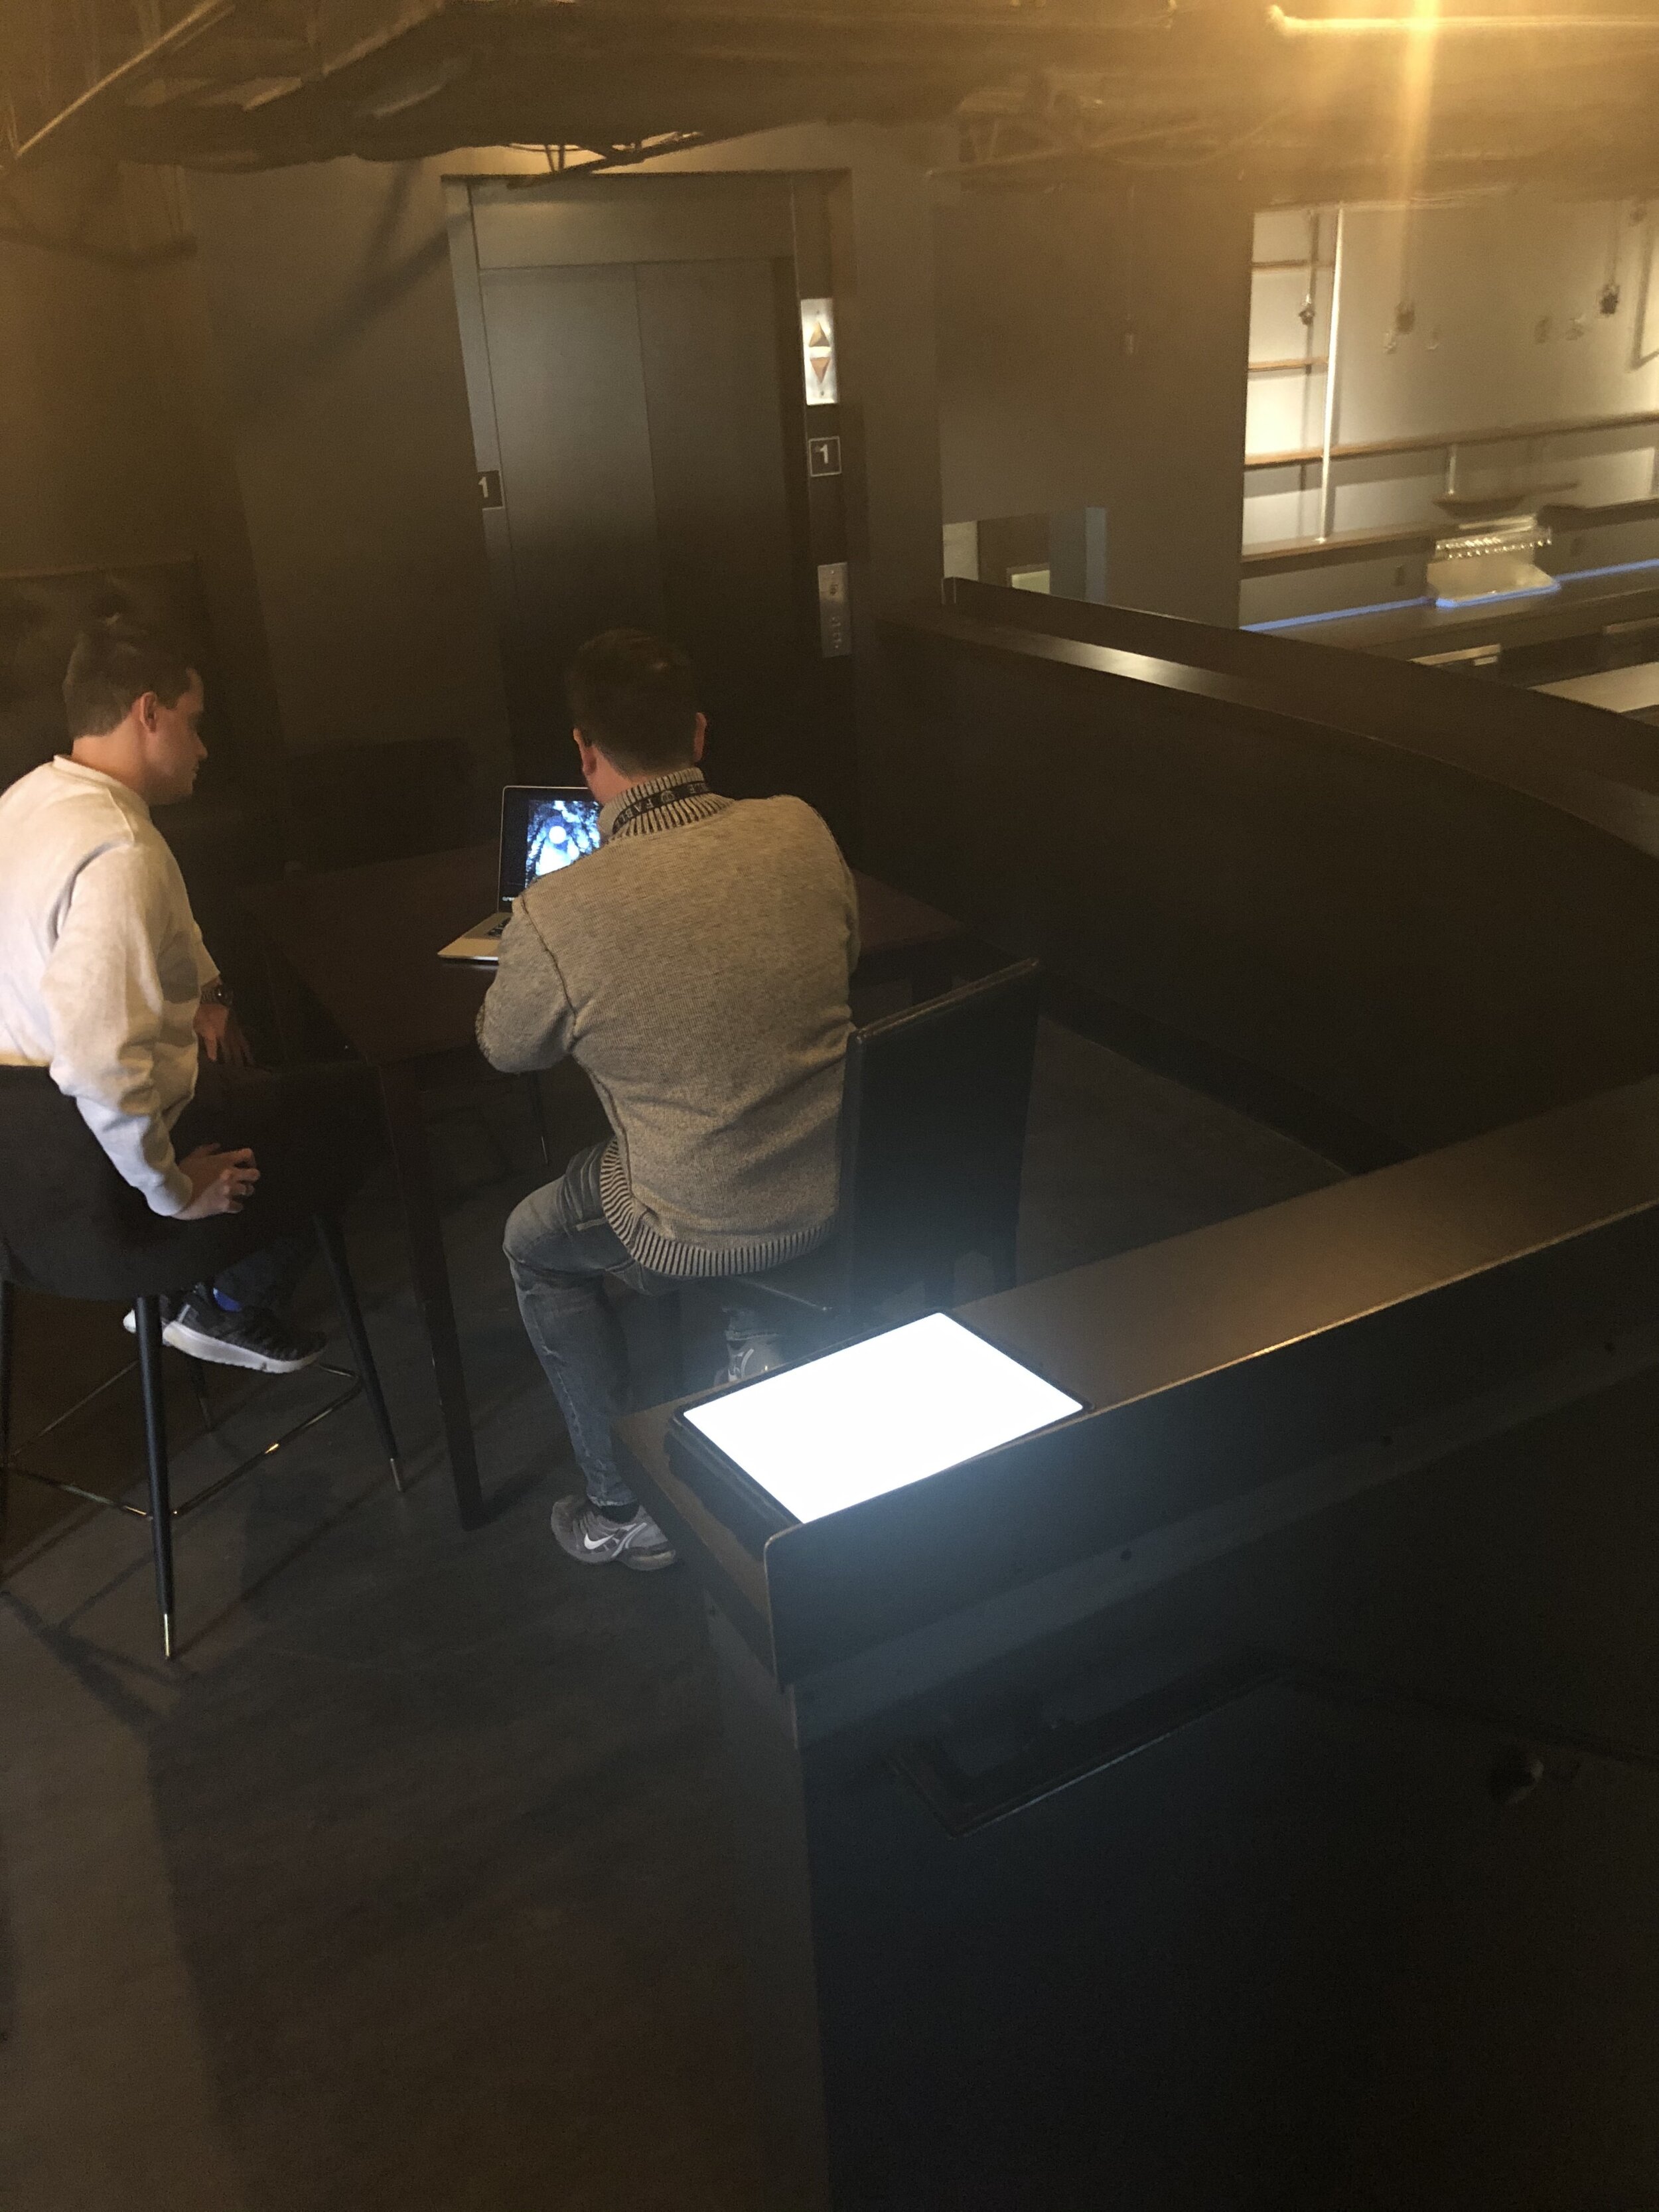
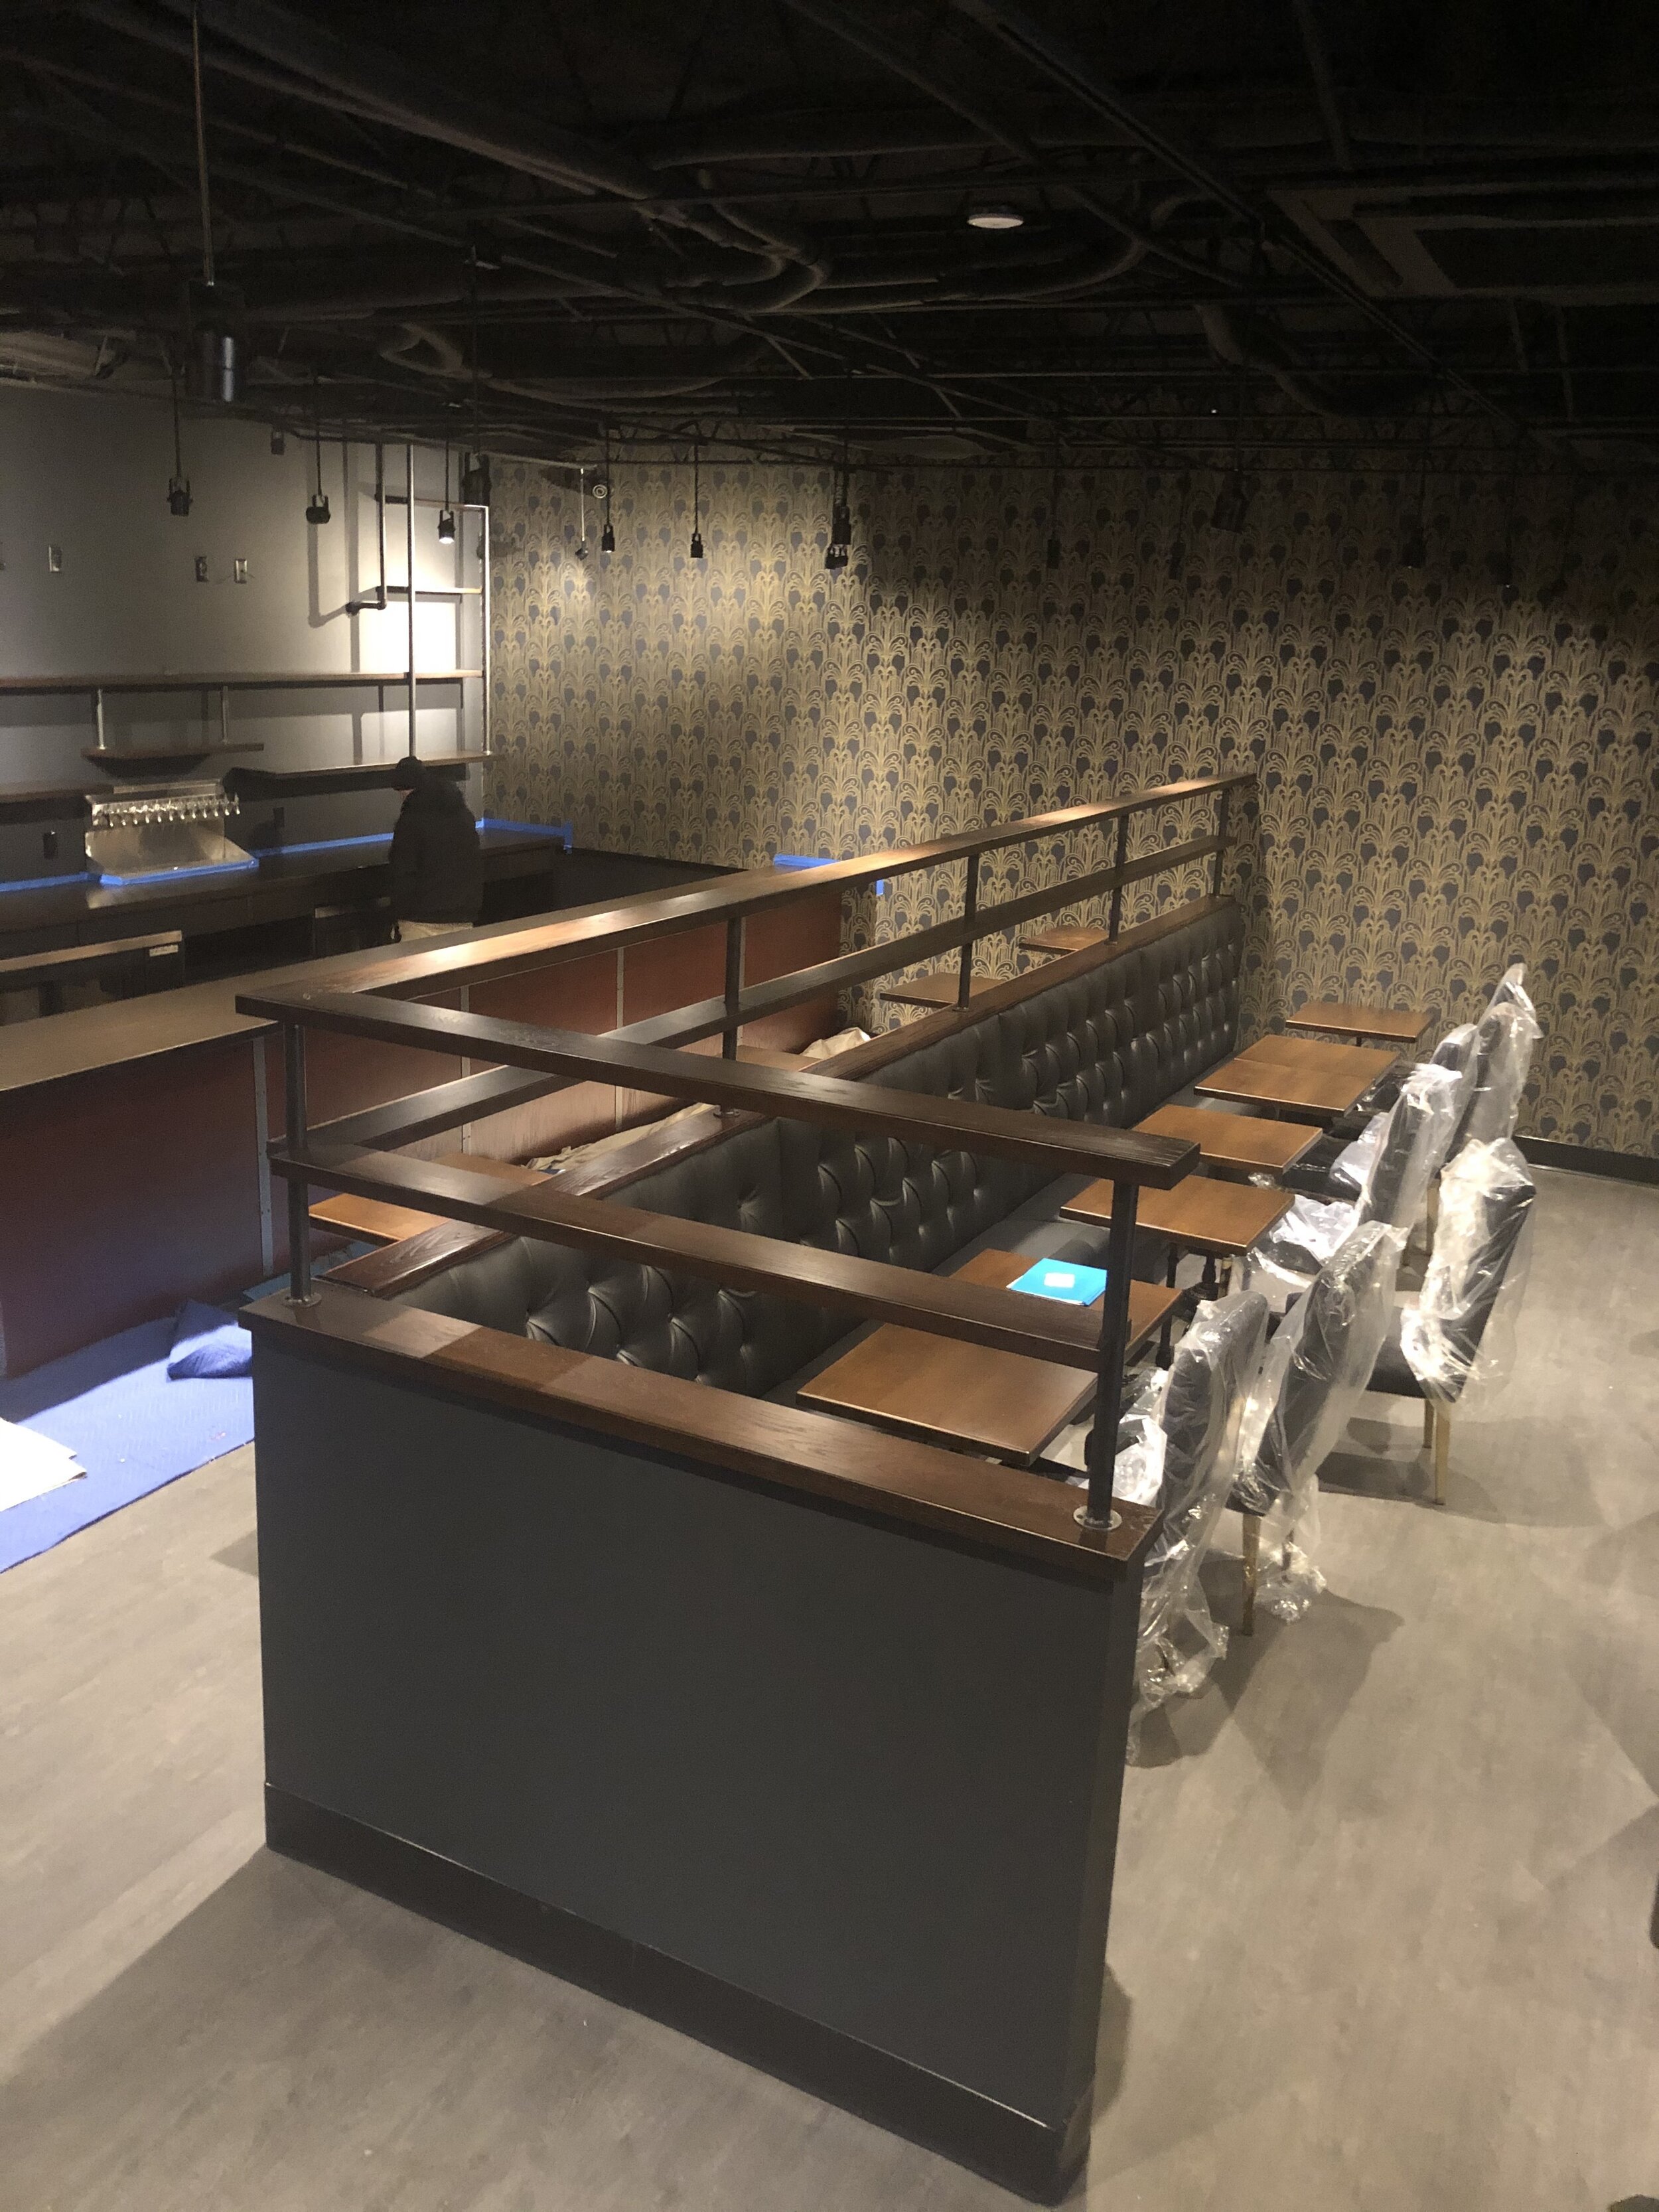
The first step was to translate the structure into a 3d sketch. I took a detailed tour of the building (including the very cool creepy attic space!) and took a ton of reference pictures. Ben & John also provided a wonderful style guide and all their original concept art for the bar.

The lounge has so many beautiful details so deciding where to cut away was difficult. However, the overall composition of the image takes precedence here, and this angle offered the most interesting and comprehensive view of the lounge.

fablerough-small.jpg

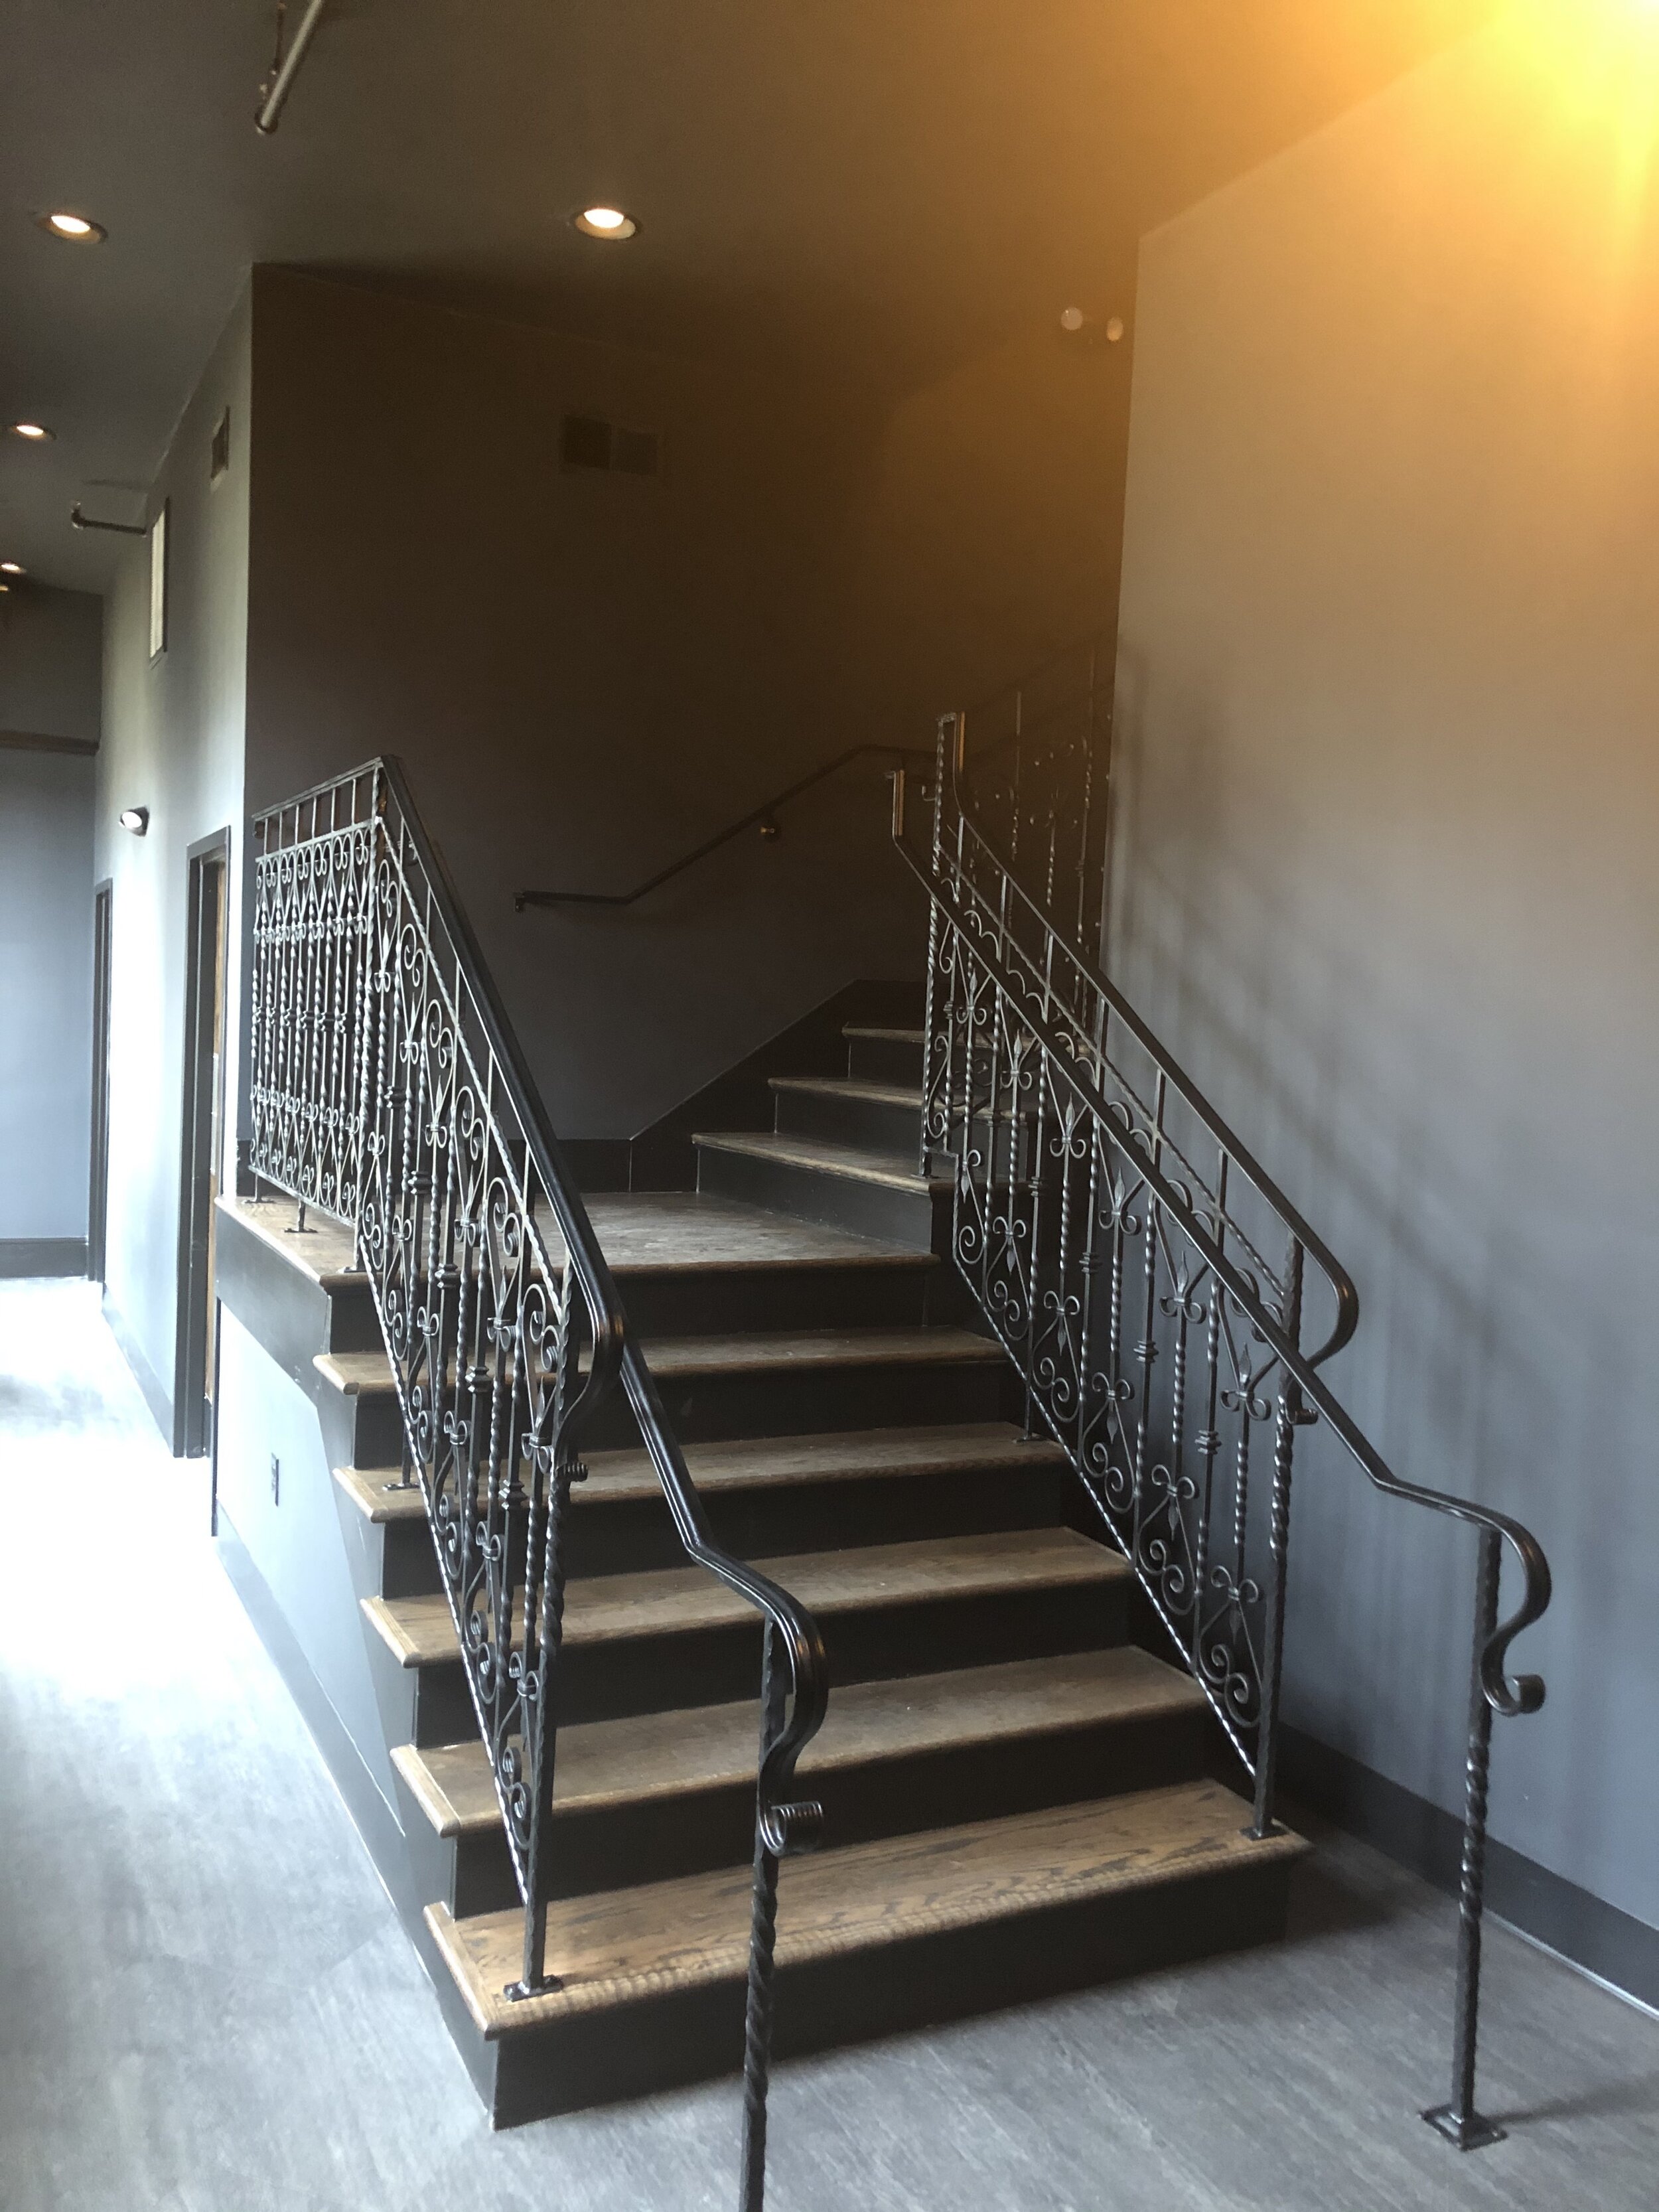
The stairs and elevator served as a nice axis for the image, and all main areas of the building are visible. I later discovered this angle also offered a way to incorporate the logo into the drawing by including the sign outside. As the sketches evolved, the cutaway structure didn’t deviate too much from the original draft.

Screen Shot 2020-09-20 at 5.50.45 PM.png
cutaway-rough-small.jpg

There was, however, one huge deviation. Initially the drawing was to be a portrait of the building with no plan for characters. When the tight sketch was complete, the idea of adding characters was presented, one thing led to another and, well… the Wimmelbild was unleashed!

cutaway-tightsketch-little.jpg
fable-ex-small.jpg

I played with the style a bit before starting the final draft. I originally planned to do a rougher pen and ink style, but as the level of detail increased, a cleaner linework was necessary to help differentiate layers of depth and avoid a muddy mess.

My characters are inspired by classic fable and fairytale illustrations. I actually hid a couple of characters from the references in the picture.

Wilhelm Anton Wellner (1859-1939), ‘Die Vivisection des Menschen’ (The Vivisection of Man), “Lustige Blätter”, #1, 1899

Wilhelm Anton Wellner (1859-1939), ‘Die Vivisection des Menschen’ (The Vivisection of Man), “Lustige Blätter”, #1, 1899

7035DF26-6024-4011-BB23-F545D4EBC30A.JPG

The next step is to print the rough draft at a low opacity and ink the drawing by hand. If you’ve read my other making-of blogs you know this is my favorite part. I use .005 and .01 Micron pens on Bristol, and I correct mistakes with Dr. PH Martins white and a teeny tiny brush. I wear cotton gloves while I work to avoid smudging and to keep any oil off the paper.

One way this cutaway is different from the Holmes and Poe cutaways is the scale; the figures in this illustration are much larger. This made drawing the characters more fun as it allowed me to draw more life into them through their expressions.

If you’d like to see some video of the inking process, check out the 🖋️ highlight reel on my instagram!

A64CC732-2C79-4B2C-940B-25F990FC1A45.JPG
FC47FBB6-CBCF-4C8F-9B7F-9CDFEC88DFB6.JPG
lines-tiny.jpg
Screen Shot 2020-09-20 at 7.43.49 PM.png

Once the linework was done, I scanned it and cleaned up the lines a bit. Now we are ready for color. I sourced a palette from pictures from the Fable Lounge’s instagram, attempting to match the colors as accurately as possible. (Note: at this point I still have not the slightest idea what to do with the background…)

Next I began the arduous process of filling in all the flat color. It’s pretty fun, although can get tedious at times. I am always pretty careful to keep my layers organized and labeled. This illustration ended up with 244 layers in 8 groups (I’m perhaps overly cautious when it comes to merging…)

FABLE-col-wip1-small.jpg
FABLE-flatcol-small.jpg

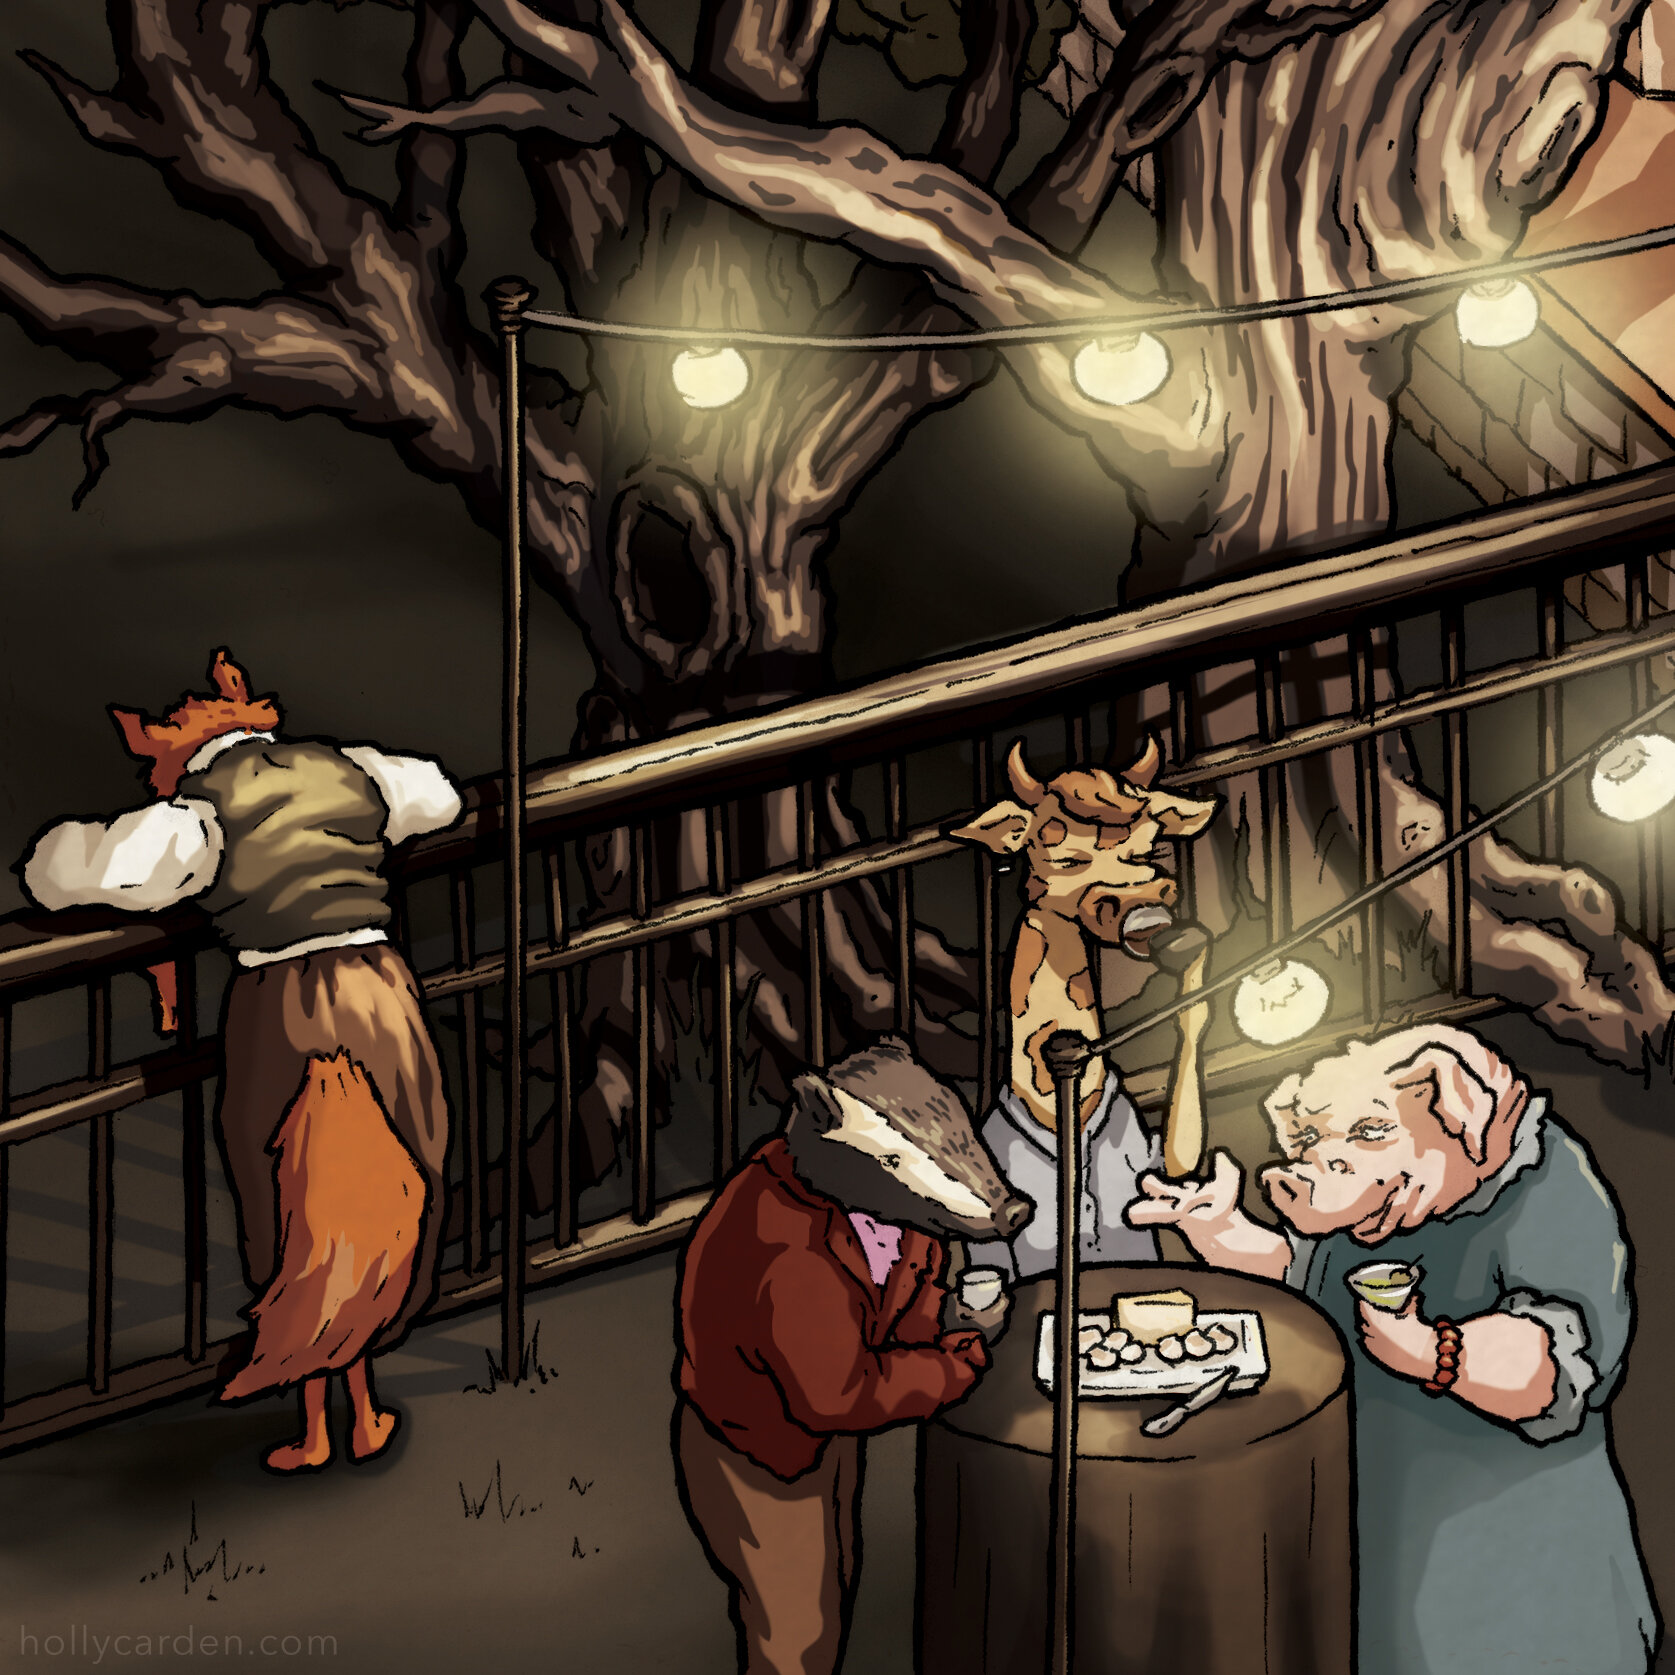
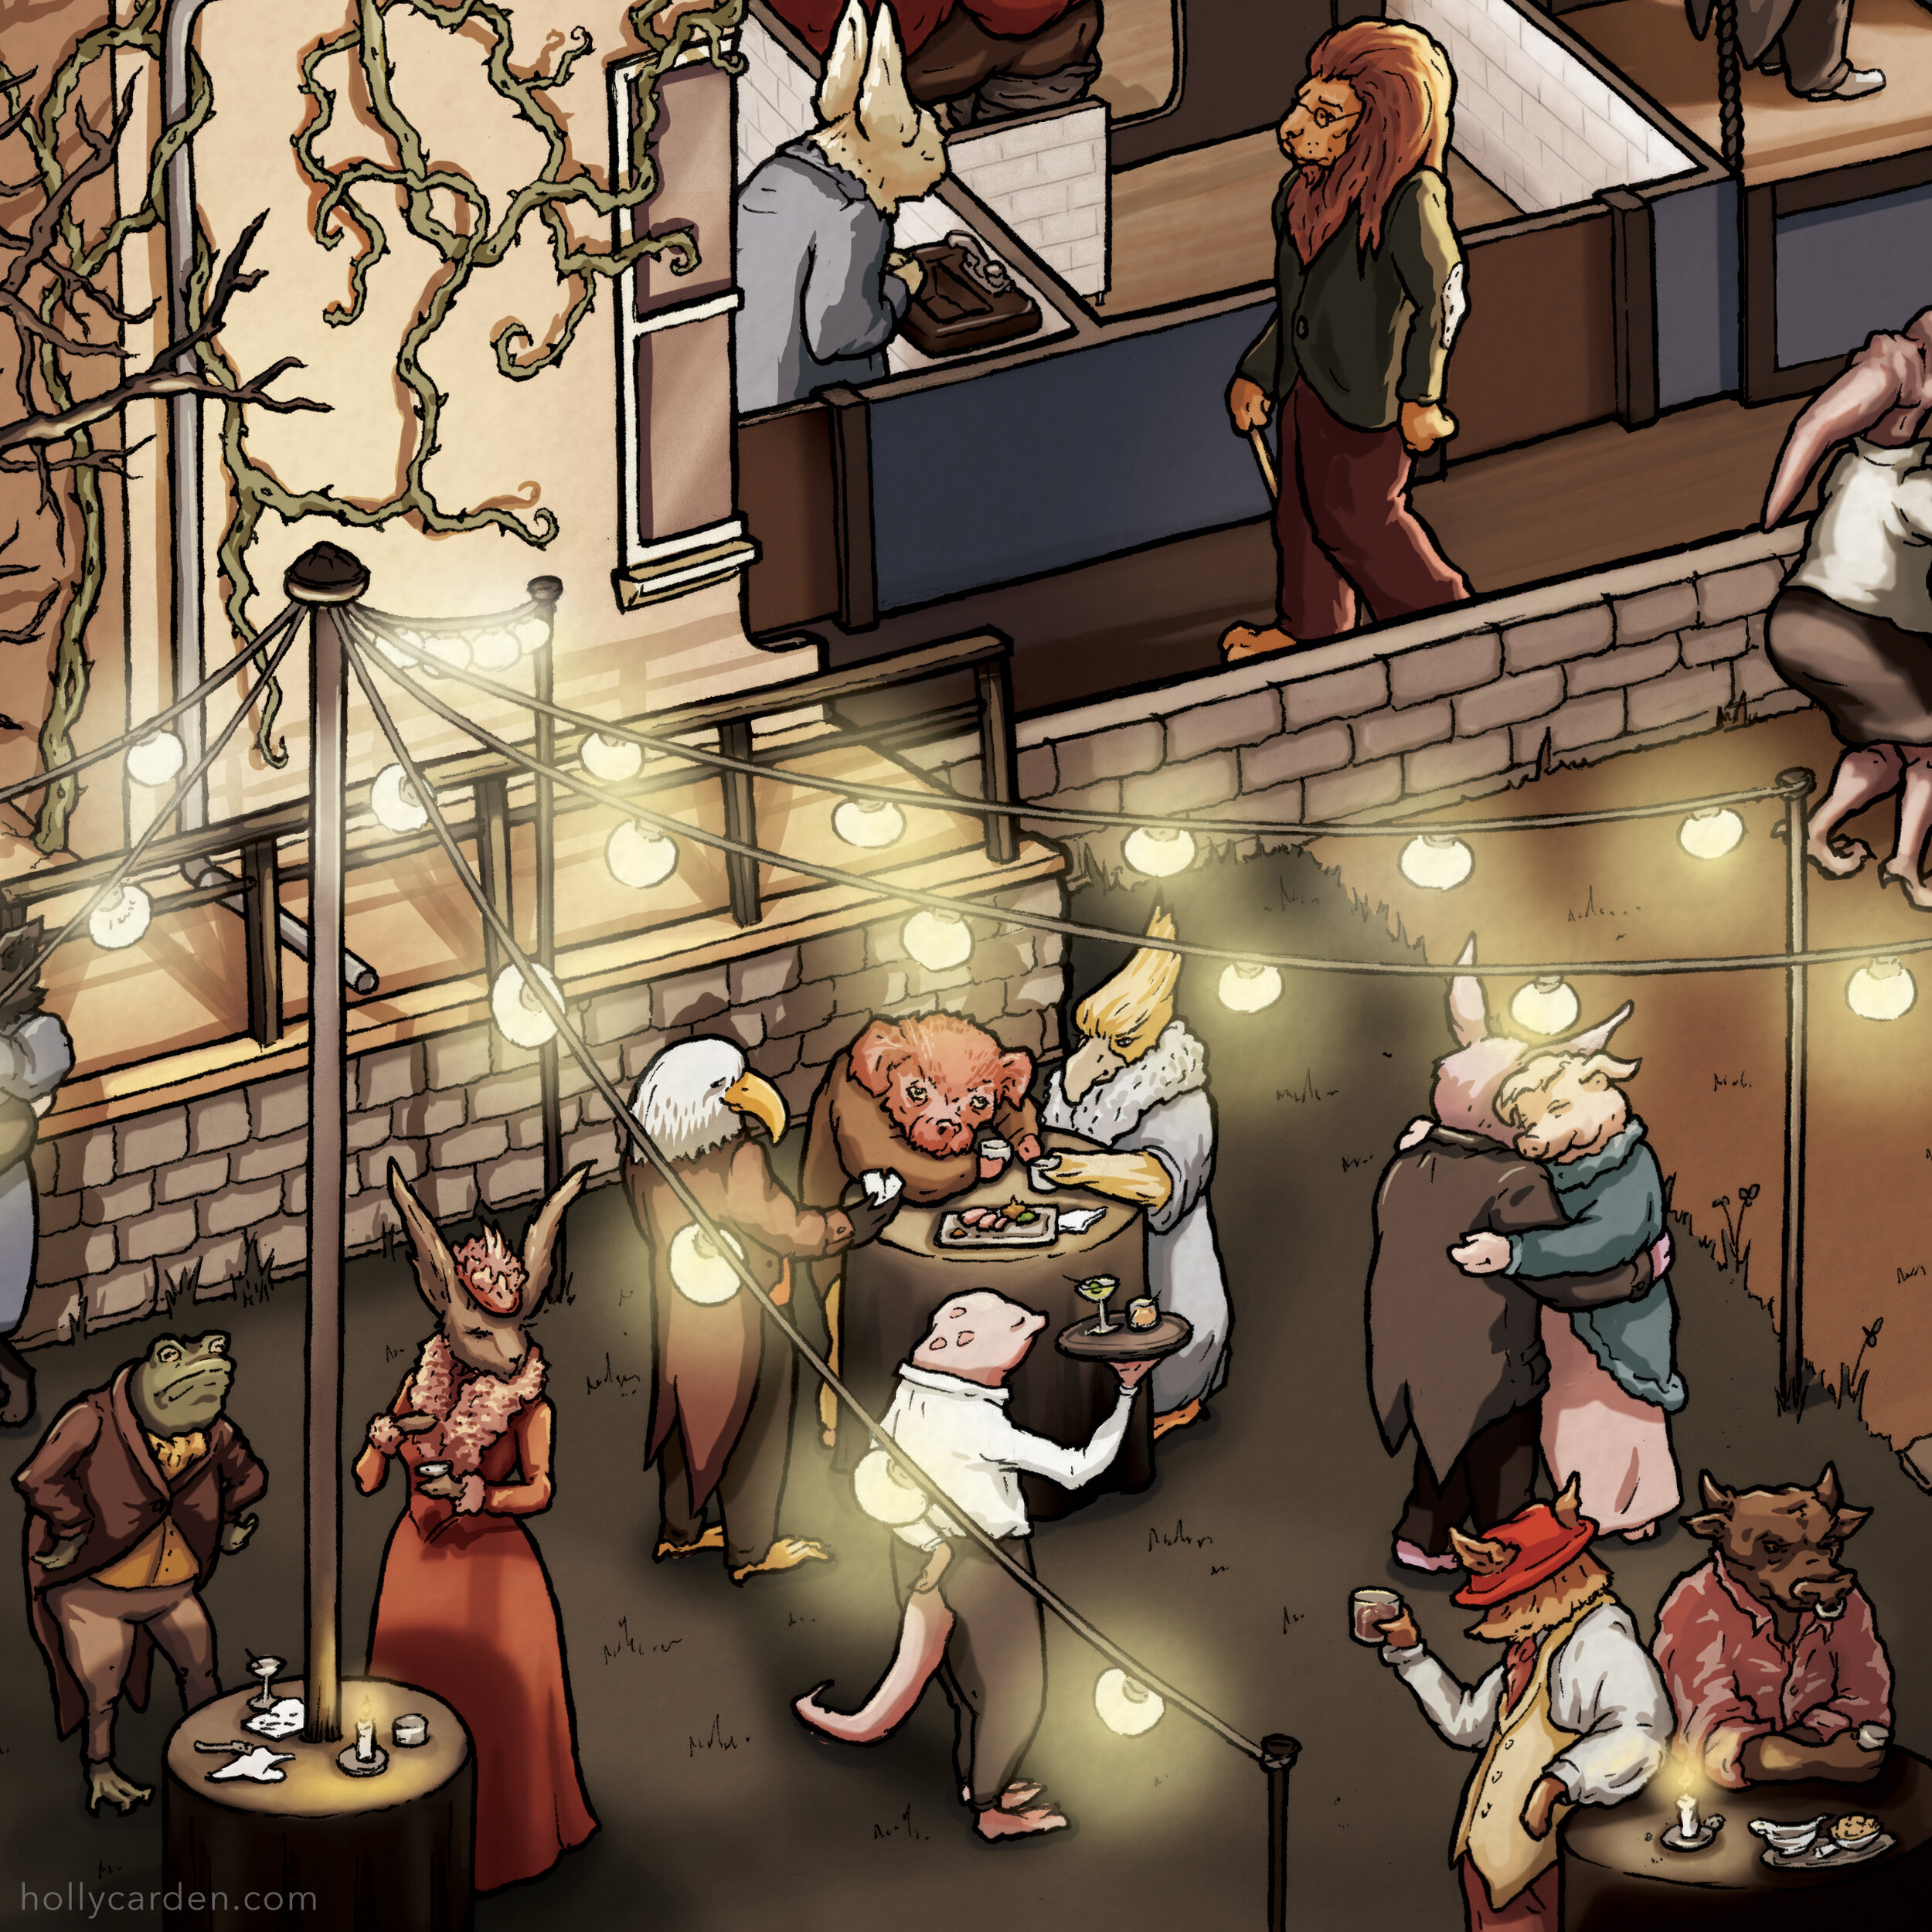
Due to the larger scale, lighting Fable was more complicated than Holmes and Poe. I confess I haven’t done anywhere near enough light study as I should have, especially to be tackling lighting projects like this, so there’s an awful lot of eyeballing and guessing going on here. I began lighting the image in the garden party because it seemed like the easiest place to figure out how to go about doing it. It’s a mix of hard cell shading and soft adjustment layers; not entirely consistent throughout the picture but it ended up looking pretty cool all the same. The Fable Lounge’s lighting is super dramatic so I didn’t hold back when it came to brightness overlays.

Screen Shot 2020-06-18 at 1.36.57 PM.png

I decided on a simple, classic, spooky tree sky. Below is the flat color, a layer of cell shading, the basic wall and floor shading, and an overlay of the main lights.

lightwip1.jpg

Here is the final again, with layers of more detailed bright lights and shadowed areas. I also gave it a warmish hue to suit the coziness of Fable Lounge. It was a really enjoyable project, and Ben & John couldn’t have been more awesome clients. Fable really is a wonderful place. They care so much about providing quality food and a unique experience. Check out the details below and if you’re passing through Nashville, pay them a visit!

FABLE-final-lores-watermark.jpg

Thanks for reading! Please comment below with any questions. Prints and coloring posters available in the store!

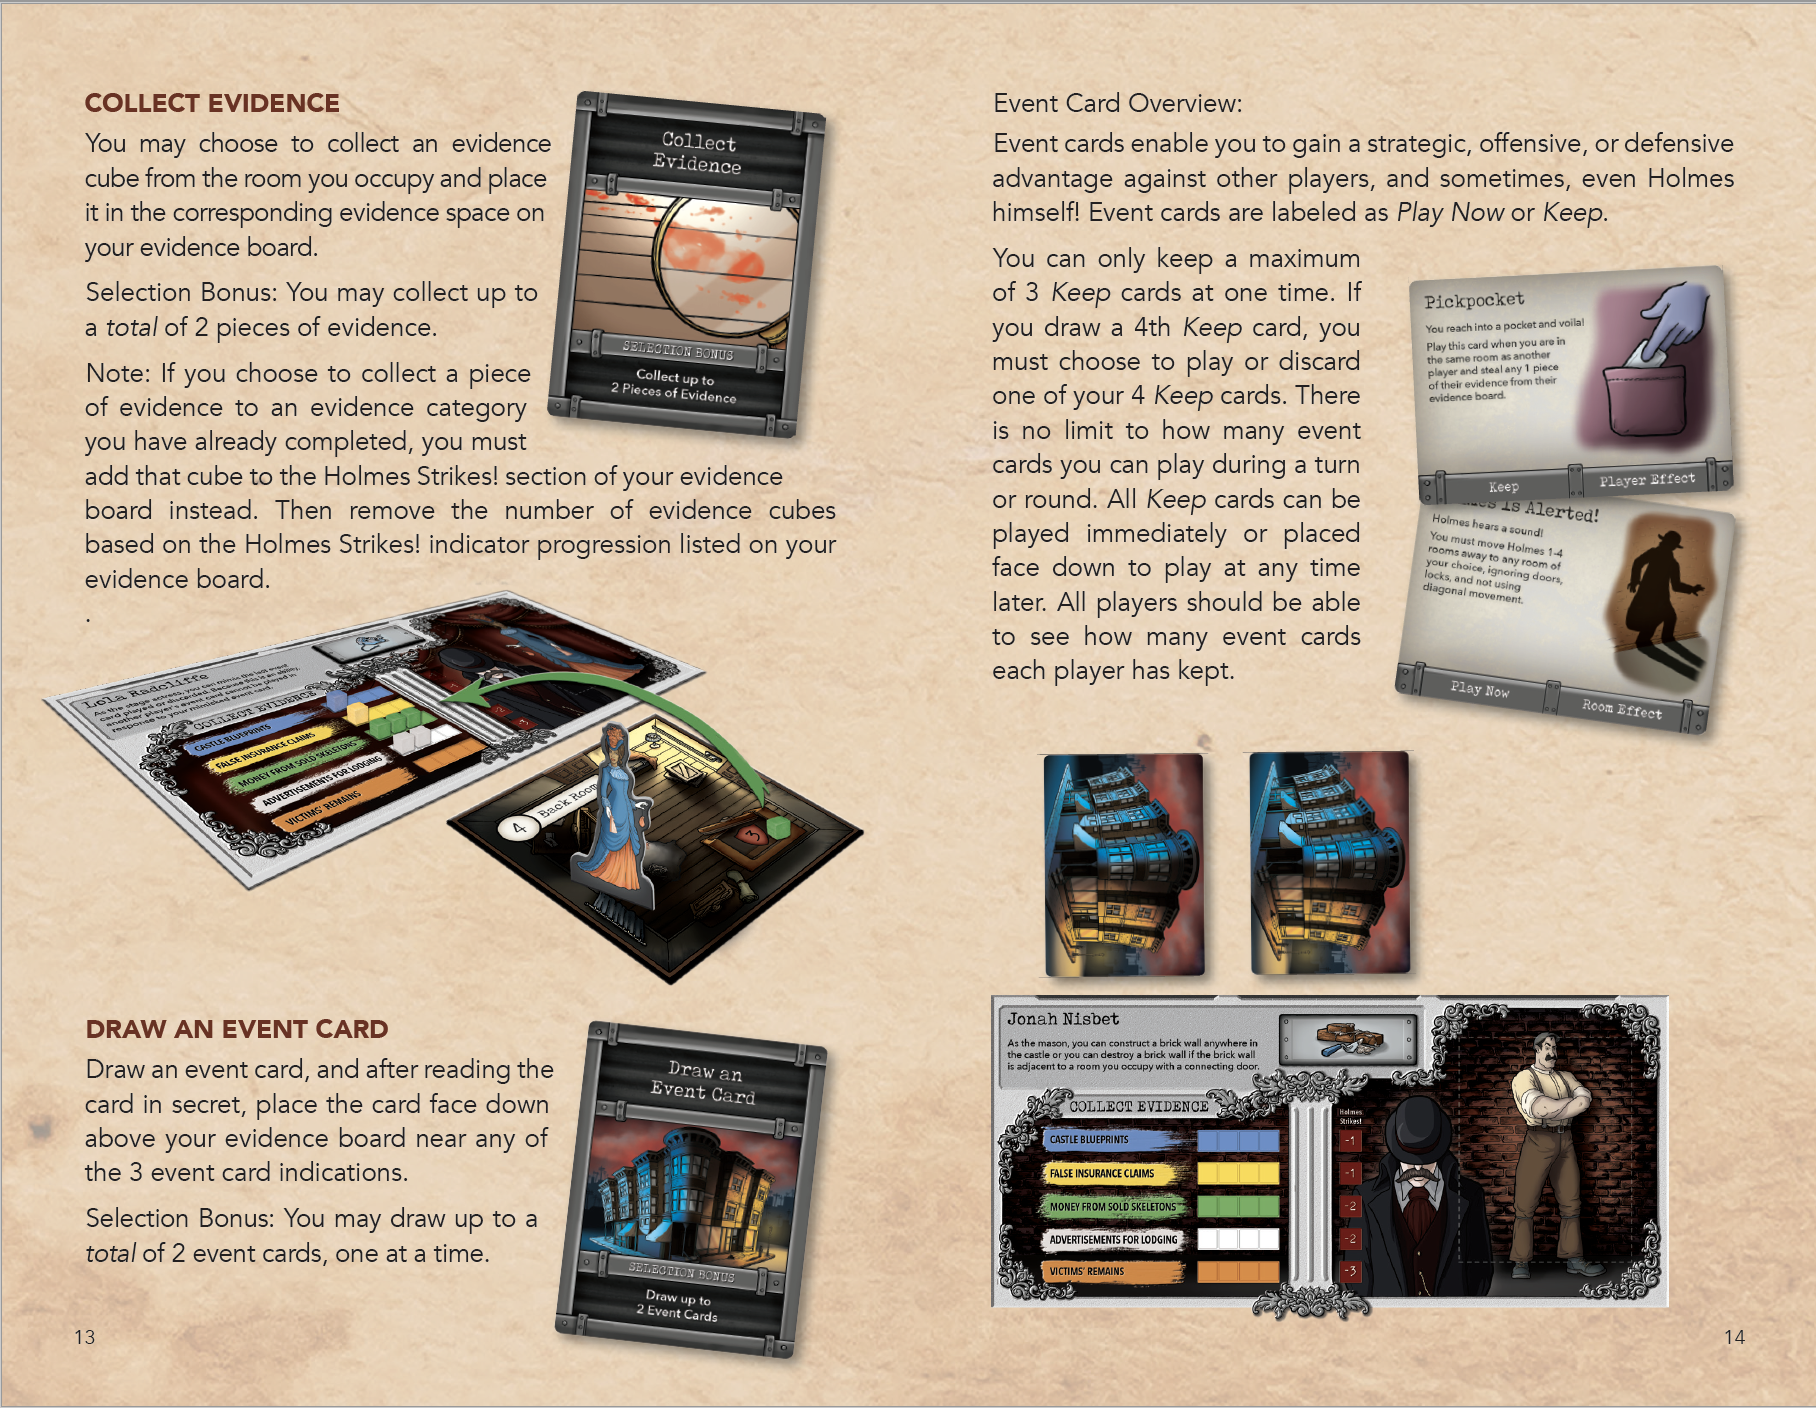
Illustrating the H.H. Holmes Murder Castle Board Game

gametitle-final.jpg
blog-MOCKUPcropped.jpg

In December 2018 I was contacted by Blueprint Gaming Concepts about developing a board game with artwork inspired by my H.H. Holmes Murder Castle illustration. I’d never worked on a board game, nor had much experience with tabletop gaming. It was quite an undertaking, but Seth & Brandt—the wonderful fellas at Blueprint—were well prepared & extremely passionate about the project, so I took it on.

I gotta say, the project management on this game was absolutely fantastic. With hundreds of elements and tons of revisions over the course of the project, there’s no way it could have been done had Seth & Brandt not been so thoroughly organized and precise. After a year of hard work, the game is now live on Kickstarter! This post is just about the artwork for the game but you can read all about the gameplay and order a copy by visiting the Kickstarter Campaign page. Between now and final production, we will continue to fine tune the elements and add new components to make the best game possible. I’m proud of the work we’ve done so far and beyond impressed with the game Seth & Brandt have designed. High five, guys!

blog-contents.jpg
group-2.png

One of the first elements we tackled was the cast of characters. The guys provided a short bio and description of each and here is the result. They all have unique backgrounds and ability icons, and their personalities inform their special abilities in the game.

ability tiles.jpg

Along with this I made the logo and box cover illustration. Developing these primary elements helped define the style, palette, and flavor of the game’s aesthetic.

MurderCastle_MurderCastle_8x10%28notext%29.jpg
murdercastle-actiontilebacks.png

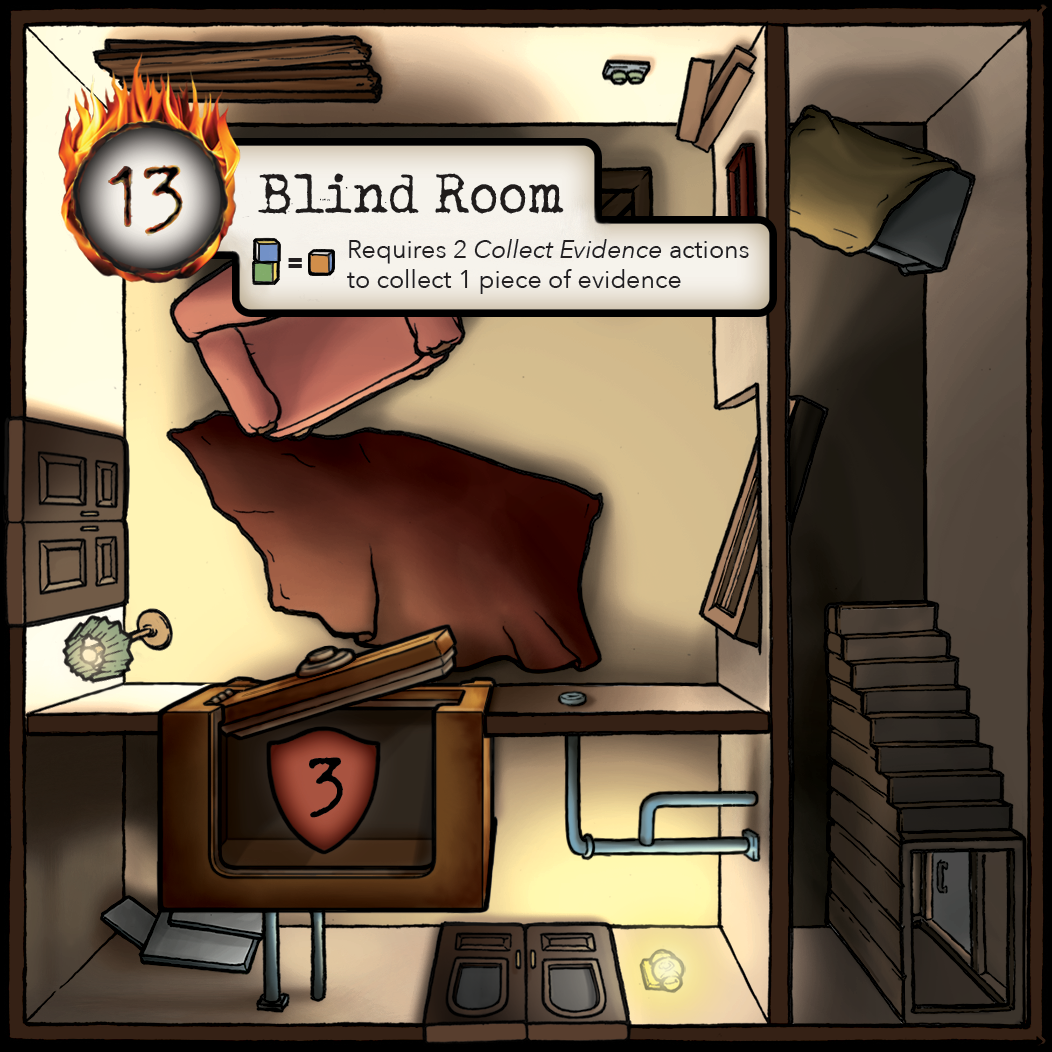
Next we jumped into the most extensive element of the game: the room tiles! The game contains 26 rooms, most of which were real rooms found within the actual hotel. It was so much fun going through the list and dreaming up the environment of each space.

1-basement.png
3-basement.png
4-backroom.png
5-maze.png
6-dark room.png
7-theblackcloset.png
8-sealedroom.png
9-receptionroom.png
10-dining.png
11-bathroom.png
12-3corpses.png
13-blindroom.png
14-holmesapartment.png
15-steelvault.png
16-kitchen.png
17-hangingchamber.png
18-guestroom.png
19-asphyxiationchamber.png
20-hall.png
21-secretroom.png
22-laboratory.png
23-waiting.png
24-dummyelevator.png
25-5doorroom.png
26-pharmacy.png
brickwall.png

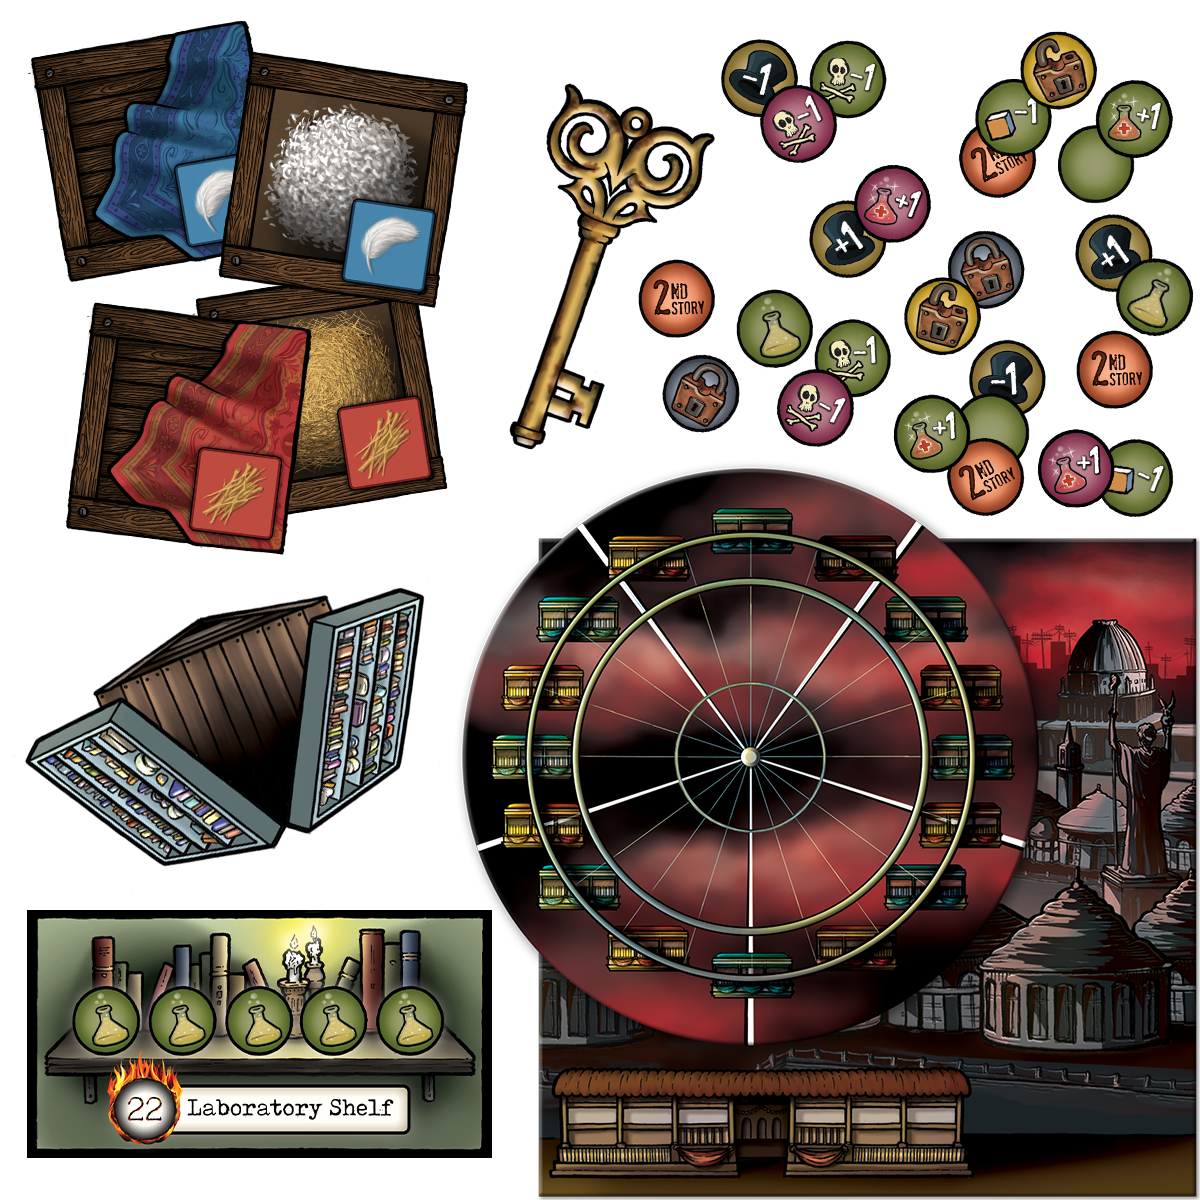
The most intimidating aspect of the project was the sheer amount of different tiles, tokens, and cards. This is where Seth & Brandt’s supreme project management saved the day! There were many adjustments to all elements as they playtested and tweaked the game, so staying on top of the many versions of each file required some intense file management. Beyond that, each file had to be generated in various formats and sizes, with and without bleed, and each prototype manufacturer required the files be prepared in different ways. Needless to say, I learned more about file management on this project than anything else.

event.png
hmc.png
setup.png
tokns.png

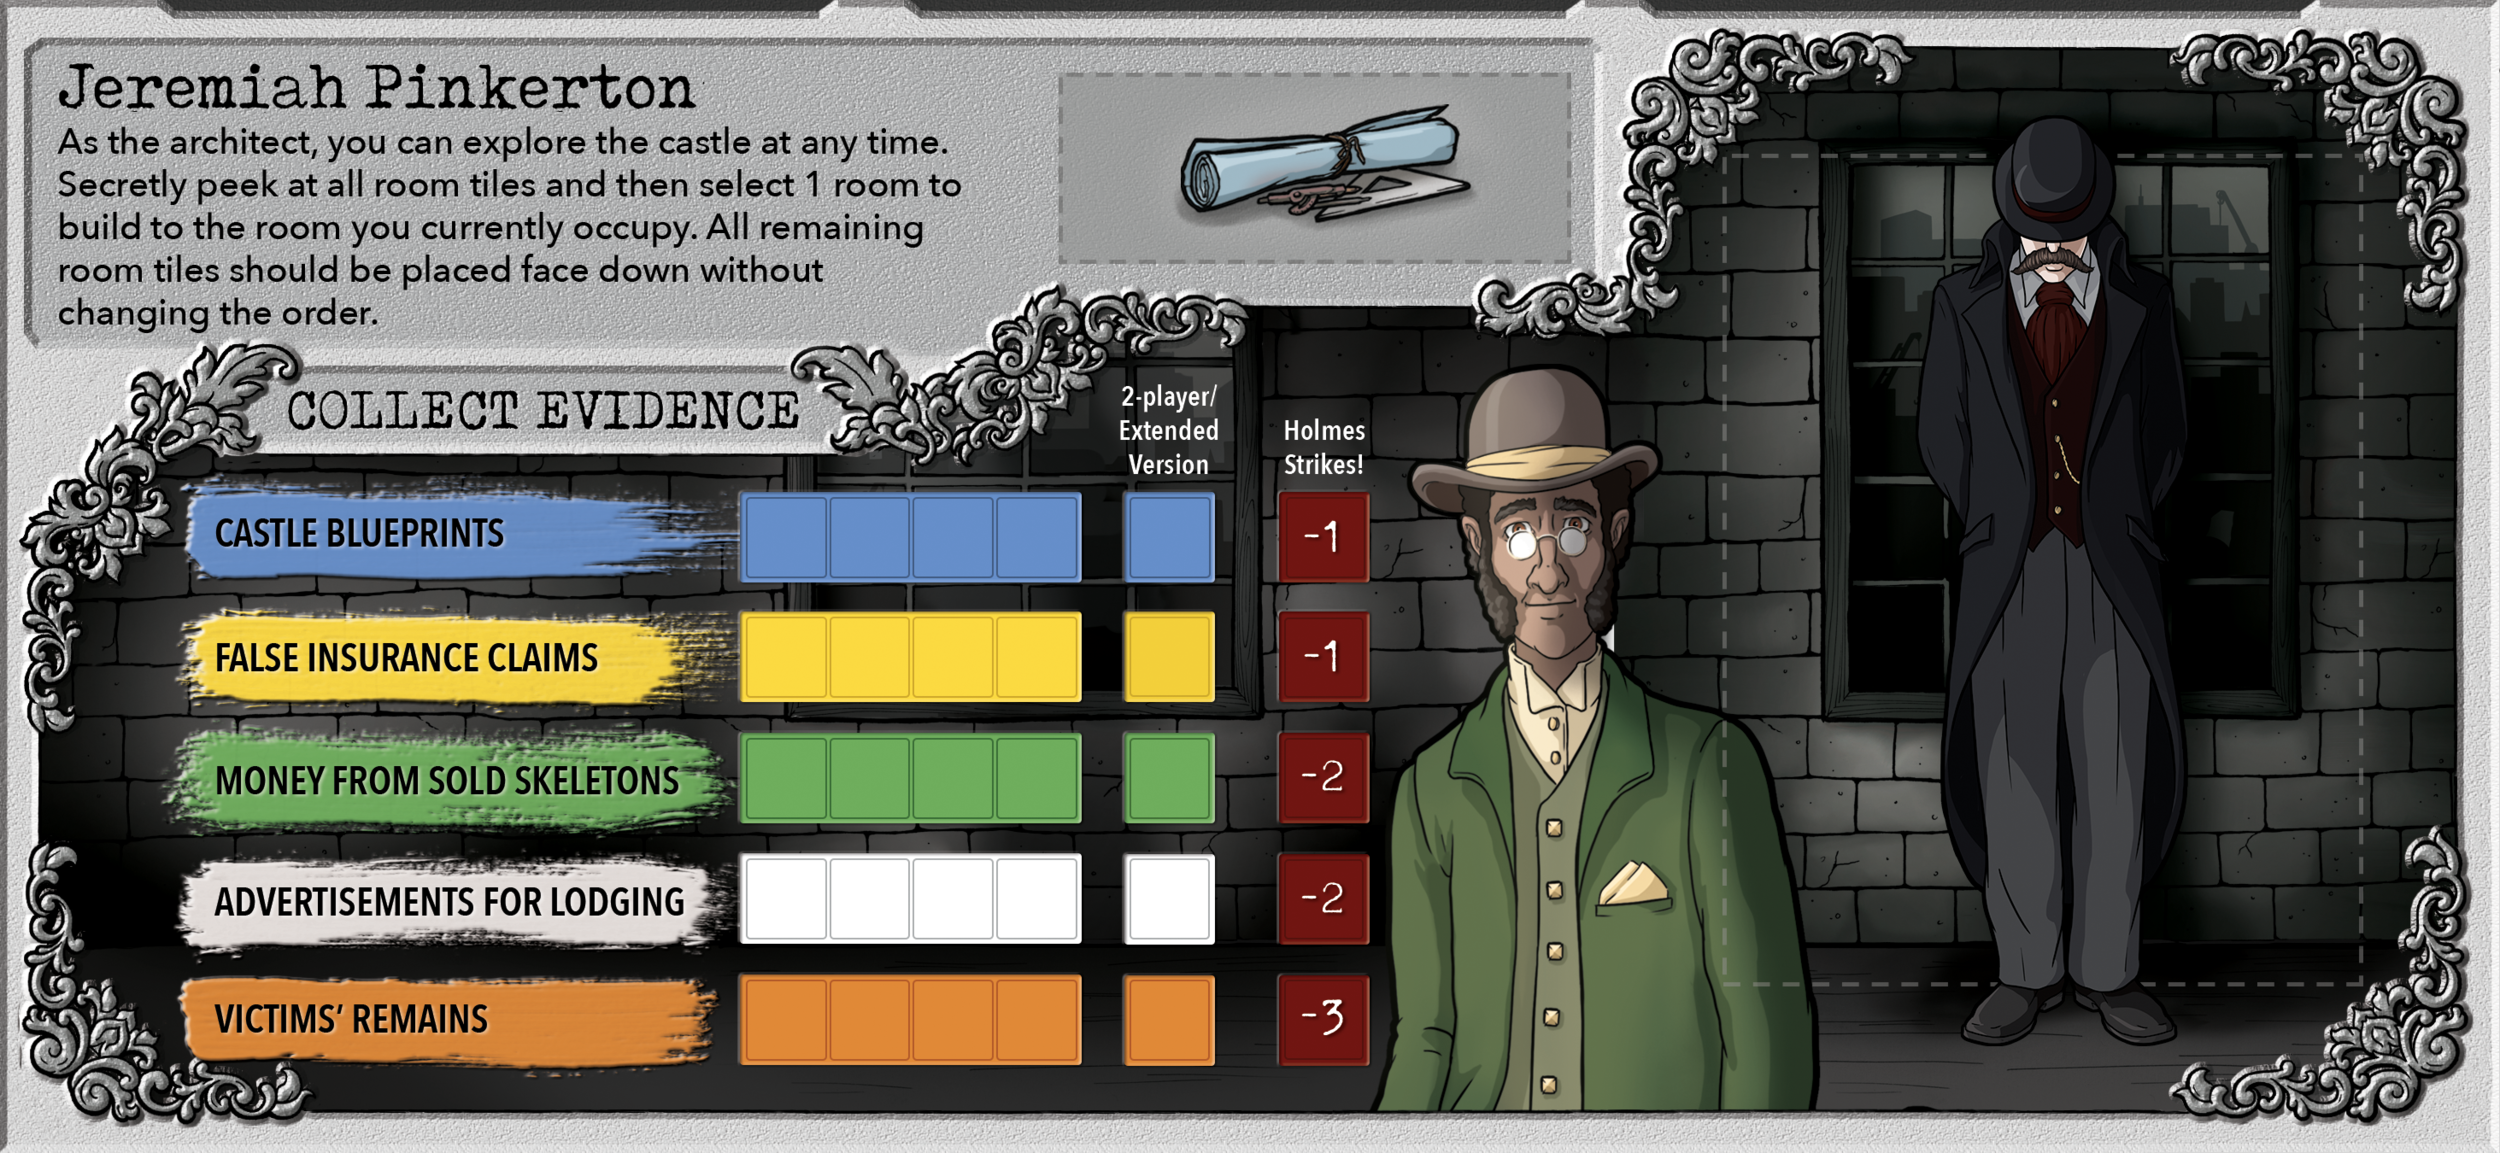
My favorite element of the game is this set of cool dual-layered evidence boards players use to track their progress and display the cards and tiles they’ve collected.

EB-jonah.png
EB-lola.png
EB-adeline.png
EB-hoyt.png
EB-jeremiah.png
EB-abraham.png

And finally, we’d be lost without the trusty rulebook! Here are a few spreads from the first draft. I’m presently working on the final draft which reflects new changes and game elements. In the meantime, you can download the current rulebook on the Kickstarter Campaign page.

Screen Shot 2020-01-16 at 10.11.58 PM.png
Screen Shot 2020-01-16 at 10.12.12 PM.png
Screen Shot 2020-01-16 at 10.13.20 PM.png
Screen Shot 2020-01-16 at 10.15.15 PM.png

Thanks so much for checking out the work! If you like it and want to help support the project, please share this post wherever you hang out on the Internet, and back the Kickstarter Campaign to buy a copy of the game. If you have any questions or feedback, leave it in the comments. Thanks for your support!

EB-back.png

Making the Edgar Allan Poe Macabre Mansion

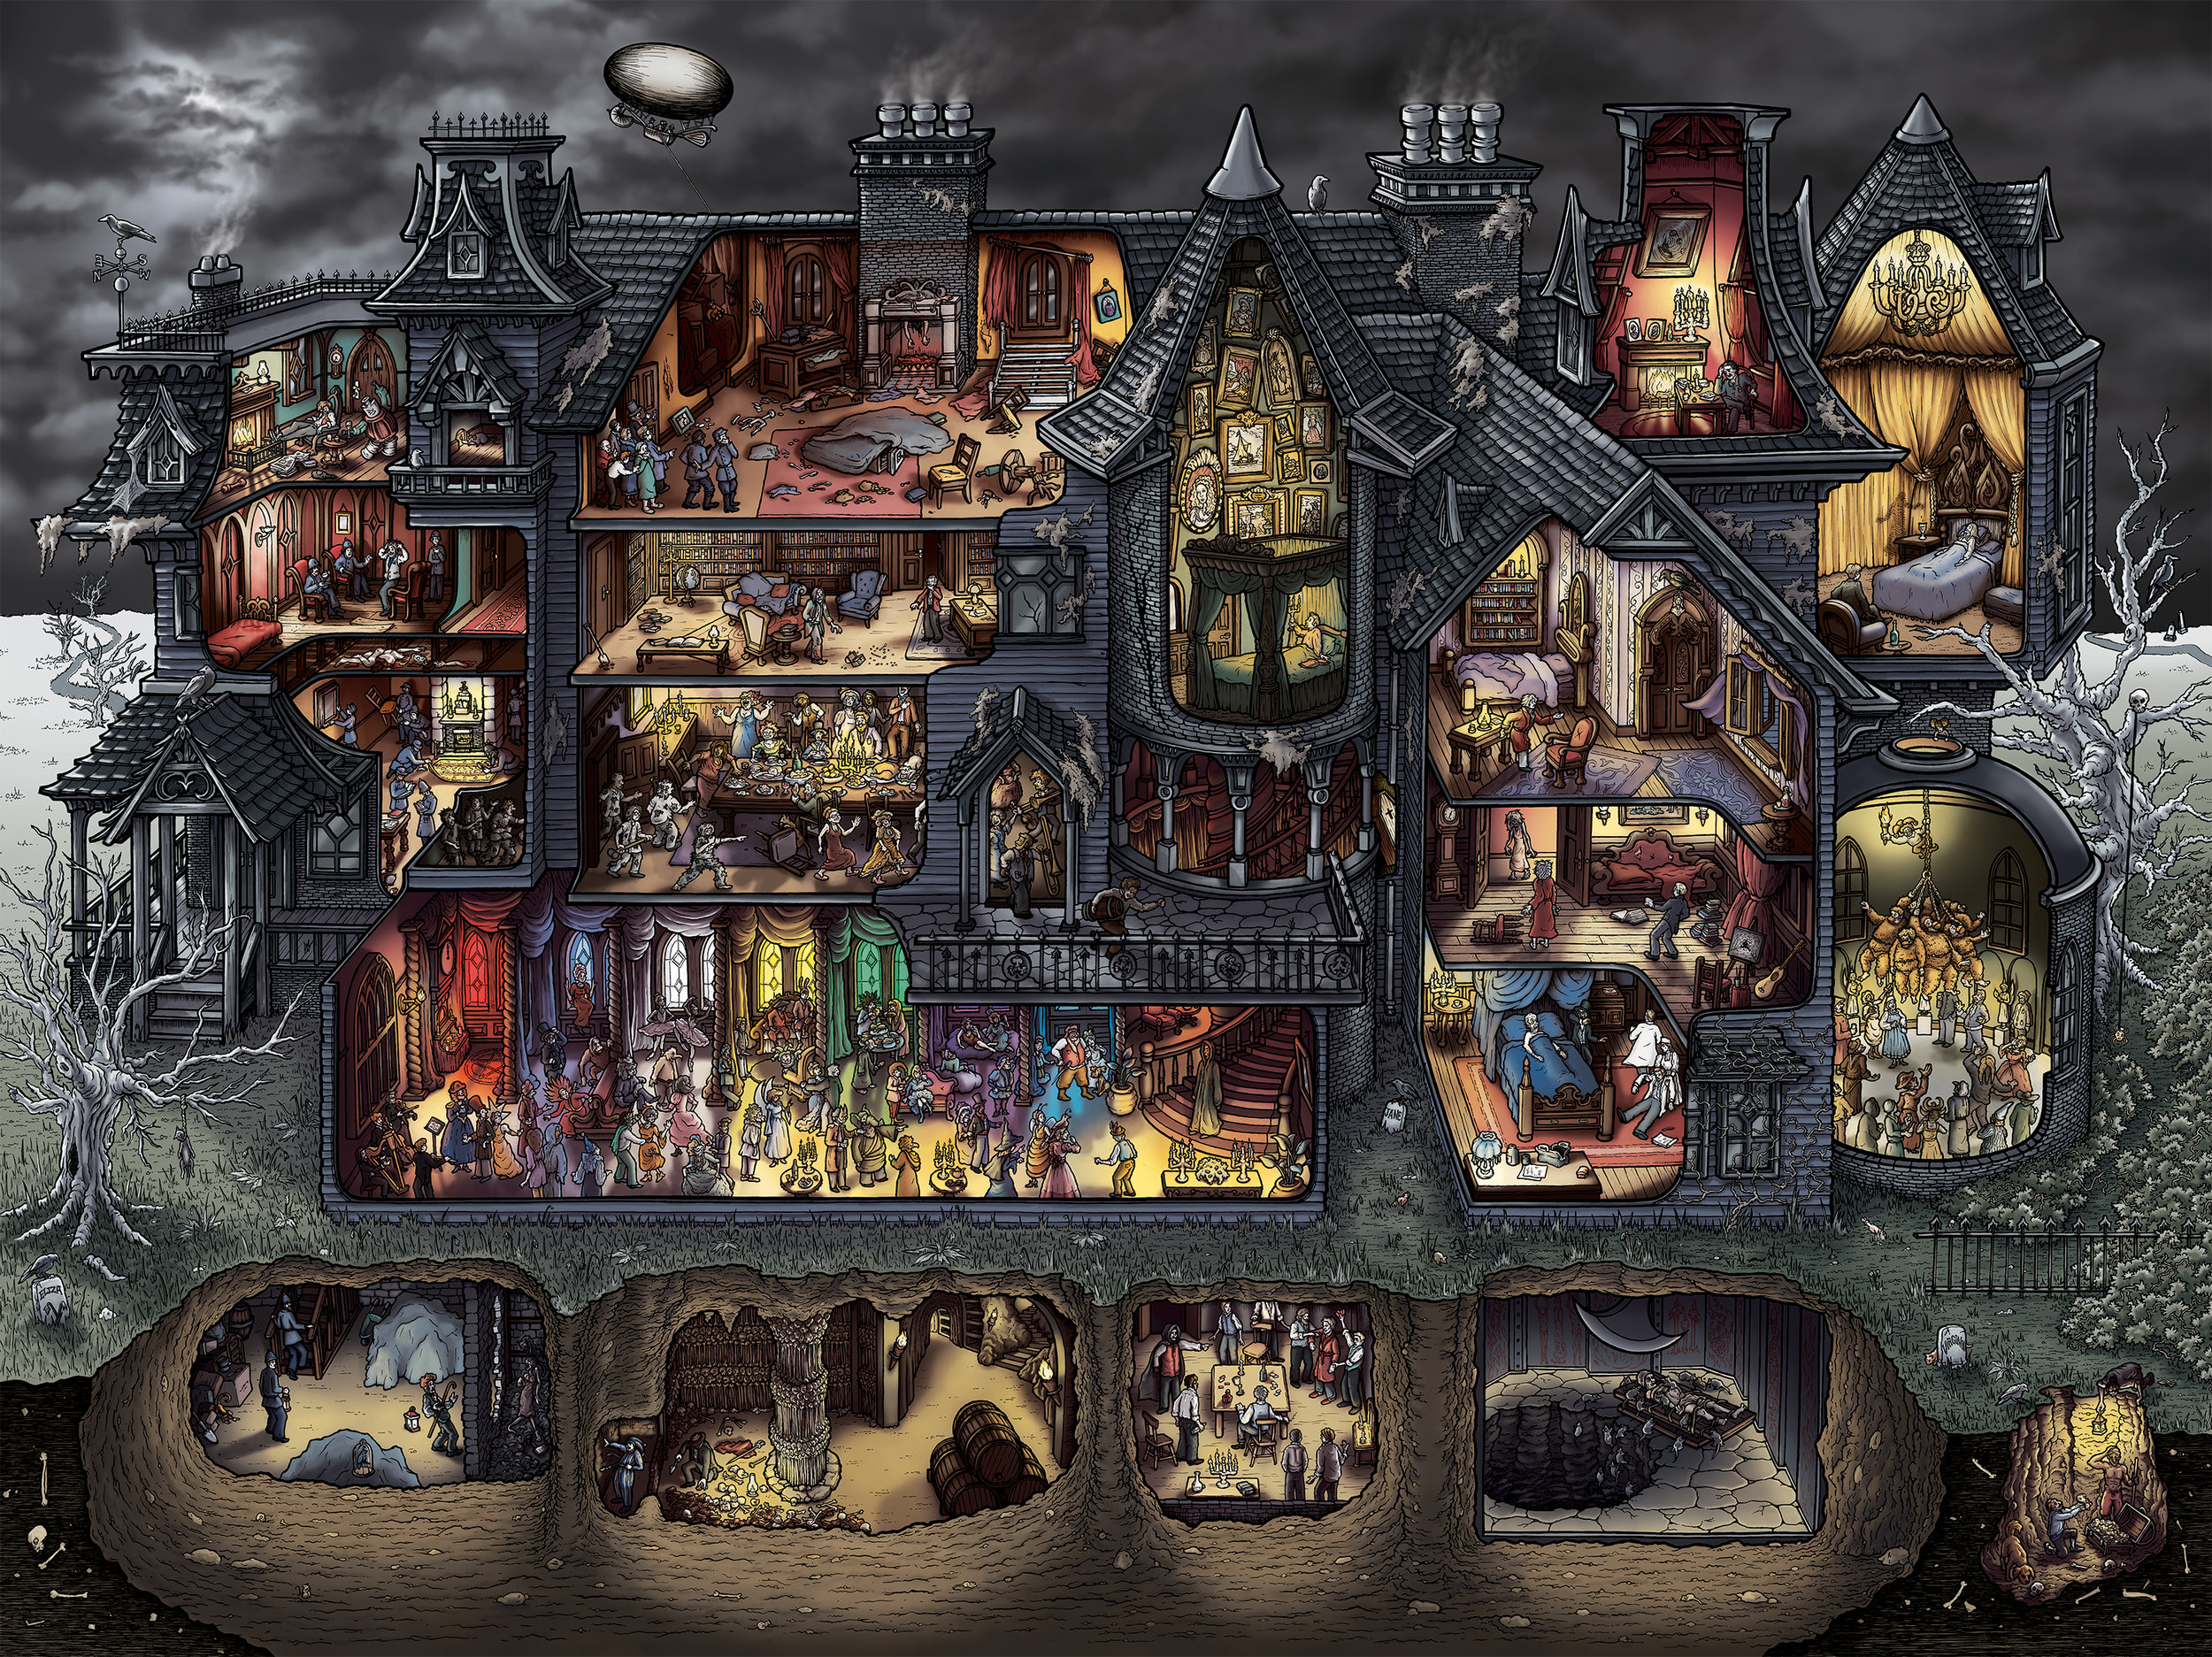
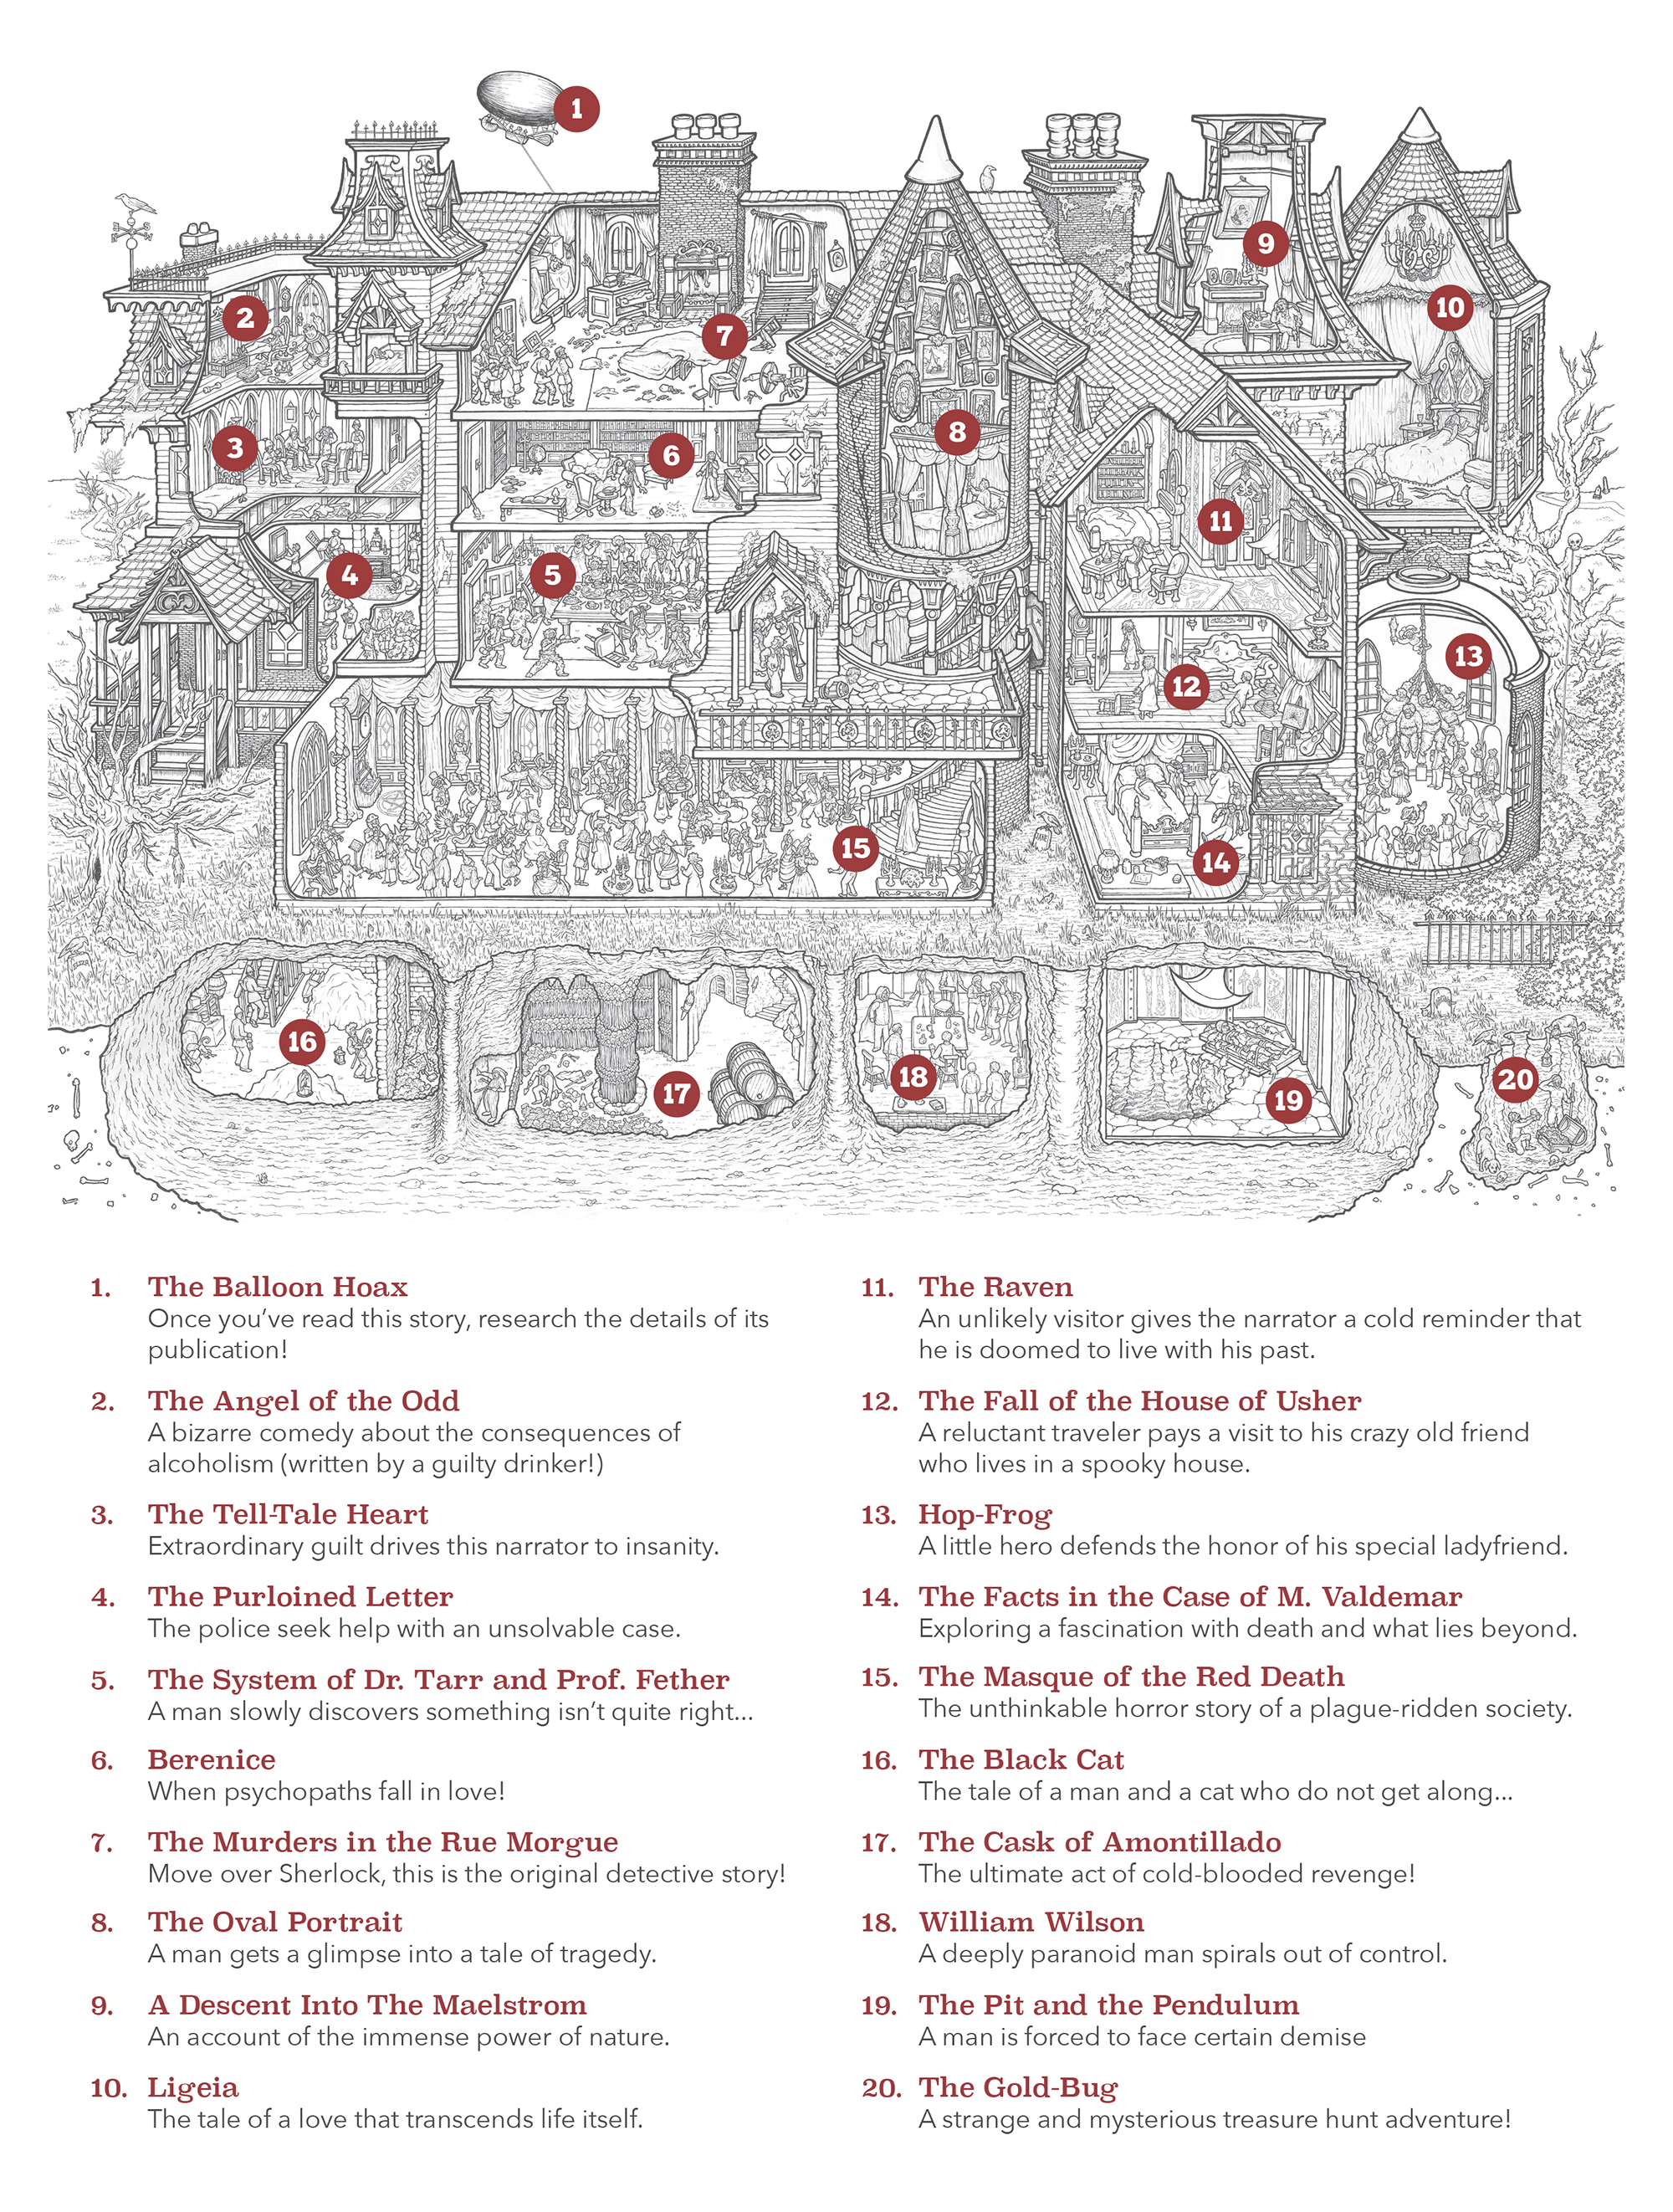
Last year I made the H. H. Holmes Murder Castle cartoon cutaway and Kickstarted the production of jigsaw puzzles featuring the illustration. It was really well received and I loved the challenge of the project, so I decided to make another one. I learned a lot making Murder Castle and applied those lessons to The Edgar Allan Poe Macabre Mansion, which illustrates 20 of the author's short stories in one big, creepy house. (At the bottom of the entry you can find detail shots and a key identifying all of the stories. There is also a key showing the answers to the seek-&-find game included with the puzzle.)

Note: Jigsaw puzzles and prints of both the H.H. Holmes and Edgar Allan Poe illustrations are now available in the store!

PUZZLES & PRINTS NOW AVAILABLE!

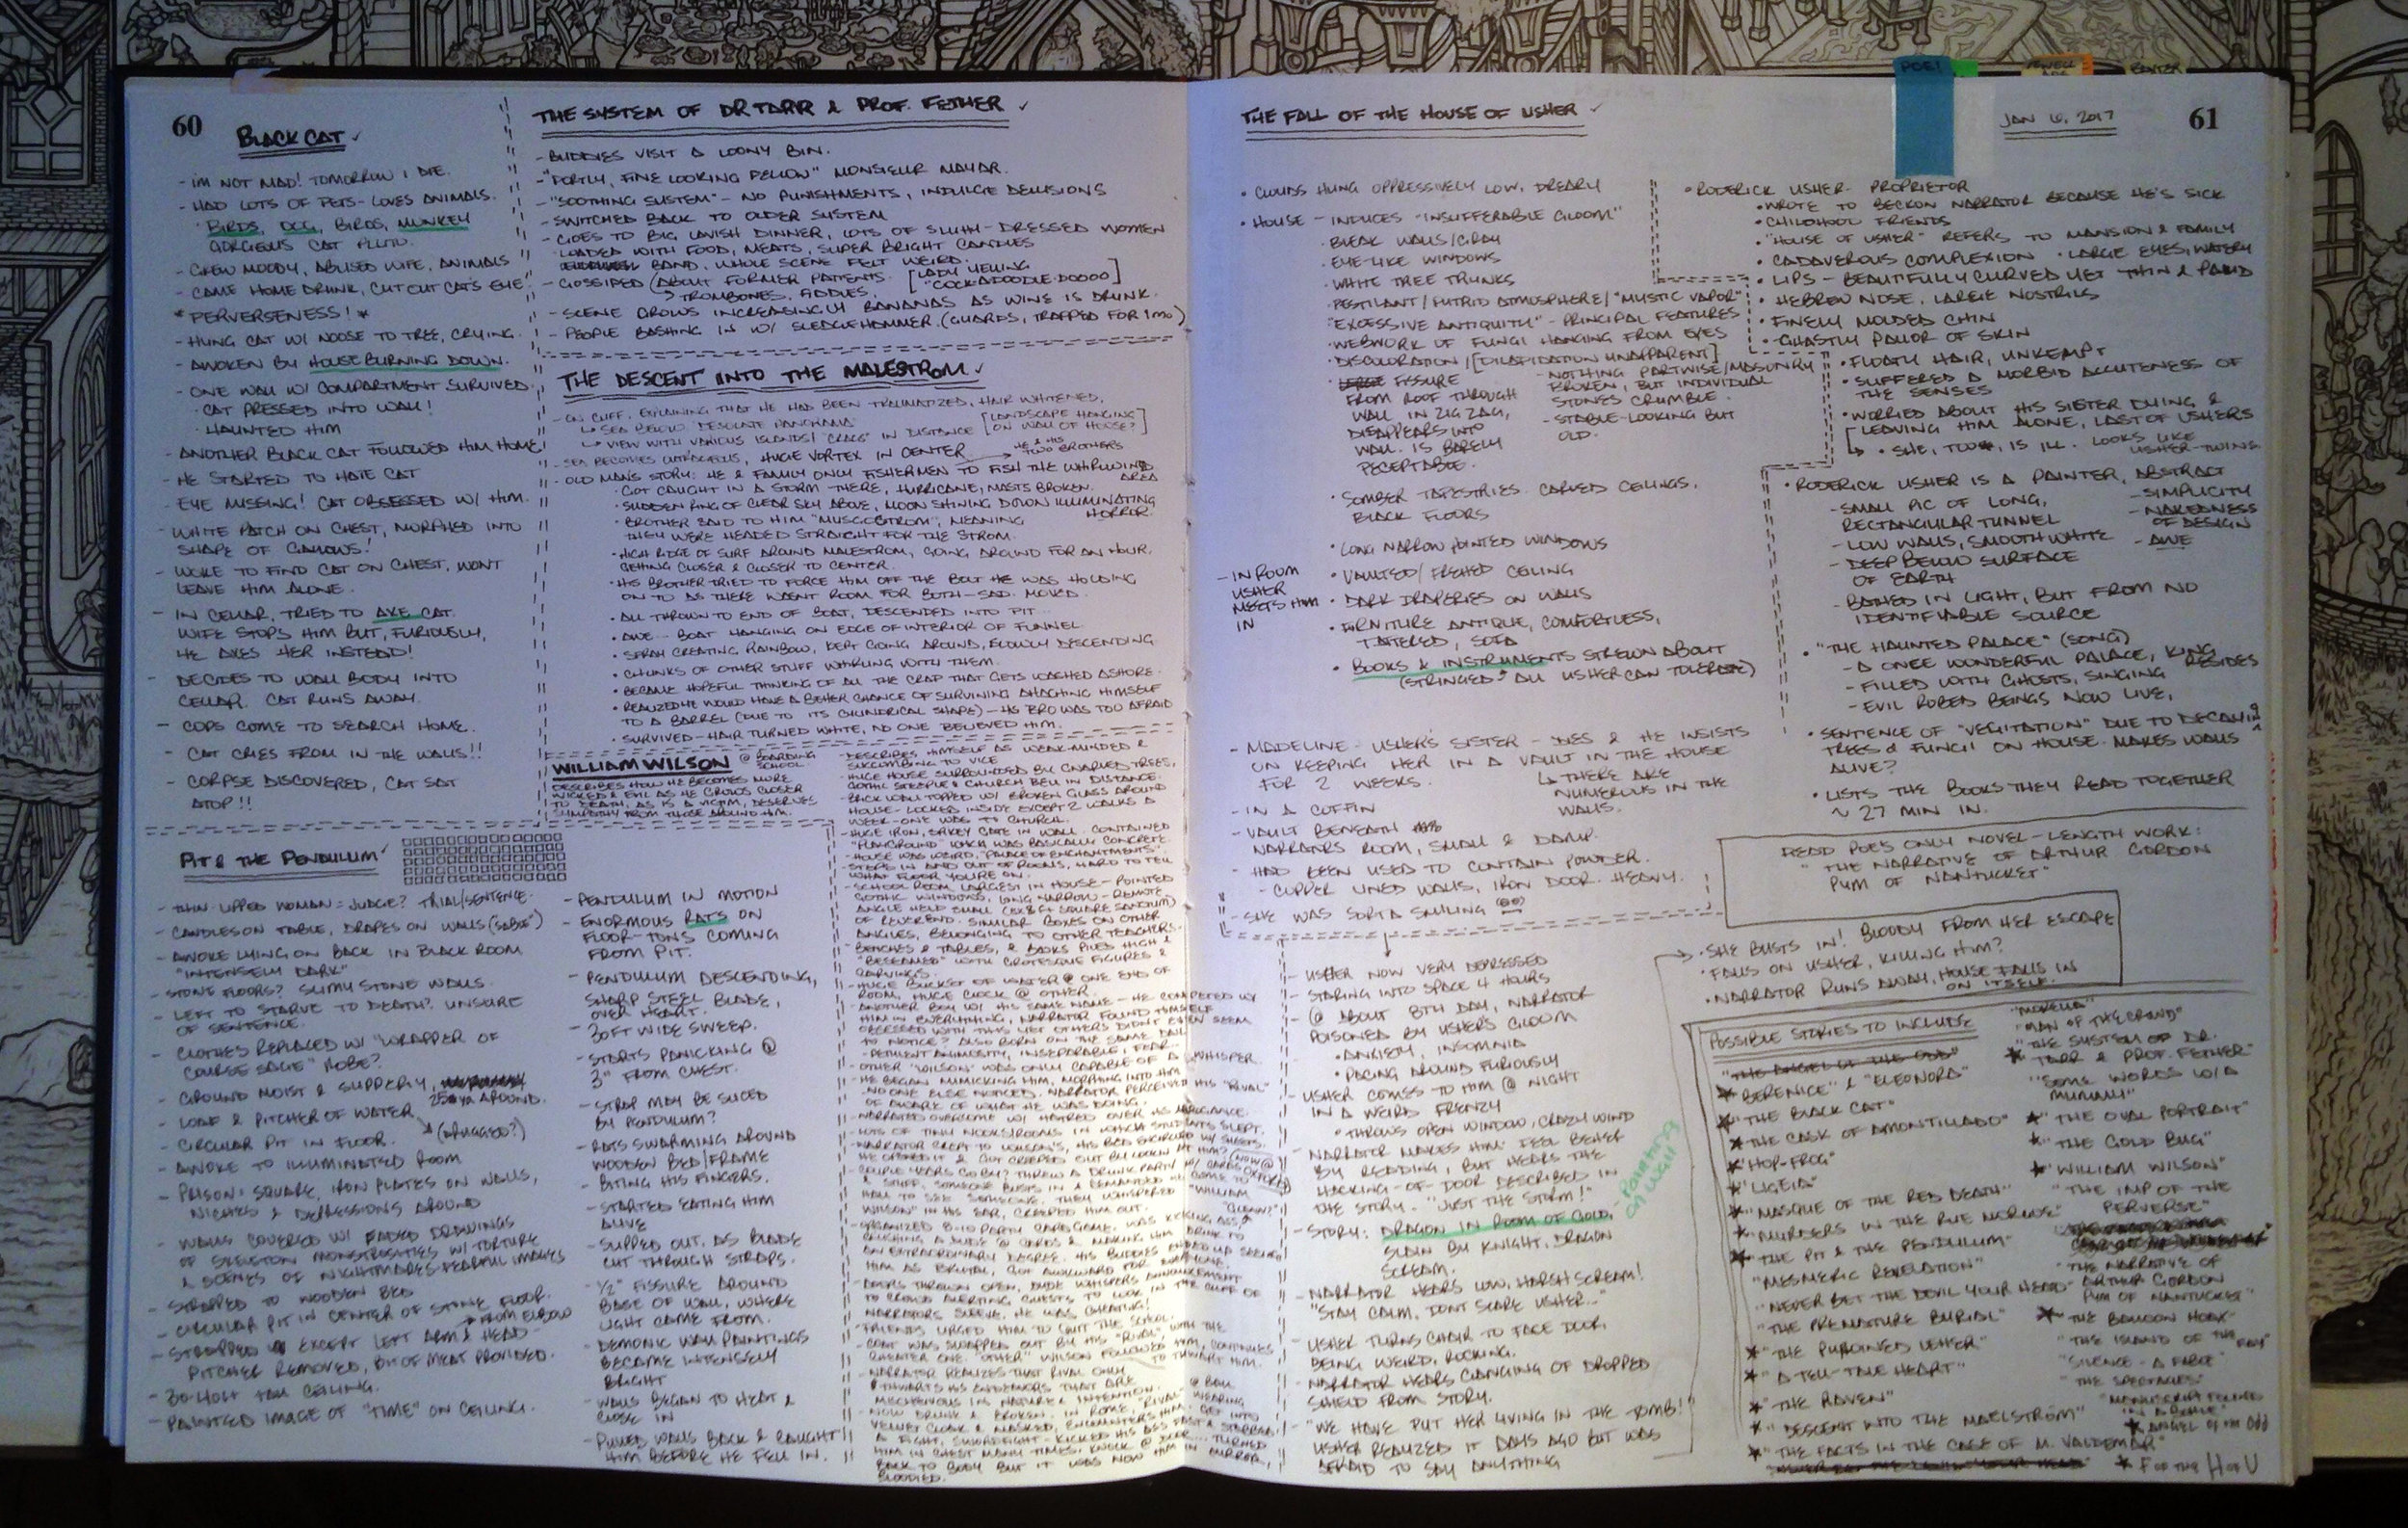
I hadn't read a ton of Poe's work when I decided to use him as the subject, mostly just the stuff you read in high school (The Cask of Amontillado, The Tell-Tale Heart, The Raven...) The whole buried-in-the-walls thing seemed like it would translate really well to a cutaway and I figured the project would be a great excuse to read all of his short stories. Also, public domain ftw!

The first step was to ingest as much of his work as possible and decide what to include. I listened to audio recordings of the stories, taking thorough notes along the way. There are tons of these recordings on YouTube, my favorites being those read by Sir Christopher Lee. (There's also a reading of The Raven by Christopher Walken!)

I didn't know how many of the stories would be appropriate for the drawing, but every single one was so visual and compelling I ended up with too many! His work is incredibly immersive; it was wonderful spending so much time studying it. In my notes I included as much visual information as possible, then used it to guide me in the design of the house. 

Poe begins The Fall of the House of Usher with a long, moody description of the building, so it only made sense to use the Usher house as a base for the mansion. I studied elements of gothic architecture - lots of turrets and domes and porches and overhangs - and incorporated my favorites into the sketch. I thought inventing a fictional building would be easier than drawing a real one from blueprints like Murder Castle, but it was actually more challenging to make one up. However, one great thing about this style of architecture is that it allows for a completely weird structure (most houses from this period are kind of a hodge-podge) so I could put welrdly-shaped rooms wherever I wanted!

I found this old piece of watercolor paper that I'd used to create a gradient for the background of Murder Castle. With the jigsaw puzzle dimensions in mind, I applied a grid and got stuck in, keeping Murder Castle close by during the whole process in an effort to maintain a similar style.

IMG_5413.JPG

My super rough sketch (the blue and orange sketch above) was 2D, so I had to convert it to three dimensions. I use a basic two-point perspective, but there's a lot of eyeballing and fudging. When I did Murder Castle, I scooped out the building so you could see rooms behind those at the front of the house. As this design was so much more complex, I decided to shorten the depth to a single room. I began the sketch with blue pencil, making lots of mistakes and changes, then used a darker pink pencil to refine it.

IMG_5419.JPG
IMG_5437.JPG
IMG_5423.JPG
IMG_5431.JPG

The drawing went through a LOT of changes during this stage. Once I had the rough structure down, I used a graphite pencil to draw a detailed sketch on top.

The center of the image, where the cylindrical tower and the large rectangular section meet, caused me a lot of trouble. I couldn't figure out how to draw it in a way that the layout was clear. After several attempts, I ended up with this a big, ugly roof chunk at the center and it was bumming me out. I ended up solving the problem by turning it into a balcony.   :)

IMG_5441.JPG
IMG_5456.JPG

During the sketching process, I referred to images I'd collected of gothic revival houses. My sister, Bethan, helped me collect reference pictures for the interiors, furniture, and costumes, which were super helpful. I continued to make a bunch of changes as I went; lots of drawing and erasing and redrawing.

IMG_5489.JPG
IMG_5572.JPG
IMG_5506.JPG
IMG_5588.JPG

Here is the finished sketch. As you can see, I made a bit of a mess!

IMG_5718.JPG

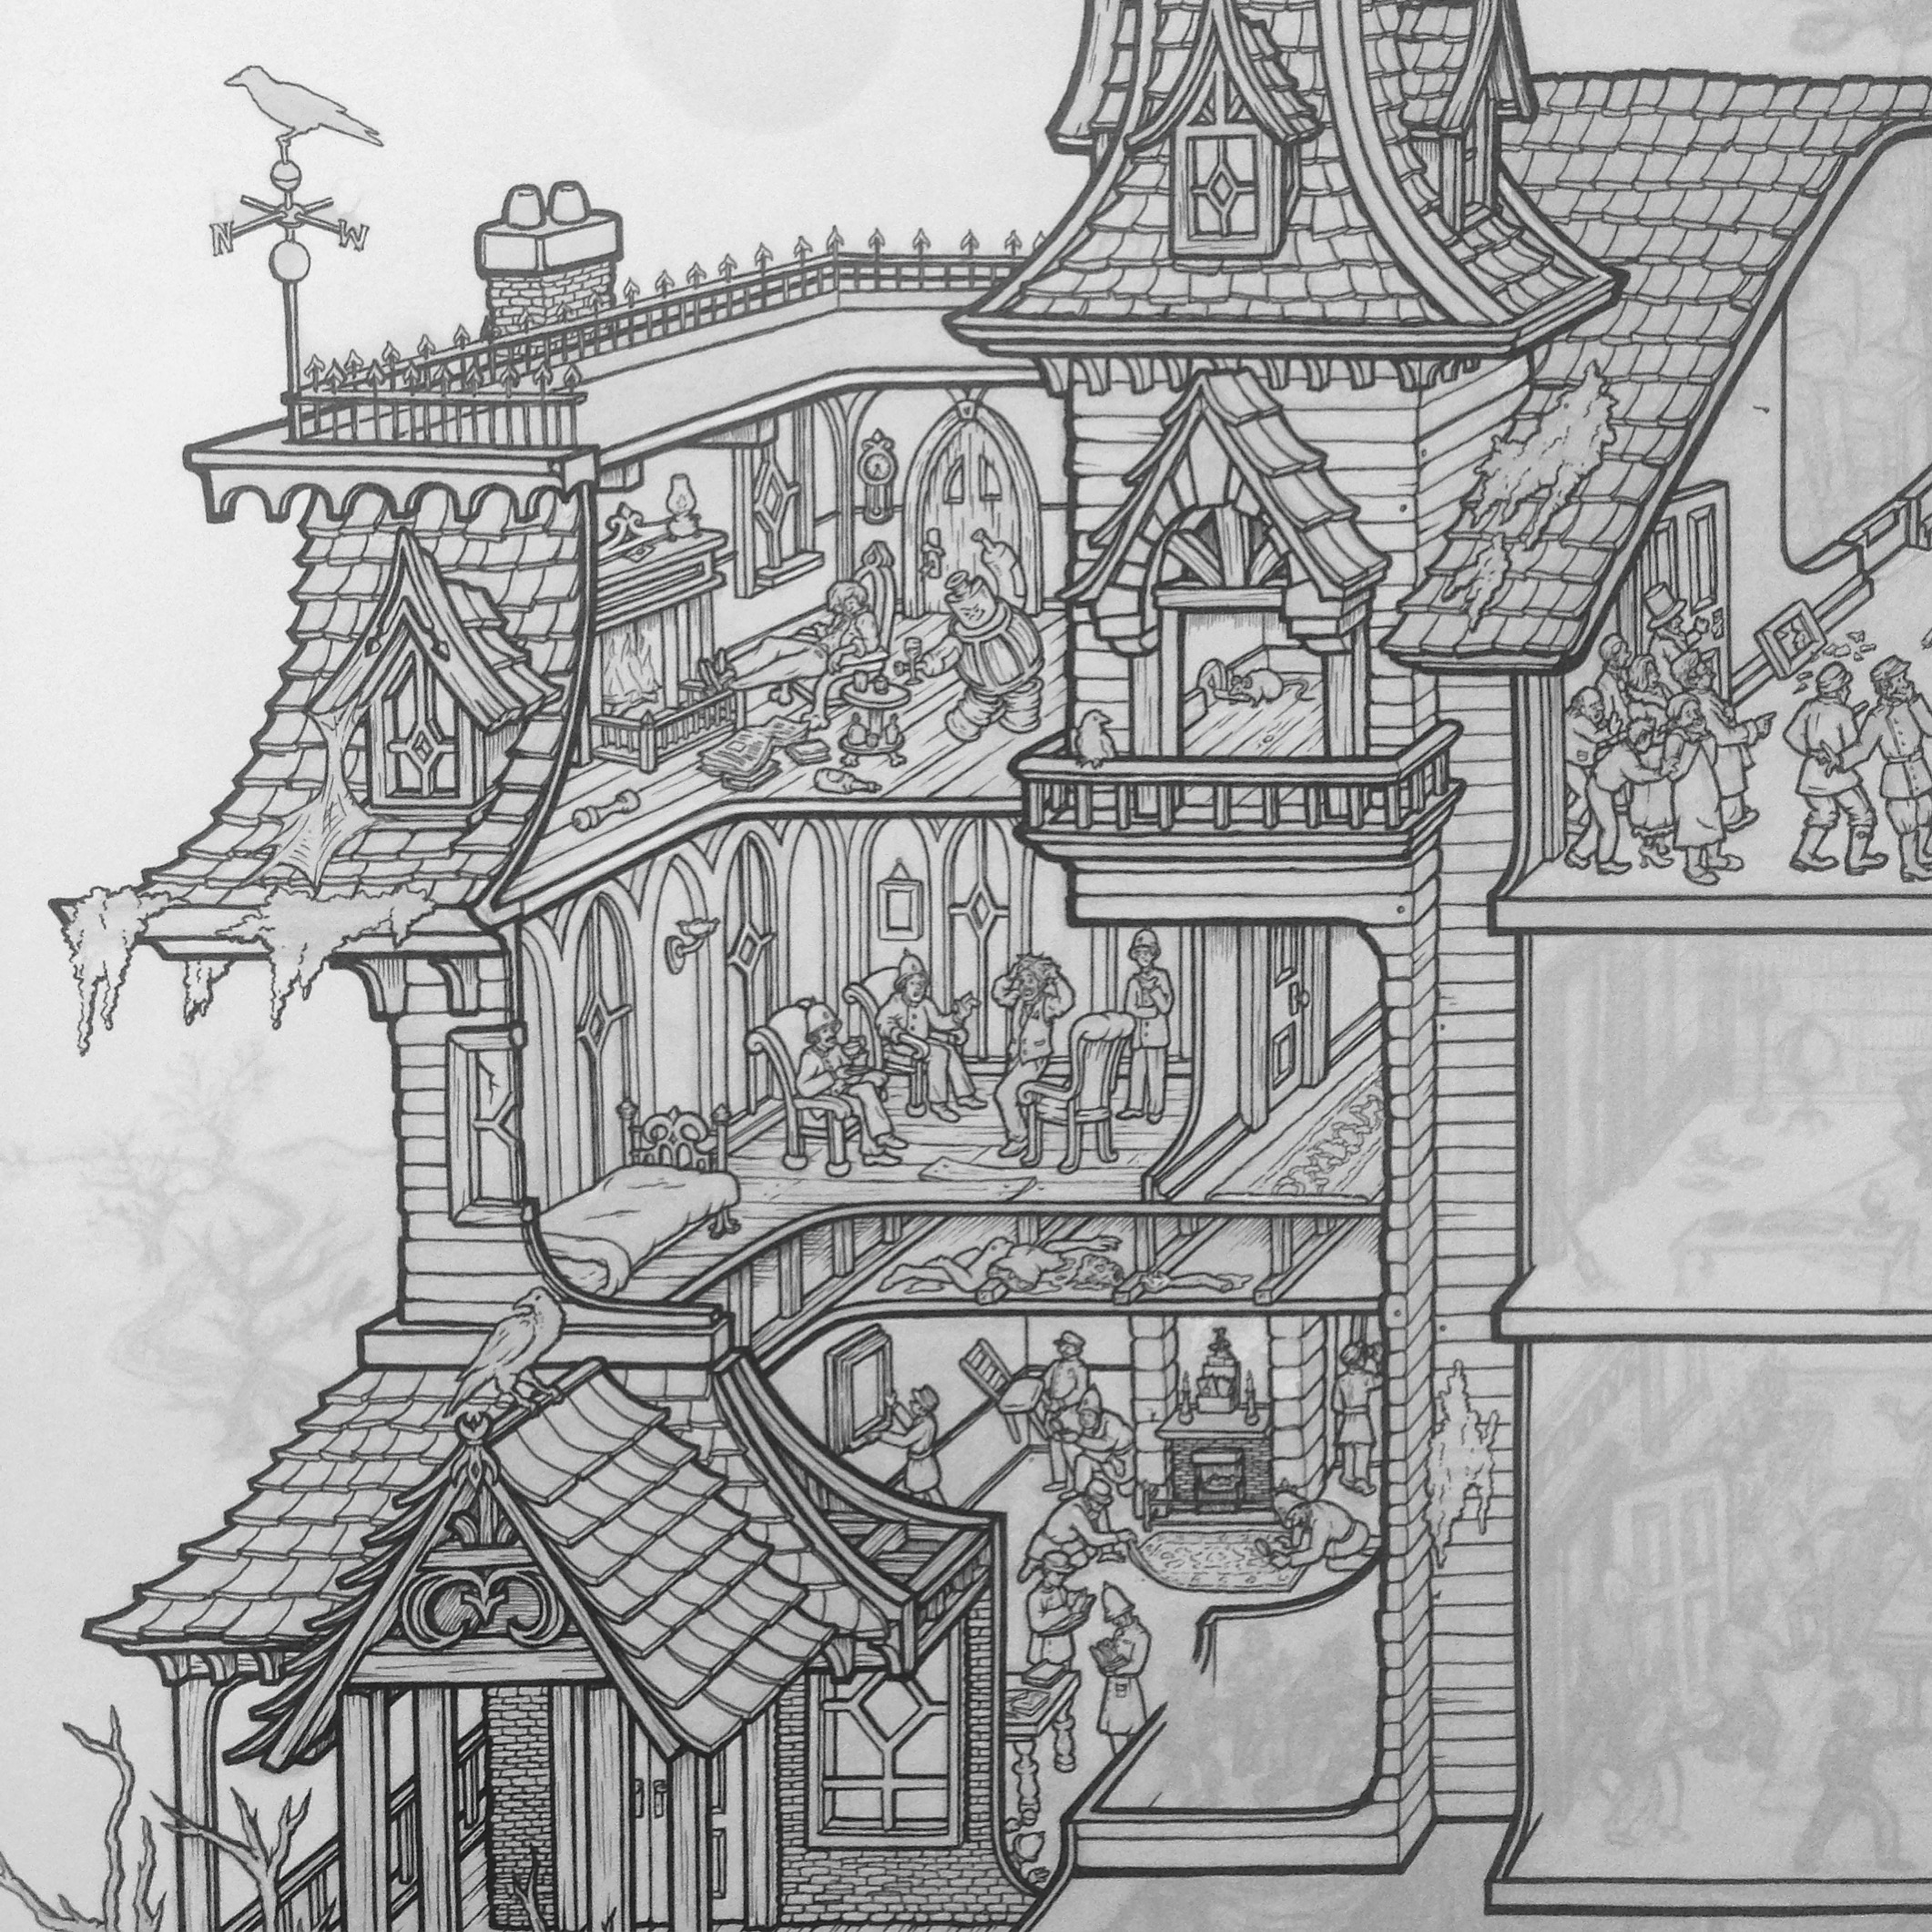
The next step was to scan the sketch and print it at a low opacity on some nice clean Bristol so I can start the best part: INKING. I draw with Micron .005 pens and DO NOT use a ruler during the inking process. It makes the lines look too precise and boxy and if I wanted that I'd just draw it in Illustrator. The lines may look straight, but if you look really closely you can tell it's all shaky and neurotic, just like me!

IMG_5748.JPG

For whatever reason, I started in the upper right corner and began drawing the exterior. One regret I had with Murder Castle was not including enough surface details and textures, so this time I turned it up to 11, so to speak.

IMG_5753.JPG
IMG_5773.JPG
IMG_5762 copy.jpg
IMG_5802.JPG

The exterior took a long time, and since there were loads of bricks and panels and tiles, much of the drawing was fairly mindless. I listen to tons of podcasts while I'm working. During the inking phase I spent most of the time with The Partially Examined Life, The History of Philosophy Without Any Gaps, and The Complete Guide to Everything (pretty much my favorite podcast of all time). Highly recommend all three!

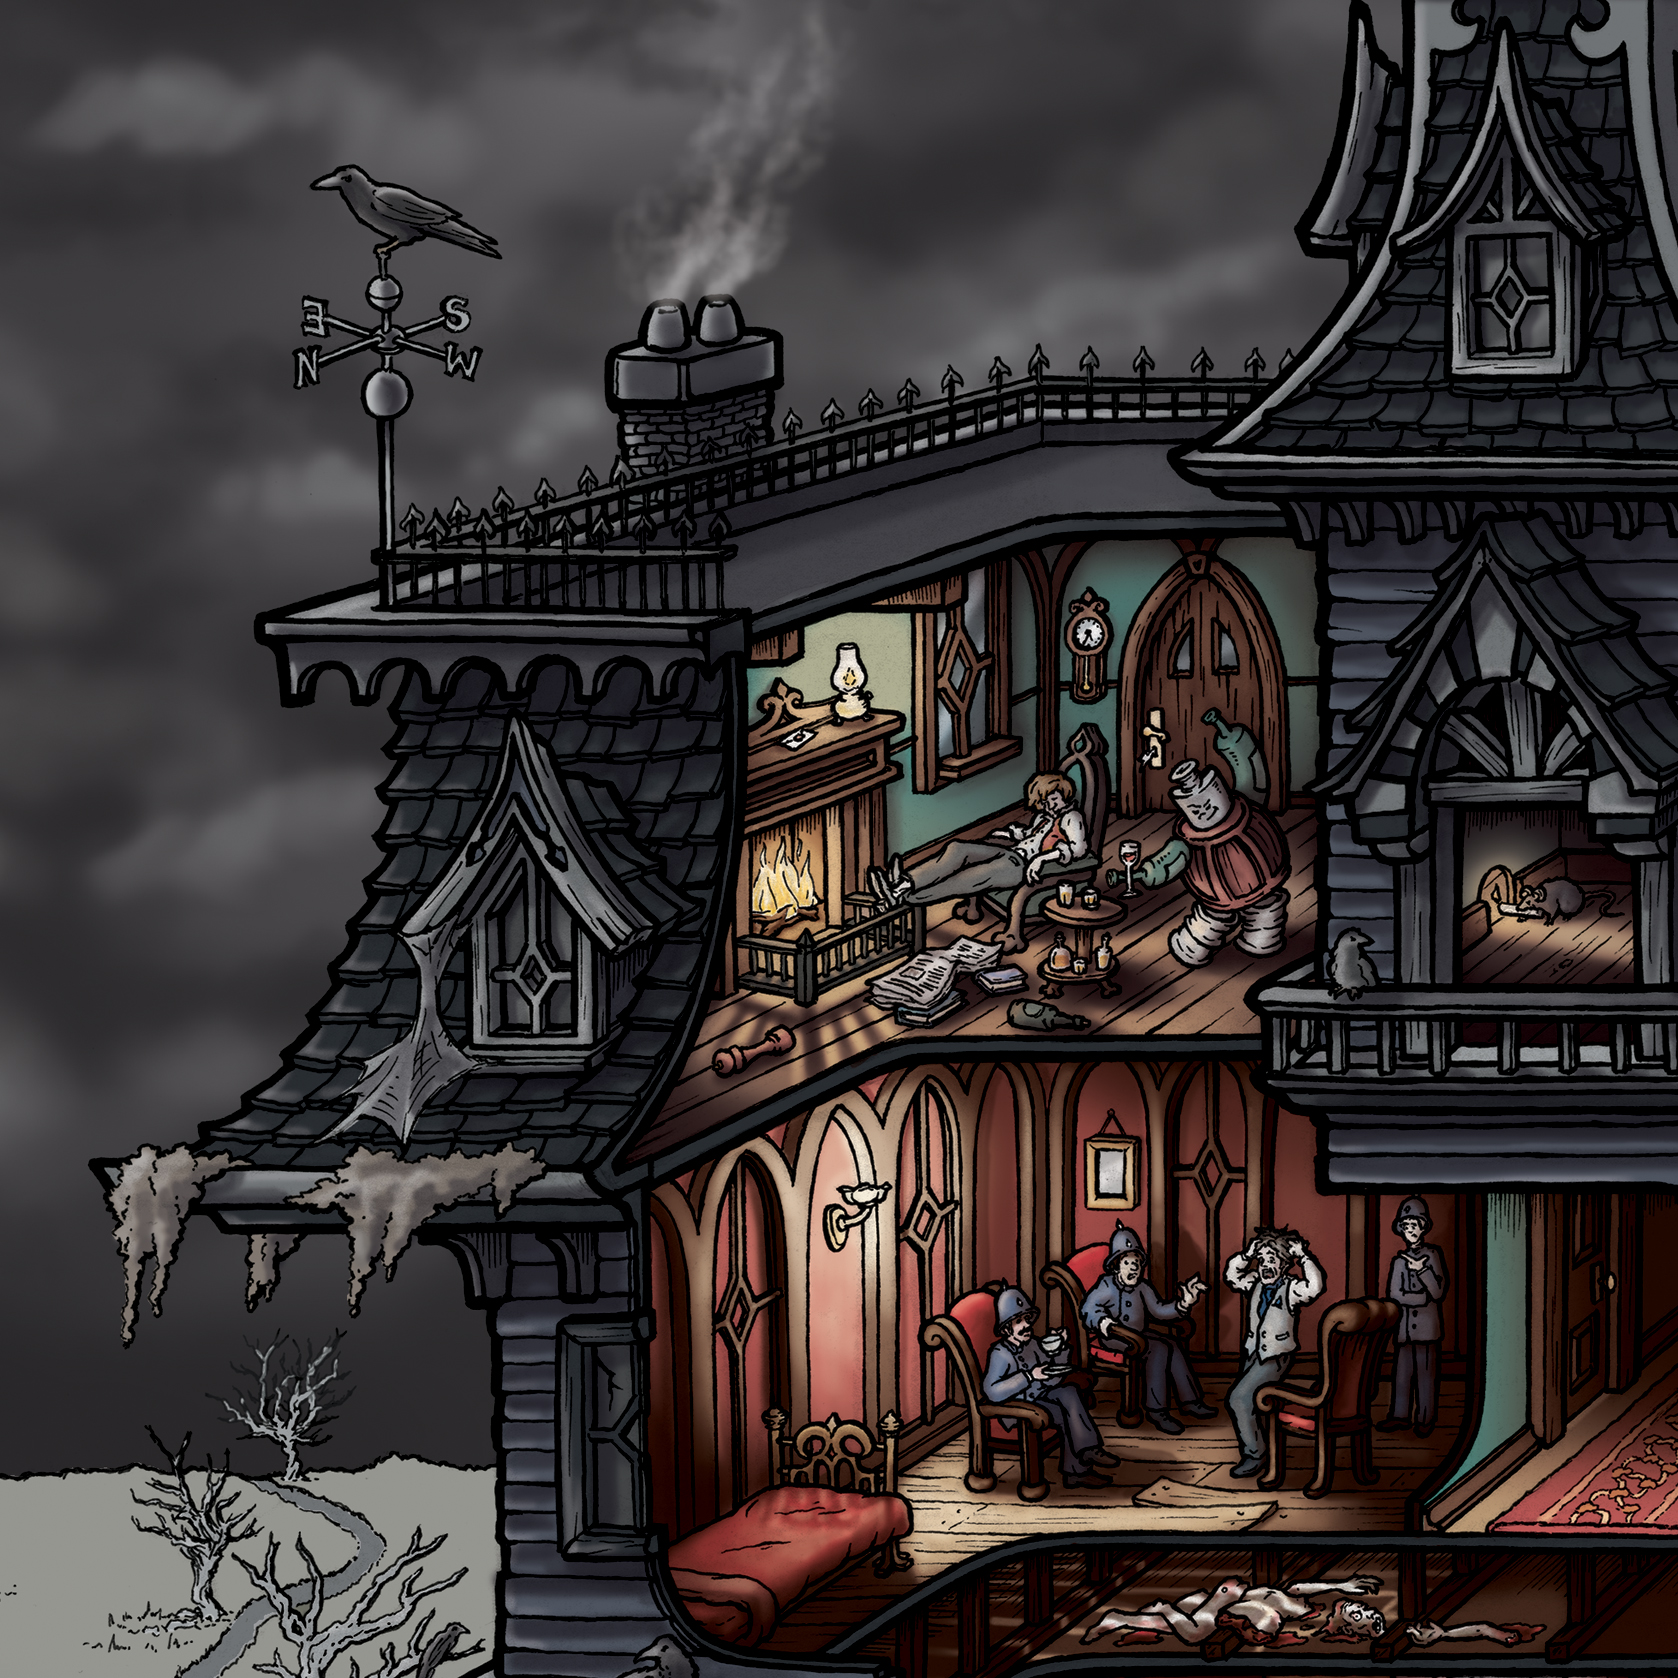
When the time came to begin the interior, I was so excited! Finally getting to the juicy bits. The first room I drew, and probably the most peculiar of Poe's stories, was The Angel of the Odd. Seriously, it is incredibly weird and there's no way he wasn't plastered when he wrote it. Thumbs up!

The Angel of the Odd

The Angel of the Odd

IMG_5870.JPG

Side note: Around this time, I went to Minneapolis to visit Bethan. We went to an amazing Guillermo Del Torro exhibit and look who I found! Turns out he's a big Poe fan. He also had original Crumb and Wrightson drawings in his collection - I was in heaven! (This is not the only time Guillermo comes up in this project!)

IMG_5978.JPG

As the inking continued, I had to keep referring to my notes to make sure I was including the right details. My aim was to have as little fluff as possible. Every item should be intentional and allude to something within a story. There are two unfortunate inconsistencies in the drawing which you'd only notice if you listened to the story carefully, but I'll leave them to you to find!

Hop-Frog

Hop-Frog

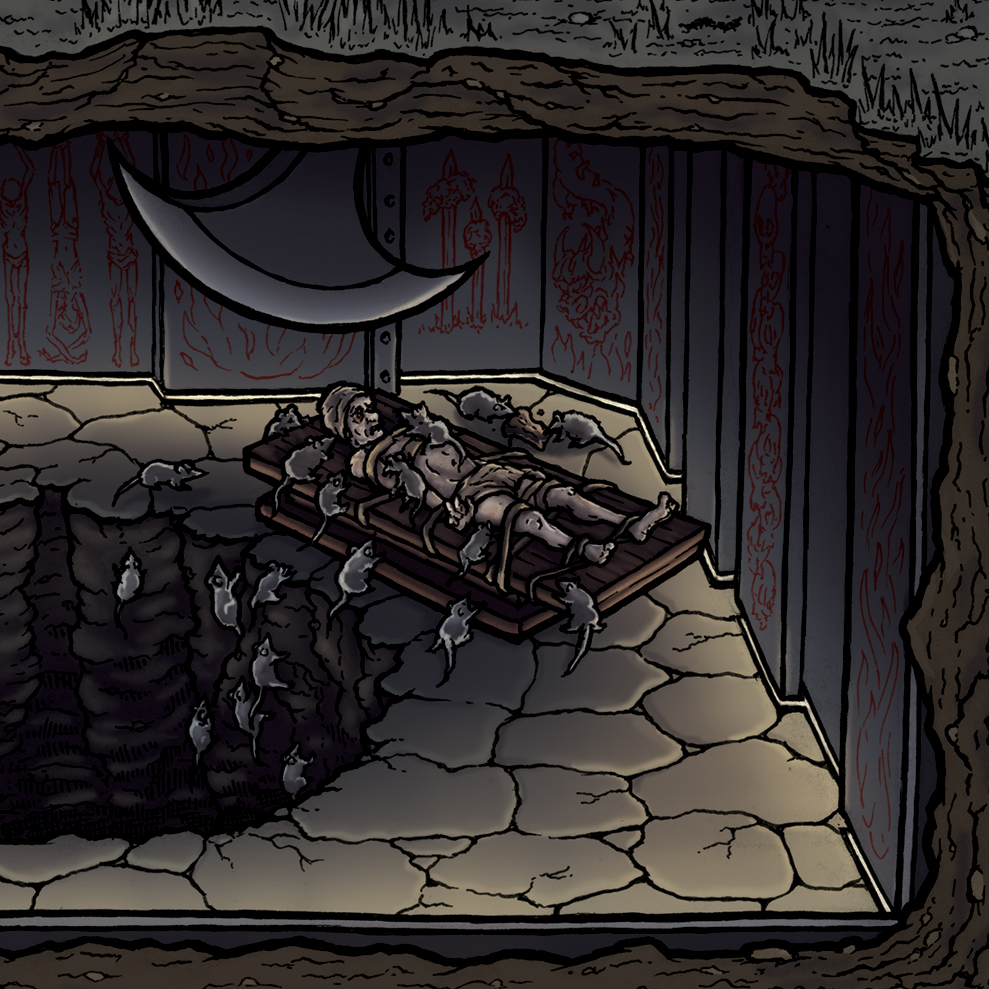
The Pit and the Pendulum

The Pit and the Pendulum

The Masque of the Red Death

The Masque of the Red Death

IMG_6547.JPG

After many, many hours (I honestly have no clue how many), the drawing was finished!

IMG_6732.JPG

At this point, it was time to convert the Macabre Mansion to 1s and 0s! I scanned the drawing and mentally prepared myself to enter yet another seemingly endless phase of the process: COLOR

IMG_6735.JPG
I'll be adapting this into a coloring poster! It'll take you ages to finish! >:)

I'll be adapting this into a coloring poster! It'll take you ages to finish! >:)

Here's the other Guillermo bit: As I was working on this project, I happened to see his 2015 movie Crimson Peak for the first time. Not only did I really enjoy the movie - it's so gorgeous - but was thrilled to discover that the ENTIRE FILM was perfect reference for the Poe mansion. Everything from the costumes to the settings - perfect! I added some screenshots to my reference library and decided to use this still from the film as the inspiration for the color palette.

PALETTE-1.JPG

Getting started on color was daunting. I began by blocking in all of the flat colors, starting with the exterior, and grouping the layers by room. I was able to use the selection wand for the most part (a tool that allows you to select large section and fill them with the click of a button rather than painting it), but as the drawing is so intricate, there was a lot of tedious brushwork to be done. I kept my main colors in a swatch library and tried to deviate from it as little as possible. Just like with Murder Castle, I felt that too many colors would make an already complicated picture way too messy.

IMG_7102.JPG

The final step was lighting. I wasn't terribly adventurous with the lighting on Murder Castle - it was my first attempt at anything like that - so I decided to try and make it more dramatic for Poe. As I was drawing the sketch, I made sure to include as many interesting light sources as possible to give myself plenty of opportunities to play. (I realized when I got down to The Cask of Amontillado that the only light sources were three torches mounted on the walls, nowhere near the action of the scene. I had to steal a lamp from another part of the house and add it in!) Here is the illustration fully colored before any lighting:

POE-LIGHT1.jpg

For each room, I had a 3-step process. First, I added shadows by applying a dark adjustment layer over the whole room, erasing it around each of the light sources, then adding it back to areas where the light wouldn't reach. I got better at this as I progressed through the drawing, which is why some rooms are lit better than others!

POE-LIGHT2.jpg

Next, I added a brightness layer because the shadows really dulled the whole thing and I wanted the rooms to pop! I also darkened the exterior to help add contrast.

POE-LIGHT3.jpg

Finally, I painted in light from each lamp, torch, and candle. I haven't done much - if any - proper light study outside of life drawing classes many years ago, so I just had to kinda wing it. I'll definitely put some time toward light study before tackling my next puzzle... I also added some sky details, brightened up the whole thing so the details can be seen, and my mother suggested smoke coming from the chimneys. Great idea, Mum!

POE-NEW1020-3000rgbsm.jpg

After months of work, I finally completed the image on October 7th only to discover later that this was the anniversary of Edgar Allan Poe's death! Complete coincidence - I honestly had no idea - so I'm a little freaked out. 

you can buy the puzzles and prints in the store

1000POE-boxmockup-square.png

Here are some detail shots of the illustration. If you have any questions, feel free to post them in the comments. Thanks for reading!

POEMAP(nobleed).jpg

SEEK-&-FIND ANSWERS:

POE1000_ANSWERS.jpg

Making the Nashville Zoo Map

I've always wanted to make a map for a zoo or theme park and at the end of 2016 I finally got the chance. The Nashville Zoo has been expanding like crazy and they wanted a fun illustrated map featuring all of the latest exhibits. It was a challenging project, different in many ways than previous maps I've drawn, and I learned a ton from the process.

The Nashville Zoo map illustration without the labels (pictured with labels below...)

The zoo's Marketing Director, Jim Bartoo, asked for something similar in style to my Austin Peay State University campus map, but more playful and fun. It should be easy to navigate, but also exciting for kids to look at. We went on a tour, where Jim pointed out areas that should be featured, and I took a bunch of reference pictures. I took photographs of everything, from the habitats and animals to benches and signs.

The Tapir habitat

The Carousel!

Here's Jim showing me the Red River Hog - hey Jim!

I was also provided with previous maps the zoo had used, which I cross referenced with views of the site from Google Earth. After spending a lot of time walking the zoo, I realized that some of the paths seemed way shorter in experience than they looked on the maps. My aim was to make the map match the actual experience of walking the zoo as closely as possible, taking into account what you can see as you move from one exhibit to the next and how long the various path distances feel in comparison to one another. I also had to keep in mind the dimensions of the printed map and attempt to fill the space as efficiently as possible. 

Previous map

View of the zoo from Google Earth (the map is oriented south-up, so this appears upside down in comparison...)

After lots of sketching and walking and resketching, I eventually came up with a layout I liked. Here are the rough drafts as I developed the layout and added attractions.

The Spider Monkey, Andean Bear, Tiger, and Rhino habitats were still under construction while I was making the map, so I used sketches from the construction sites and architectural drawings to make my best predictions... It will be interesting to see how close I got! 

That's me sketching the Andean Bear exhibit. I should've been wearing a hard hat but shh!

This is all there was of the Tiger habitat. Had to use some imagination on this one!

A lot of the images I had were not from the perspective that I needed, which presented a challenge, but drawing from ultra-precise, engineer-produced CAD images has it's perks!


Another challenge was the medium - Jim wanted a vector map, but since I've been working traditionally so much lately, I hadn't even touched Adobe Illustrator in years! I got in touch with my former classmate Aaron Johnson of Anderson Design Group, who is a master of the Adobe Suite, and he agreed to give me a crash course in the latest tools. (Thanks Aaron!) It took a lot of practice - I used Illustrator to make my 2016 Drawlloween set on Instagram to prepare - but I got the hang of it in a week or so. Next I presented an example of the finished vector artwork to make sure they liked the style. Once I got the thumbs up, it was time to dig in on the details!

example of the final artwork

It was relieving and generally awesome to get the "go ahead", but an overwhelming sense of dread washed over me as I realized how much work lay ahead. (This sensation is described in my Making of the Nashville Map blog post where I describe the mental turmoil that accompanies intense drawing projects!) I also had to stay on top of my other freelance jobs, shipping print/puzzle orders, and it was the beginning of Party Season! (I am serious about Party Season.) So I knew I'd need to plot out a schedule for the project and stick to it militantly in order to hit deadline. As this was my first vector map at this scale and level of detail, the only basis for how long each section might take me was the example I made. I split the map into different modules and made my best guess at the hours I'd need to spend on each.

At one point I got so restless that I moved my computer to my drafting table for a slight change of scenery... It was cool for a bit, but I couldn't put my feet up on the desk so I moved it back within a couple of days.

Some parts took way longer than I guessed but others went quickly. I also got faster with Illustrator as I progressed, which I hadn't considered when building the schedule, so I managed to keep up, finish all of my other jobs on time, and make it to every party! Jim wanted each of the sections on a separate layer so they could be used individually or adjusted as the zoo continues to grow. This required serious focus on organization, but after a while I got into the habit of checking my layers. 

Listened to a ton of podcasts and audiobooks and ted talks and lectures and stuff. 


One of the trickiest parts of the project was warping the perspective. Each area needed to be depicted from an aerial view, but had to be recognizable from the ground level. It was also hard to decide what to include and what to omit - I wanted enough landmarks and clues to allow guests to orient themselves, but I didn't want to overload the map with too many details. I made a point to draw in key items like benches or recognizable features of each habitat.

The Giraffe section and its well and stuff

The Unseen Plaza - particularly tough because from this angle the front of the building is not visible (...some may say UNSEEN), so I had to make sure people would recognize it based on what they're seeing on the ground. 

The Jungle Gym! (My favorite part...)

Alligator Cove - this one was kinda complicated because it can be viewed from two different levels one either side, but it worked out.


Overall this was a super fun project and I'd love to do another zoo (although I'm shooting for a theme park next...) I learned a ton about animals (did you know that all gazelles are antelopes, but not all antelopes are gazelles?!) and it was a great excuse to spend a bunch of time at the zoo. Here are some more detail shots and what it looks like with the labels. Go check out the new exhibits! Spider Monkey opened April 6th and Tiger, Rhino, and Bear will open later this year.

Emelia, age 3

Picture by @creamerandchaos

Here is the map with the labels - I overlapped them with tails and horns wherever I could to help incorporate them better

Illustrating "Who Killed Cock Robin?"

Who Killed Cock Robin?

Who killed Cock Robin?
I, said the Sparrow,
with my bow and arrow,
I killed Cock Robin.

Who saw him die?
I, said the Fly,
with my little eye,
I saw him die.

Who caught his blood?
I, said the Fish,
with my little dish,
I caught his blood.

Who'll make the shroud?
I, said the Beetle,
with my thread and needle,
I'll make the shroud.

Who'll dig his grave?
I, said the Owl,
with my little trowel,
I'll dig his grave.

Who'll be the parson?
I, said the Rook,
with my little book,
I'll be the parson.

Who'll be the clerk?
I, said the Lark,
if it's not in the dark,
I'll be the clerk.

Who'll carry the link?
I, said the Linnet,
I'll fetch it in a minute,
I'll carry the link.

Who'll be chief mourner?
I, said the Dove,
I mourn for my love,
I'll be chief mourner.

Who'll carry the coffin?
I, said the Kite,
if it's not through the night,
I'll carry the coffin.

Who'll bear the pall?
We, said the Wren,
both the cock and the hen,
we'll bear the pall.

Who'll sing the psalm?
I, said the Thrush,
as she sat on a bush,
I'll sing a psalm.

Who'll toll the bell?
I, said the Bull,
because I can pull,
I'll toll the bell.

All the birds of the air
fell a-sighing and a-sobbing,
when they heard the bell toll
for poor Cock Robin.

Animals and birds are some of my favorite things to draw, so I took illustrating this odd little nursery rhyme as an excuse to do just that. The rhyme lists fourteen different species and I wanted to represent them all fairly realistically. Studying each creature and learning to draw it well enough to adapt it to my own composition was a wonderful exercise, and I learned a ton about birds! 

COMPOSITION & COLOR
To offset the literal representation of the characters and their roles in the story, I chose to compose them in somewhat symmetrical, shield-like forms that complement the lyrical style of the writing. This was my first experimentation with watercolor - and color in general - so I opted to use a minimal palette for each piece. I hoped that the color would not only represent the passing of time (dawn, midday, dusk), but also the mood as the animals deal with the death of their pal Cock Robin (violence and anger, solidarity and support through community, sorrow and grief). Below are my color test sheets for each of the paintings. 

The original paintings, each 5.5" x 8.25", are currently on display at Springhouse Gallery in Smyrna, TN. If you're interested in purchasing the originals, email me at hollycarden@gmail.com.

Making the H. H. Holmes Murder Castle

This is a hand-drawn cutaway of H.H. Holmes’ Murder Castle. I compiled blueprints, case notes, and other references in an effort to render the building as accurately as possible. It’s drawn with Micron liner pens and colored in Photoshop. Scroll down to see detail shots, the process, and references.

I also have illustrations like this about Edgar Allan Poe and Count Dracula’s Bran Castle.

I was first introduced to H. H. Holmes a couple of years ago when I read Erik Larson's The Devil in the White City, a fascinating account of the serial killer's unbelievable career. Then a few months ago, one of my favorite podcasts, The Last Podcast on the Left, created a great 3-episode series covering the H. H. Holmes killings. It was while listening to these episodes that the thought of drawing the Murder Castle occurred to me. (Scroll to the bottom of these post for the answers to the seek-&-find game included with the puzzle.)

For those unfamiliar, H. H. Holmes was a charismatic young lady killer who constructed a hotel, timed perfectly for the Chicago Worlds Fair, which operated as a massive murder machine. He used it to systematically trap and kill young women, then clean and articulate their skeletons to be sold to universities. The hotel was riddled with trap doors and hidden rooms, where guests would be trapped and tortured before ultimately being thrown down the chute to the basement. To fully understand the drawing without reading the book, I encourage you to watch this short documentary which covers the basics quite well.

One thing I do wish to make clear is that I in no way intend to glorify what H. H. Holmes did by drawing the Murder Castle. In fact, I will go on record now as being profoundly anti-murder. However, one cannot deny the sheer brilliance it took to pull this off. I can only imagine what this man would have been capable of had he used his powers for good rather than evil. This illustration is intended to supplement books and podcasts on the topic and to help people visualize how the hotel that Holmes built might have looked and how it was used.

The Murder Hotel drawing started as what was supposed to be a quick project I could knock out between jobs and an excuse to take a whack at a 3D cutaway illustration, which I've always wanted to attempt. Naturally, I got a bit more into it than I had initially intended, but overall it took about a months work. I stuck them all the research and reference pictures to my desk and began sketching the framework of the building.

The most challenging part was plotting out the structure of the hotel and deciding how and where to cut away. I wanted it to be as accurate as possible, so I used the original blueprints and some excellent drawings by Rick Geary to guide me. 

Once I had the structure of the exterior of the building down, I placed a sheet of vellum over it and started breaking it down floor by floor, deciding where to cut away in order to show as much as possible. The chute and hidden staircase that ran through the heart of the hotel was to be a primary focus, so I put those in first and built the rest around it.

sketchingWIP.jpg

After lots of adjusting, erasing, and making a mess, the sketch was finished and ready to scan. I think it took about a week to get to this point.

I printed the sketch at a low opacity on a sheet of heavy Bristol and began the ink drawing. I don't normally print the sketch on the paper, usually I ink on a sheet of vellum placed over the sketch. However, in this case, the lines didn't have to be quite as sharp as some of the other drawings I've done (the Colorable zoo, for example), and I thought that some of the values of the sketch could show through and add help to some dimension to the finished picture. It worked out well, and I far prefer drawing on Bristol to vellum, so I'll definitely be using this method again.

In an attempt to keep my greasy finger prints off the paper, I started wearing this dumb fancy glove that I had lying around from my halloween costume. It is now my special fancy drawing glove and I use it all the time.

A major aspect of keeping the drawing organized was managing the line weight. If the lines were all the same width, it would be difficult to tell where the exterior ends and the interior begins. I kept a little guide with four key line weights that I would use to check my consistency as I worked.

By this point, I was making some pretty tough decisions about the level of detail. My instinct is to fill in every space with as much detail as possible, though I feared that it would be too muddy and confusing if I did that here. So I used restraint and kept the surface details to a minimum. I didn't realize how much color would help organize the picture, so I now wish I'd gone with my gut and detailed the crap out of it. Lesson learned.

One of the best things about drawings like this is it's hard to get bored. Whenever one area becomes tedious, I can just move to a different area and draw something else for a while. 

Weirdly, I experienced next to none of the existential dismay and panic that typically comes with a project like this. I think because it didn't seem arbitrary in any way, entirely founded in interesting fact. It was extremely enjoyable from start to finish.

It took about a week to finish inking the drawing.  

Once scanned, I spent a few hours in Photoshop cleaning up mistakes and minimizing any visible white out marks. Next I started blocking in color. Since the image is so complex, I knew the color palette must be pretty minimal. I used this image for color inspiration, sampling all my colors from it:

I separated the exterior and each floor into its own layer group to keep the file as organized as possible. I don't do an awful lot of coloring - to be honest, I tend to avoid color whenever possible - so I tried to use this as an excuse to learn.

Once all the flat color was done, my next challenge was to light the thing. It was tricky, because there were two lighting structures to consider: the lighting of each individual room, and the lighting of the entire cutaway building as an object. Plus, I haven't really done anything like this before, so it was a little intimidating. But wow, it was so much fun to go through and turn the lights on! 
Here is the finished piece and some detail shots. Definitely a lot of things I would change were I to do it again, but overall I'm really pleased with how it turned out. If you're interested in the H.H. Holmes case, I highly recommend reading The Devil in the White City. Also, Martin Scorsese is claiming he wants to turn it into a movie starring Leonardo DiCaprio as Holmes.

Update: My sister, Bethan, is an avid Sims player and built the Murder Castle for the game. Go here to download the house and the H. H. Holmes character!

PUZZLES & PRINTS NOW AVAILABLE IN THE STORE!

MC1000-smallRGB.jpg

SEEK-&-FIND ANSWERS:

MC1000-ANSWERS.jpg

Making the Illustrated Map of Nashville

I knew my way around Nashville pretty well before, but after spending hours studying, sketching, and then intricately drawing the entire city from the river to West End, I can pretty much get from anywhere to anywhere without thinking twice. No thanks, Siri, I got the nav on this, girl! I should probably host one of those silly segway tours you see zipping around town. 

I was asked to create the map during my internship at Anderson Design Group. The shop is on the Nashville Trolley Tour and gets a lot of tourists coming through, so Joel wanted an illustration including all of the most popular tourist spots and local businesses, from his shop to the river. Holy crap that's a lot of spots. Step one was to figure out how to frame it all in a single image.

Once I figured out the orientation and where the major streets would lie, I got to work plotting as many locations as I could into what I call the SUPER ROUGH! (This is the rough draft of the rough draft.) 

While I was able to edit out lots of the smaller streets and buildings, the map did need to be reasonably accurate while including every place on the list, so plotting everything out took a long time. Dawn, who runs the front desk at Anderson Design Group, reviewed it and gave me notes. 

After establishing which locations had to be included and where they should go, I blew up my super rough to 150% actual size and printed it off. Using tracing paper over the print, I redrew the map adding distinct characteristics of each location and other details. 

Drawing an entire city from an aerial perspective without a helicopter is rather challenging. I had to use several resources so that I could turn the buildings around in my head to get the perfect angle, including multiple reference pictures per location, Google Earth, and Google Maps Street View. Google Earth is actually getting pretty damn sophisticated; while many places were still only available in 2D, much of the city could be viewed in pretty helpful 3D imagery. I have no doubt that very soon I'll probably be able to take an aerial screenshot of Nashville and be done with it.
Once I got to this point, I had to scan it in and move some stuff around, and print it off again before I could continue:

I filled in all the gaps and by the time I was done I had so thoroughly scoured the streets of Nashville via Google Maps that I could probably draw it from memory. But wait! We're only just getting started!

Next, I went over the whole sketch with a fine-toothed comb and marked any edits or adjustments that needed to be made before I could start inking.
Now that I had a fairly tight sketch, I was ready to begin inking! I printed the sketch at around 50% opacity and at 150% scale, taped it to my desk, and placed a sheet of 19"x 24" Canson Vellum over one side. (It is so large that it has to be scanned in pieces and digitally re-assembled anyway, so I inked it on two sheets of vellum.)

This is right around the point in the process where this starts to happen...

Oh god. I've made a huge mistake. What was I thinking?! Holy shit, what am I doing?! Like, I actually took their money and said "Yes, of course, I can totally draw that." This is not only going to take literally FOREVER, it doesn't even look good! Jesus. What am I gonna do? How can I POSSIBLY finish this? They asked how long it's gonna take HOW LONG IS THIS GONNA TAKE IT'S NOT EVEN GOOD WHAT AM I DOING?!

Look, it's OK, I always do this, don't panic. It's always super daunting in the beginning. Just keep drawing, there's not really much else I can do... I've just gotta remember that ALL my drawings look shit 'til they're about 80% finished. Just trust yourself and put on a podcast or something.
OMG I LOVE DRAWING drawing is freaking awesome this is so fun crap - I'm gonna stick a mouse there by The Gulch (hehe rich condo mouse) - wow this is kinda starting to look cool my next one is gonna be way better though DRAWING RULES

Whew - one half done. And you know, if it actually IS shit and no one likes it then at least I'm enjoying it, right? Is that self indulgent? Man... is this a selfish way to spend time? Should I be doing something more helpful or... does it even matter anyway? Does anything? Jesus.
Duh nuh nuh nuh nuh nuh nuh nuh duh nuh nuh nuh nuh nuh nuh nuh BATMAN!!!

I guess I'd describe this inner turmoil as a bit of a tendency because so far that's pretty much how it goes with most pictures I make. Yes, I love drawing, but it's not like I'm lounging about in a pastoral setting kicking my feet back and forth as I whimsically doodle away. OK that might have happened a time or two this summer... For me, drawing can be a taxing process, physically, psychologically, and emotionally. 

Emotional States of Intense Drawing

This chart illustrates the various emotional states I can expect to experience throughout the picture-making process.

Yes, that's a bit dramatic, but these big pictures are monsters! As I draw my 600th tiny window, things can go a bit weird upstairs. Some might think I only do it for the Creative Glee phase, but I think the other parts are important too (and I'm not entirely convinced that General Panic isn't just my nature.) I learn to trust myself a little bit more with every picture, but I think that's mostly because every picture is a little bit better and I deserve it.

I swear I usually name my layers...

Once the ink drawing is complete, it is scanned. The largest scanner I have access to is A3, so I scan it in pieces and Photoshop's amazing photo-merge feature can usually reassemble it for me. Next, I'll spend some time cleaning up the lines a bit, correcting any mistakes or adding bits that had to be redrawn.

It's easy for me to get carried away at this stage; to get caught up in trying to endlessly perfect everything. This is one of the reasons I prefer to work traditionally. When I'm limited by my eyesight and dexterity, I can only go so far. Working digitally, one can lose sight of the image as a whole or chip away at the drawings charm.

Overall I'm happy with the picture. I see mistakes every time I look at it, and I learned so much while drawing it that it makes me immediately want to draw another one and do it better. But I also get lost in it and enjoy looking at it and I find stuff I forgot that I hid in it, which is what I loved most about the drawings that inspired me to become an illustrator in the first place.

I'm currently working on a similarly insane illustration of the same size and level of detail. I'm about half way through the Crippling Self-Doubt phase, but writing this reminded me that just around the corner is almost half an illustrated zoo's worth of Creative Glee. Follow along on Instagram as I draw it! 


Here is the Illustrated Map of Nashville after being colored and lettered by Anderson Design Group. Buy a print at their website!

This image was created in collaboration with Anderson Design Group, Inc. Copyright ADG, Inc. All rights reserved.

Illustrating Franz Kafka's "A Report to an Academy"

One of my absolute favorite assignments while studying illustration at Watkins College of Art was to create a "dummy book" - a partially finished illustrated book, typically sent to publishers as a sample. This dummy book could illustrate any public domain story of my choice, and since I was feeling pretty introspective and weird at the time I opted for a Franz Kafka story. A Report to an Academy is the tale of an ape who has to decide between a life of captivity and a life spent performing for the entertainment of humans. Yep, real uplifting stuff!

Note to reader: If you're interested in downloading the dummy book and reading the story with my accompanying illustrations/sketches, click here. Please excuse the horrendous type - I hadn't yet taken any typography courses when I made this!

Choice of Medium

In keeping with the rather dark and weighty nature of the story, I decided that moody, black & white drawings would be best. I made this back in Spring of 2012, before ever trying to draw in pen & ink, so pencil was my weapon of choice. While not always appropriate, I feel like it's emotive, traditional look was ideal for Kafka. I used mostly a mechanical pencil and a black colored pencil for the finished illustrations. I later took Kristi Hargrove's Drawing II class and she suggested I use proper pencils. Needless to say, my drawings are much better now.

Character Design

I did a lot of research in preparation for this project. Most of the illustrations feature the story's protagonist, Red, so a lot of this research revolved around him. My first step was to teach myself how to draw apes, which pretty much involves Googling "ape" and drawing a bunch of apes. Once I had the basics of ape-yness down, I designed Red. I studied ways to give him as much emotion, character, and humanity as possible while keeping his look consistent. 

Storyboards

One of the most challenging aspects of the project was dividing the story into sensible sections for each page. It was a lot of fun plotting out where each picture would land and deciding what would be the most appropriate visualization of the illustrated segment. This process emphasized how much power the storybook illustrator has, guiding the reader's imagination and creating a world in which the author's story can live.

Meet Red

This is the opening spread of the book, introducing Red who narrates the story. I decided that the reader should first see him post-transformation, as the man-like performing ape he is at the time he is telling his tale. In this illustration, I used the various items on his dressing table to give the reader clues into his lifestyle and character. My favorite pictures are those that continue to reveal their secrets well after the first glance; pictures that can be studied time and time again.

Dummy Book Sketches

Every page of the book features some sort of image, from spot illustrations to full spreads. It was a great deal of fun to create Red's universe, depicting his past spent traveling on a merchant ship, his time spent in study with various teachers and doctors, and his later stages of life as a "civilized man".

All of the drawings began as rough pencil sketches. I then digitally refined the pictures that were not to be fully rendered, to give them a cleaner, more finished look. To see all the sketches, download the entire dummy book.

The Cover

For the cover image I wished to summarize my own interpretation of the story and what it says about freedom and identity. While Red does not end up in a cage at the zoo, his cost was to sacrifice who he was and act as another entirely. While he enjoys aspects of his newfound humanness and the illusion of freedom with which it comes, he is less free than he ever was. The ship in the story carries him to his fate - a life of captivity, one way or another. The ship in a bottle also appears in the final spread, a trinket on Red's writing desk beside his finished report.

Freedom

I took quite a bit of license with my pictures, perhaps projecting a more solemn and nihilistic perspective of the story than others might have. Red's voice sounds strong, but I wanted to capture his inner life. I tried to approach the design as a cinematographer would, communicating not only through the subject matter, but also through the point of view and scale. This picture accompanies Red's reflection on freedom. He describes how humans can't possibly know what it is to be truly free, yet are consistently deceived into believing that they are. I hoped to illustrate his isolation, and the human hivemind from which he so fervently separates himself.

These illustrations were due one week apart, and I was taking three other classes at the time. I remember having to stay up literally all night to finish this drawing in time for critique the next morning - my first college all-nighter! 

Naturally, looking back on this project now there are things I would do differently. Over the three  and a half years since I made it, I've learned a lot about composition, flow, and storytelling, and my drawing skills have vastly improved, but I'm pleased with it as a first serious attempt. The two finished illustrations garnered some attention while I was at college, winning some awards including a National Student Addy, which really boosted my confidence and fueled me to work as hard as possible. Since discovering pen & ink I haven't done a ton of finished pencil drawings, but the pencil was my first true love. I hope to work on more graphite and storybook projects going forward!